MENU
Skip menuInstallment 12 - Wheel bearings, kill switch, and oil cooling.
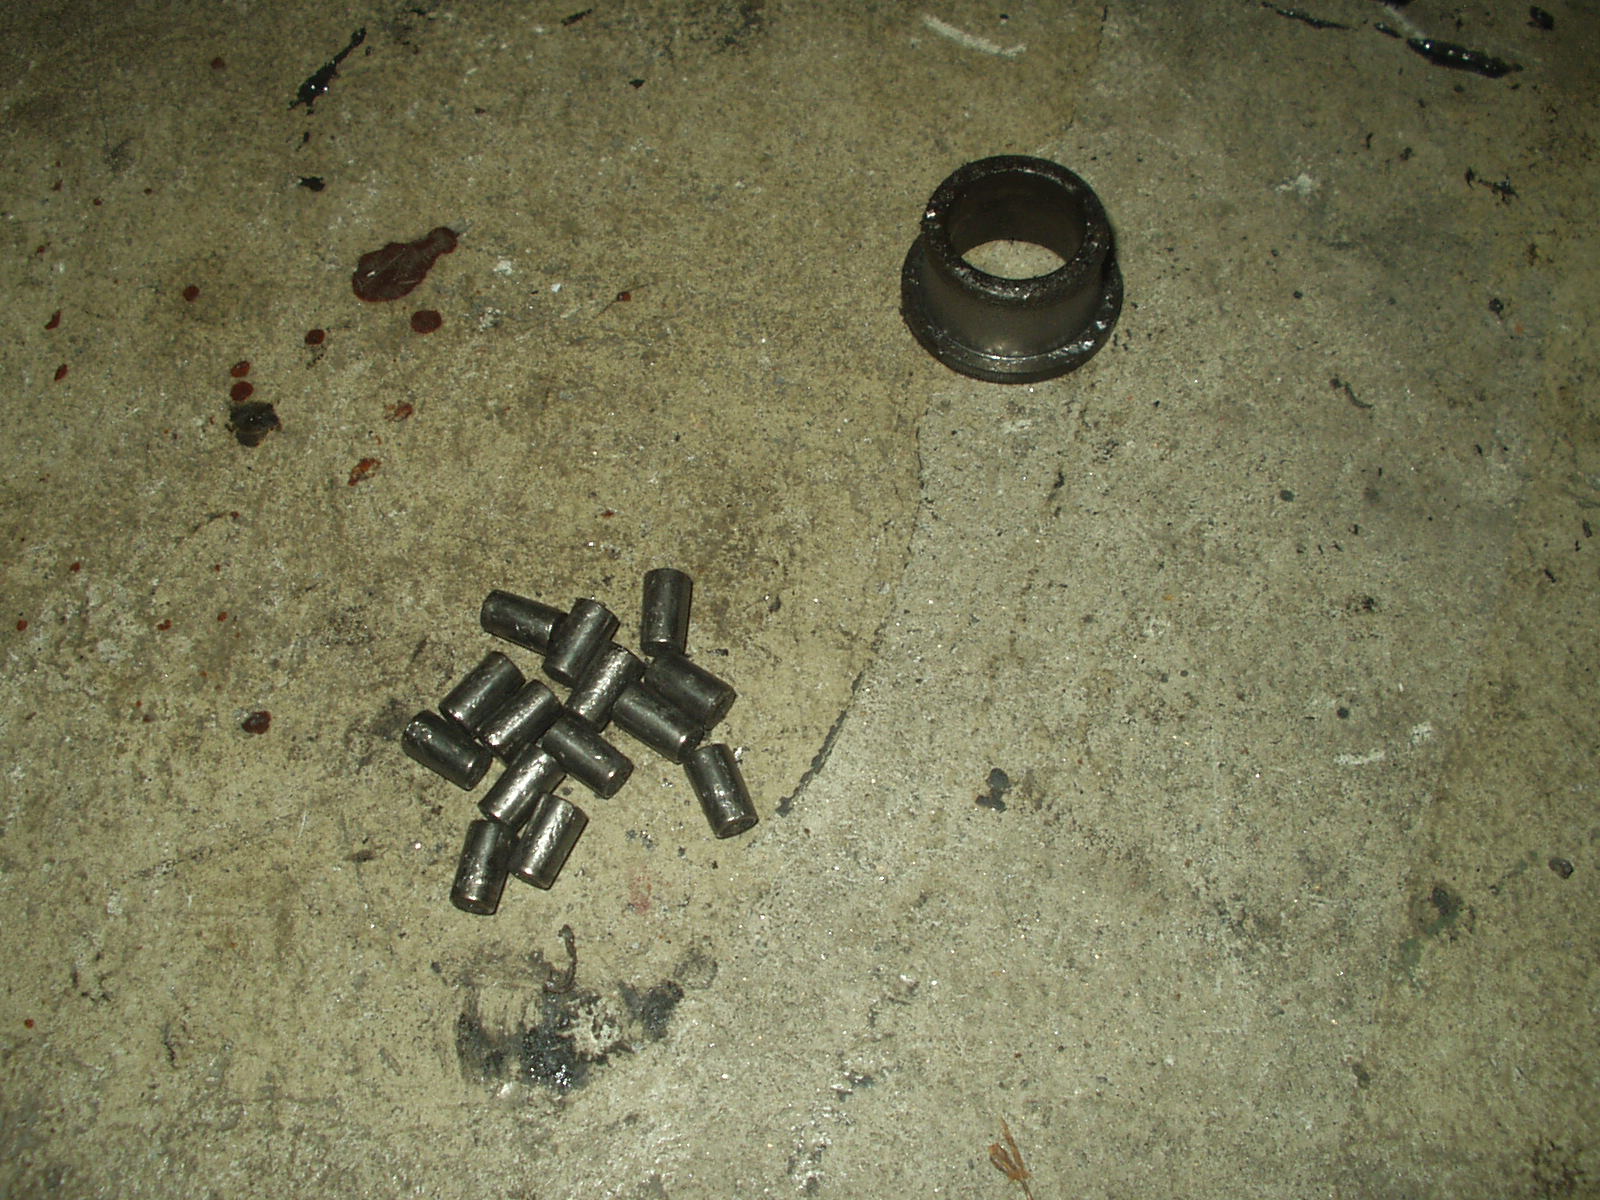
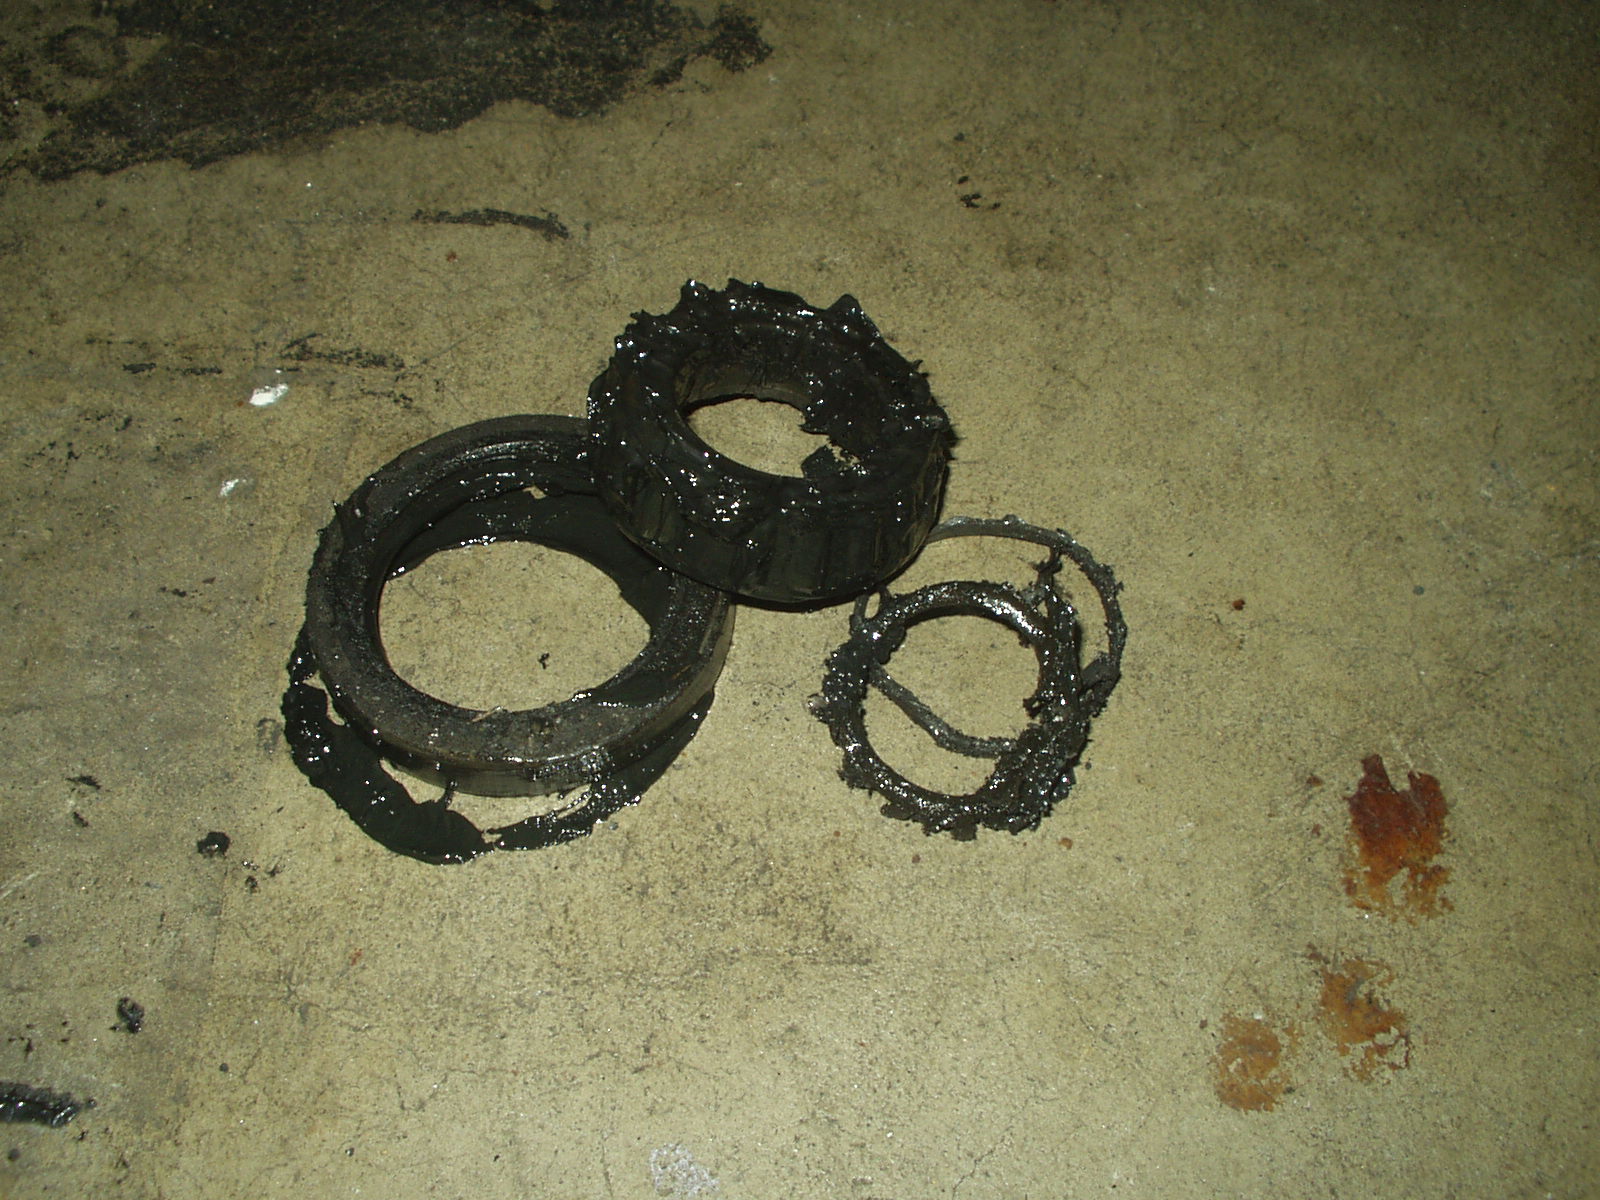
At every event I have been to, the tightness of my wheel bearings is checked. Thankfully a scrutineer brought a bit of movement to my attention. The drivers side front hub was a bit loose and upon further inspection, it was actually in terrible shape. I guess stickier tires and the previous owners blatant disregard for maintenance can lead to this:
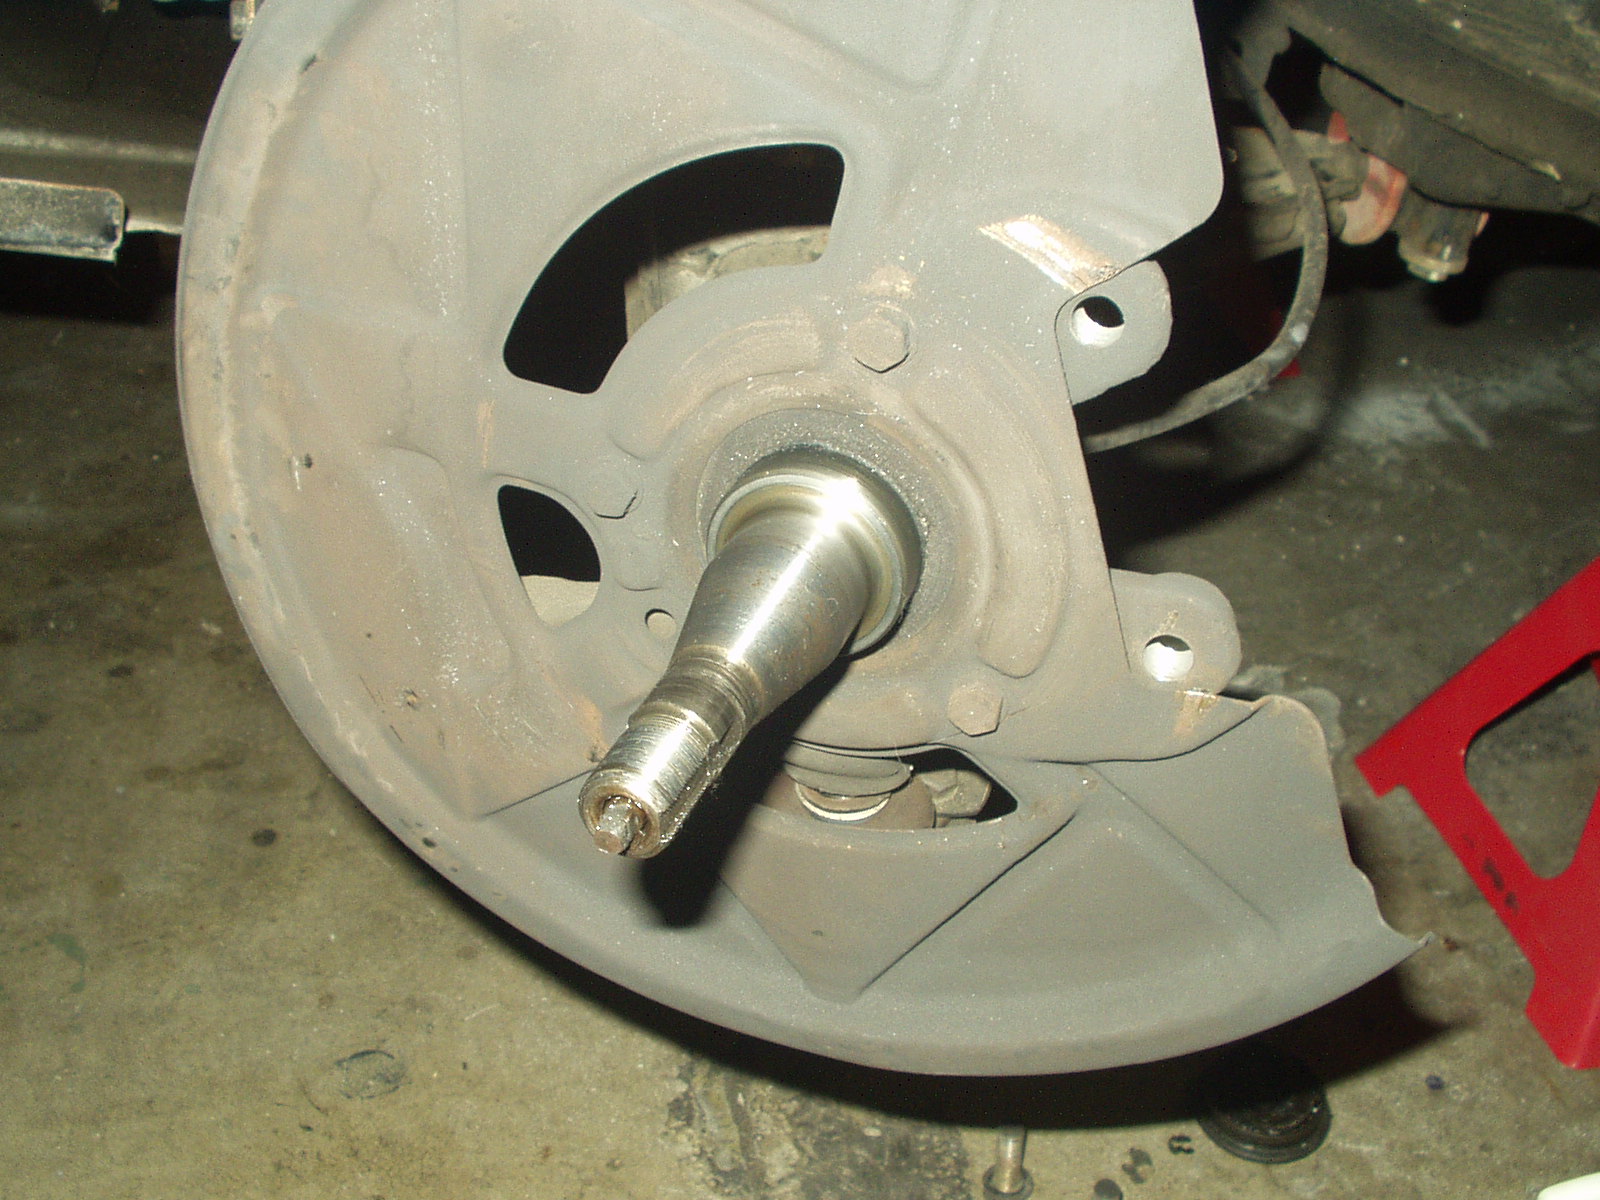
After removing the old races and some clean up, I placed the hub in the oven for about 30 minutes and grabbed the new races from the freezer. I found an impact socket that just fit in the hub which helped get the races seated. This part is tricky, patience is the key. Oh, and a big f-ing hammer.
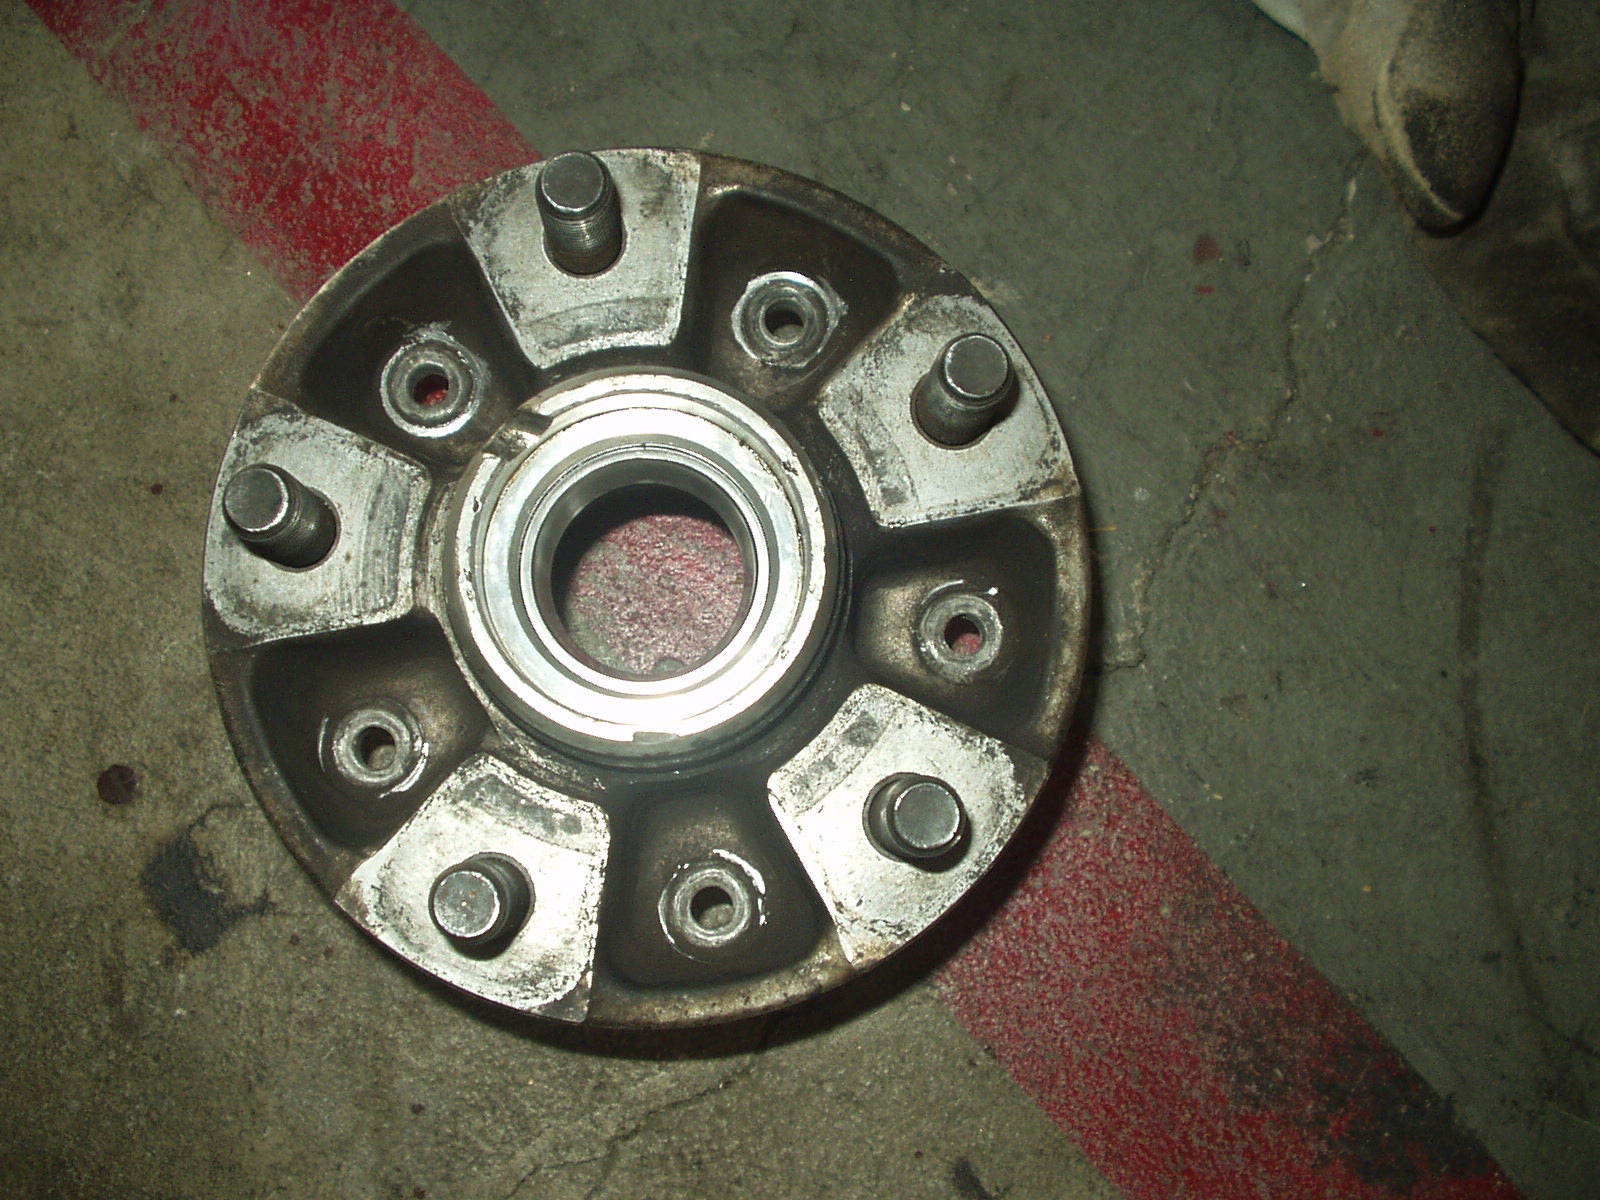

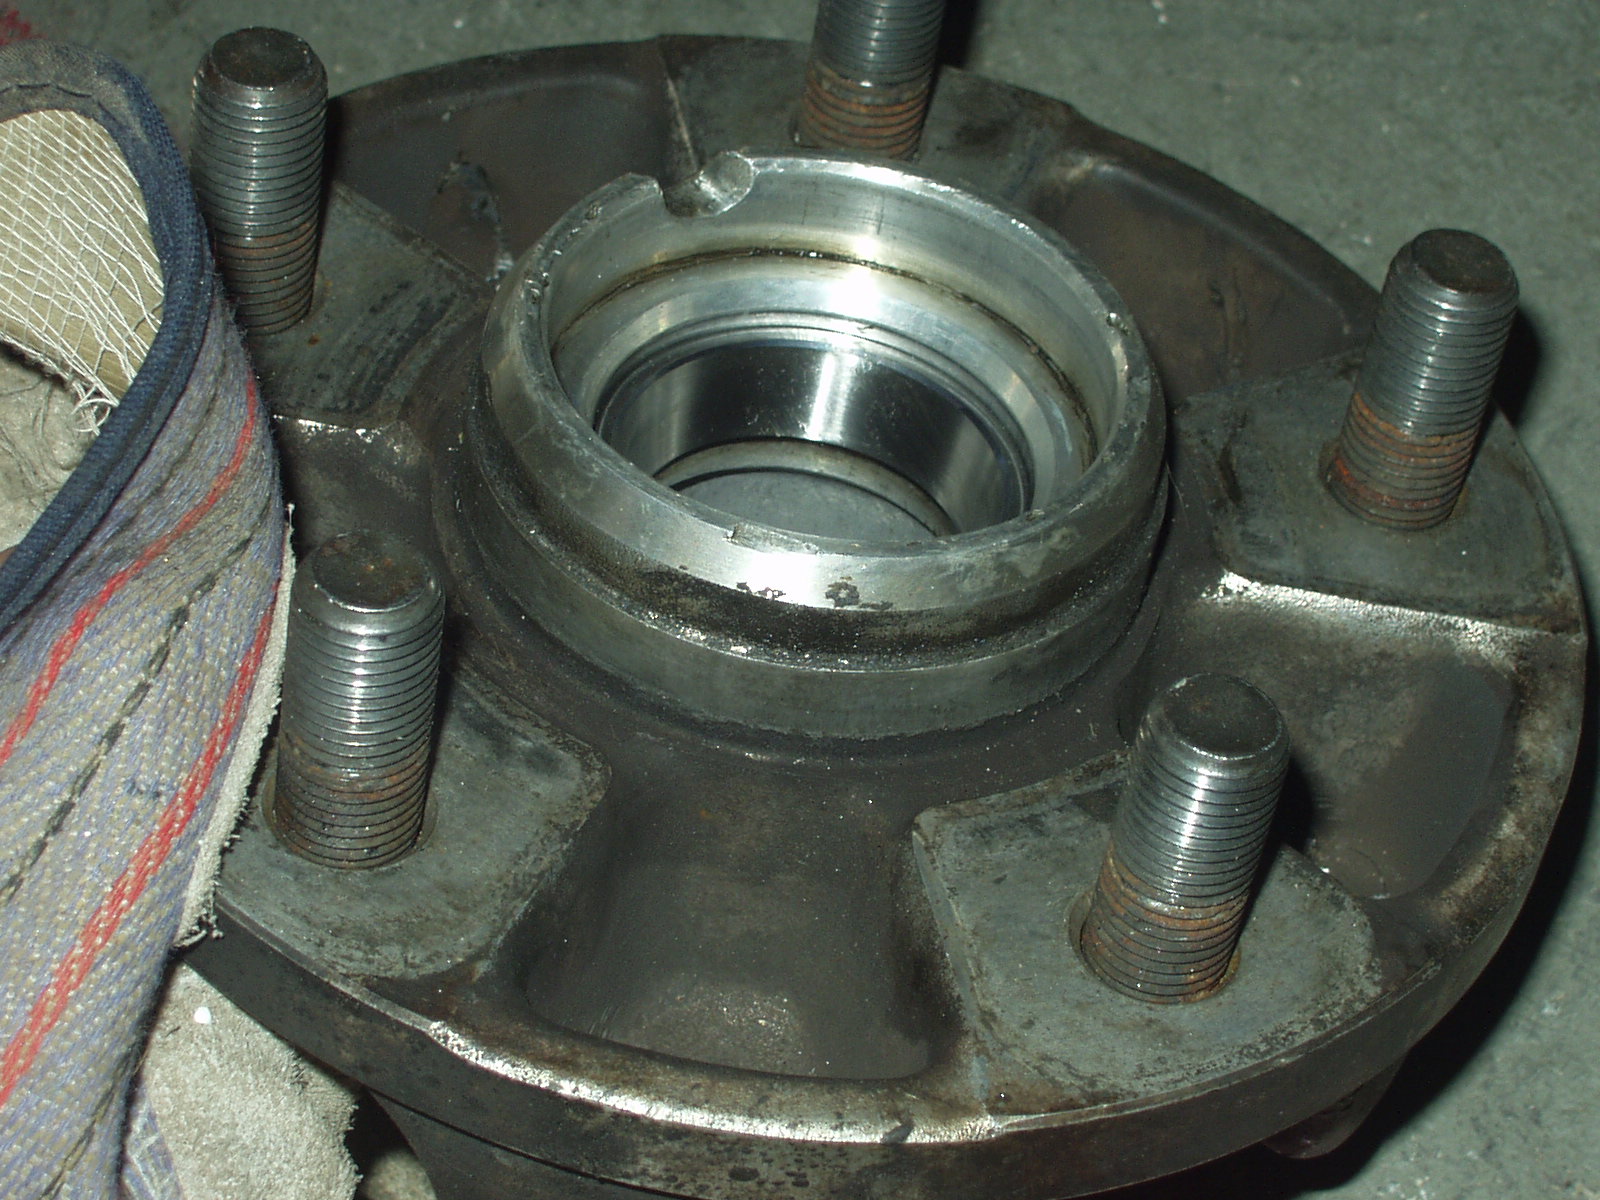
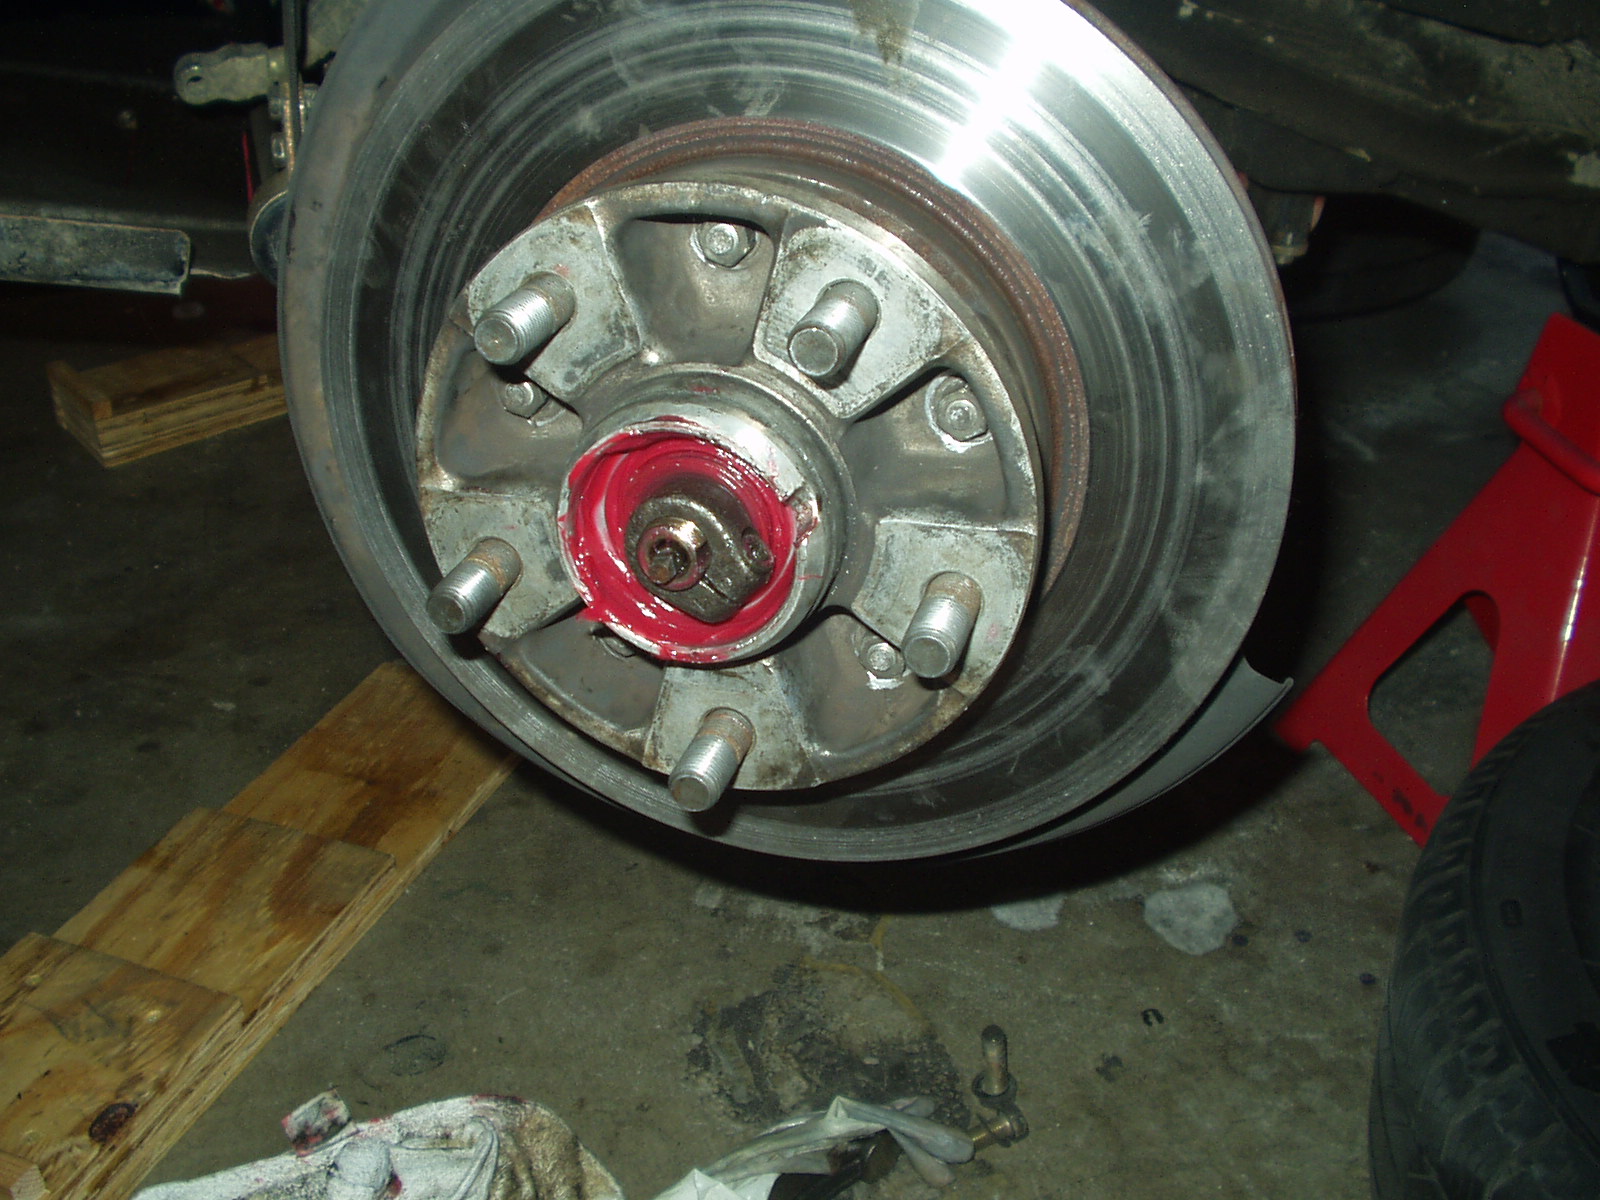
Here is the hub with the new bearings, freshly greased with synthetic Mobil 1 and tightened to spec.
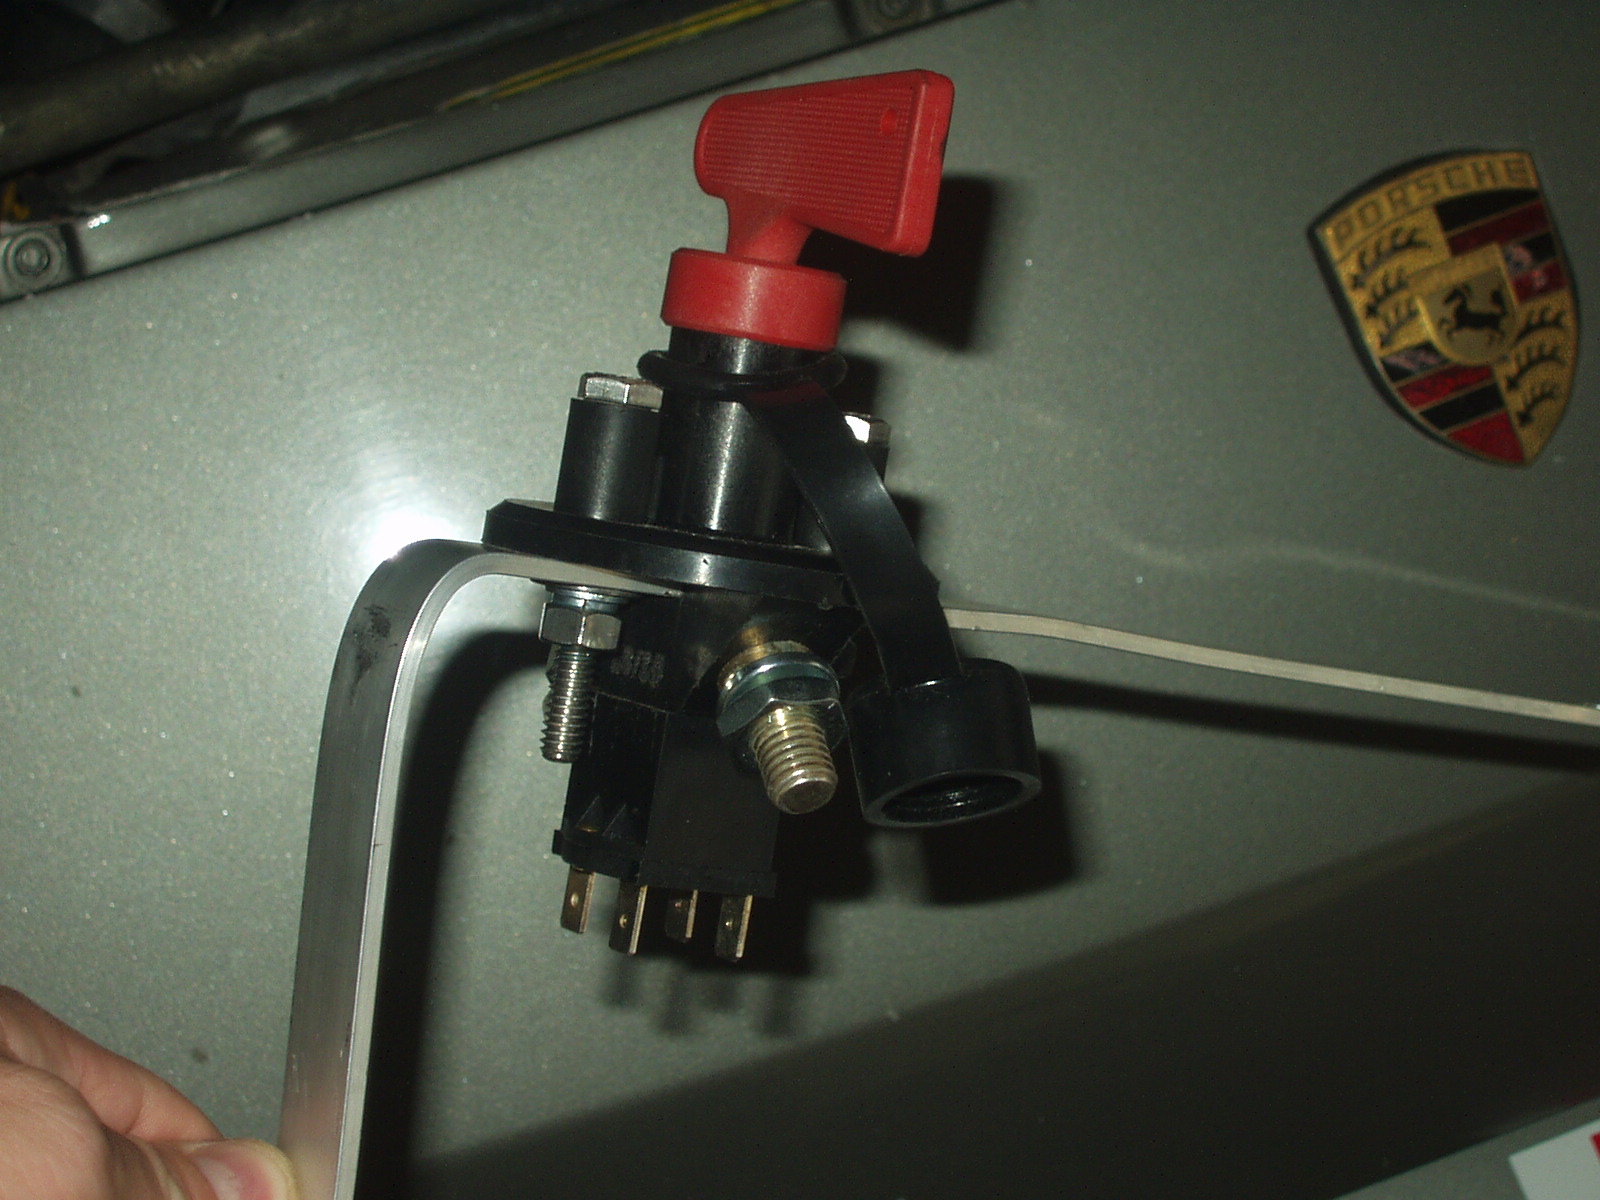
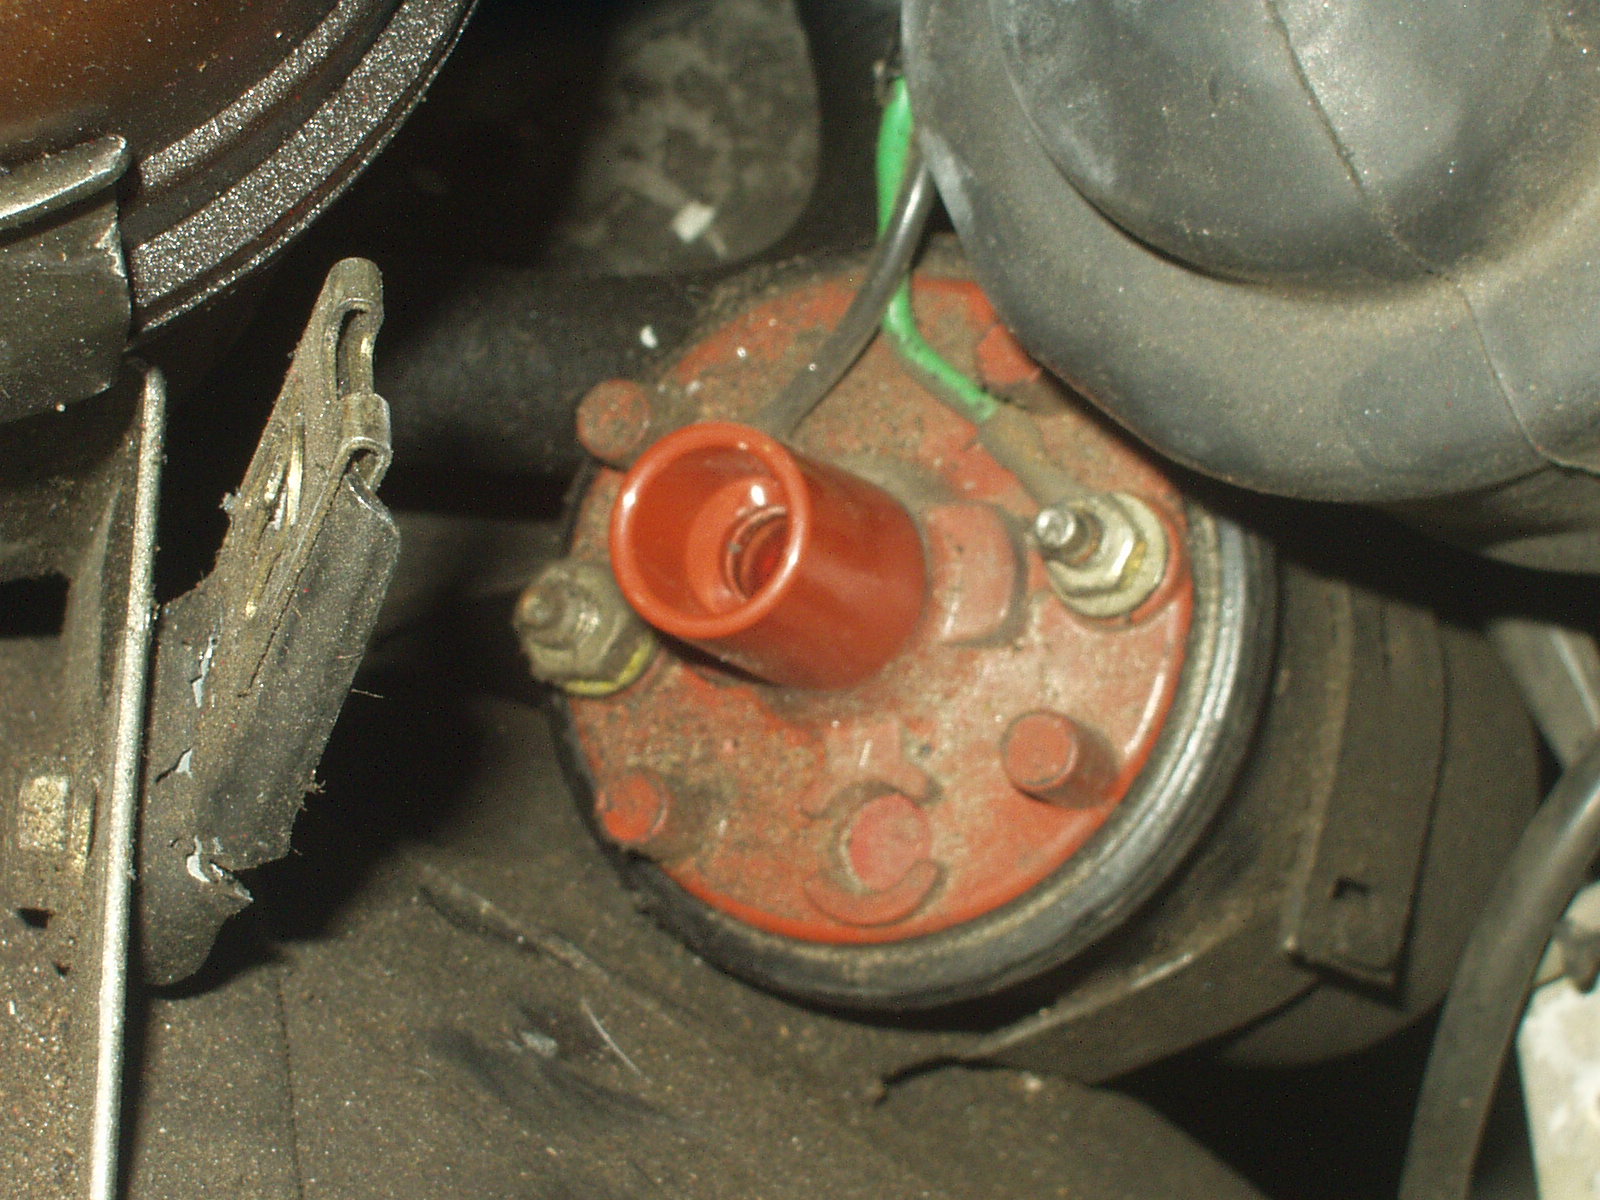
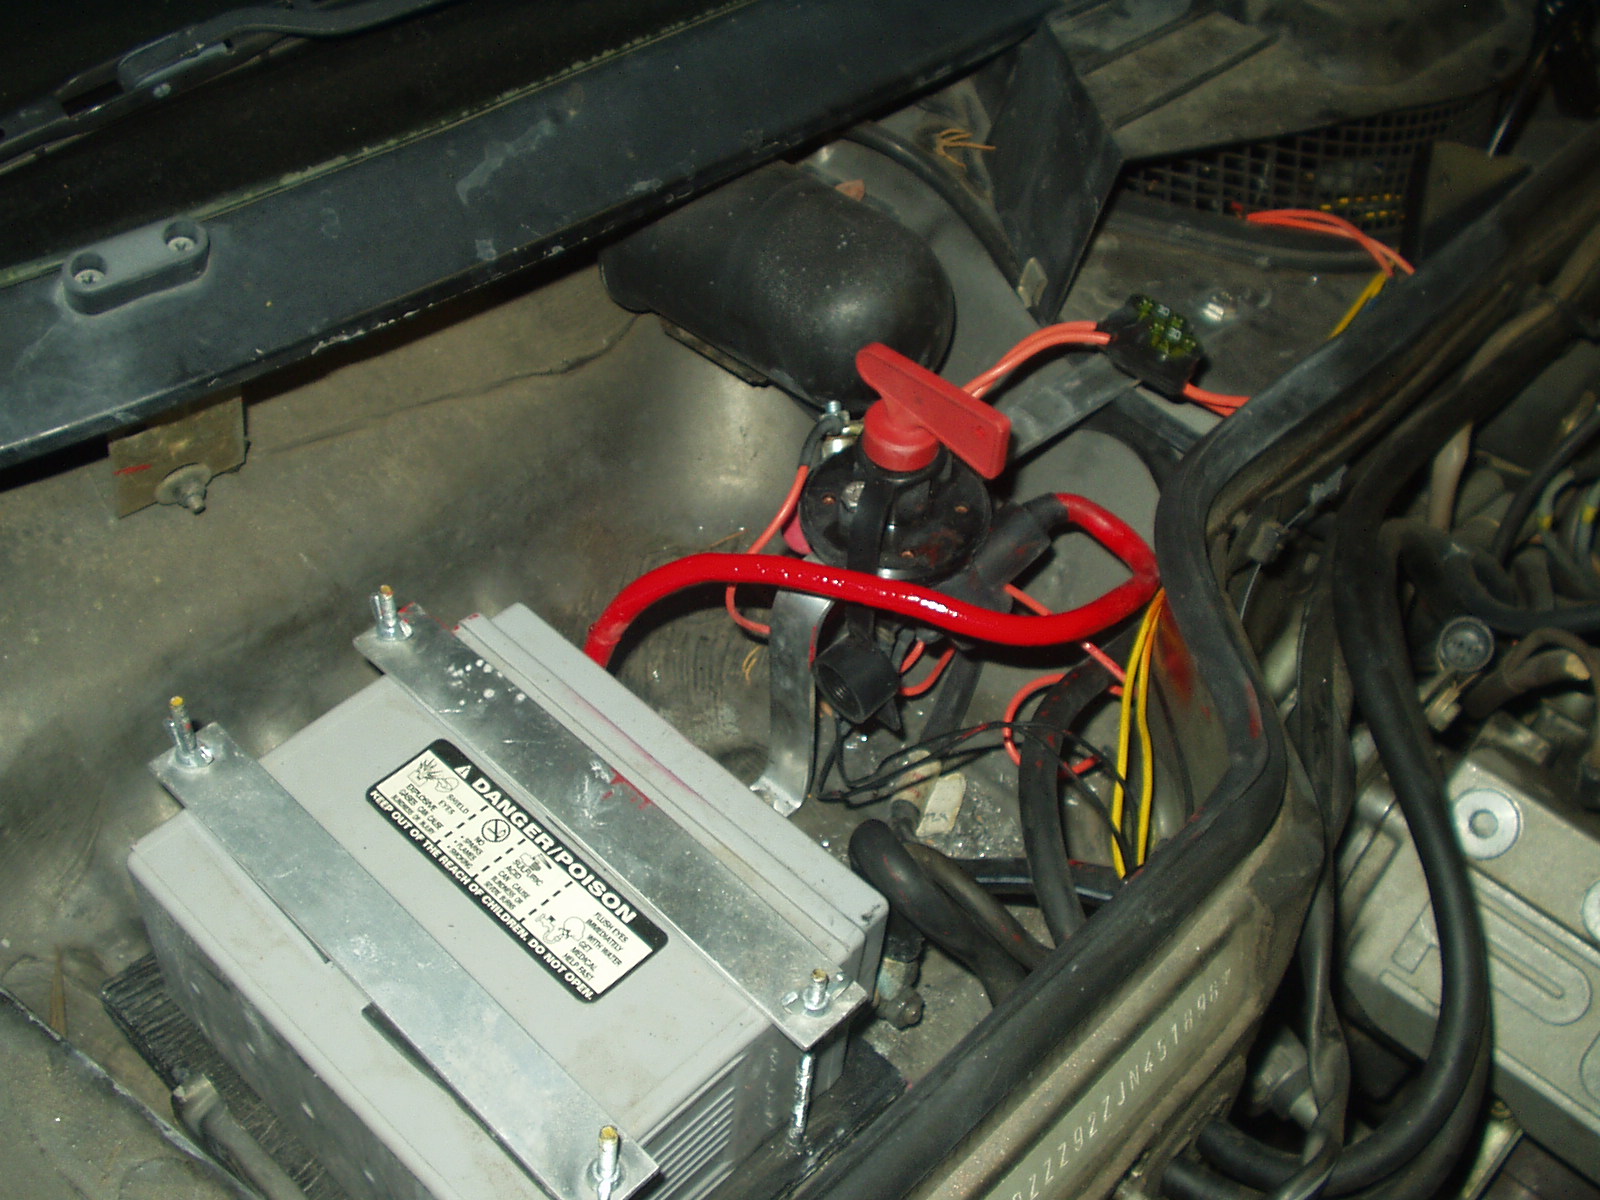
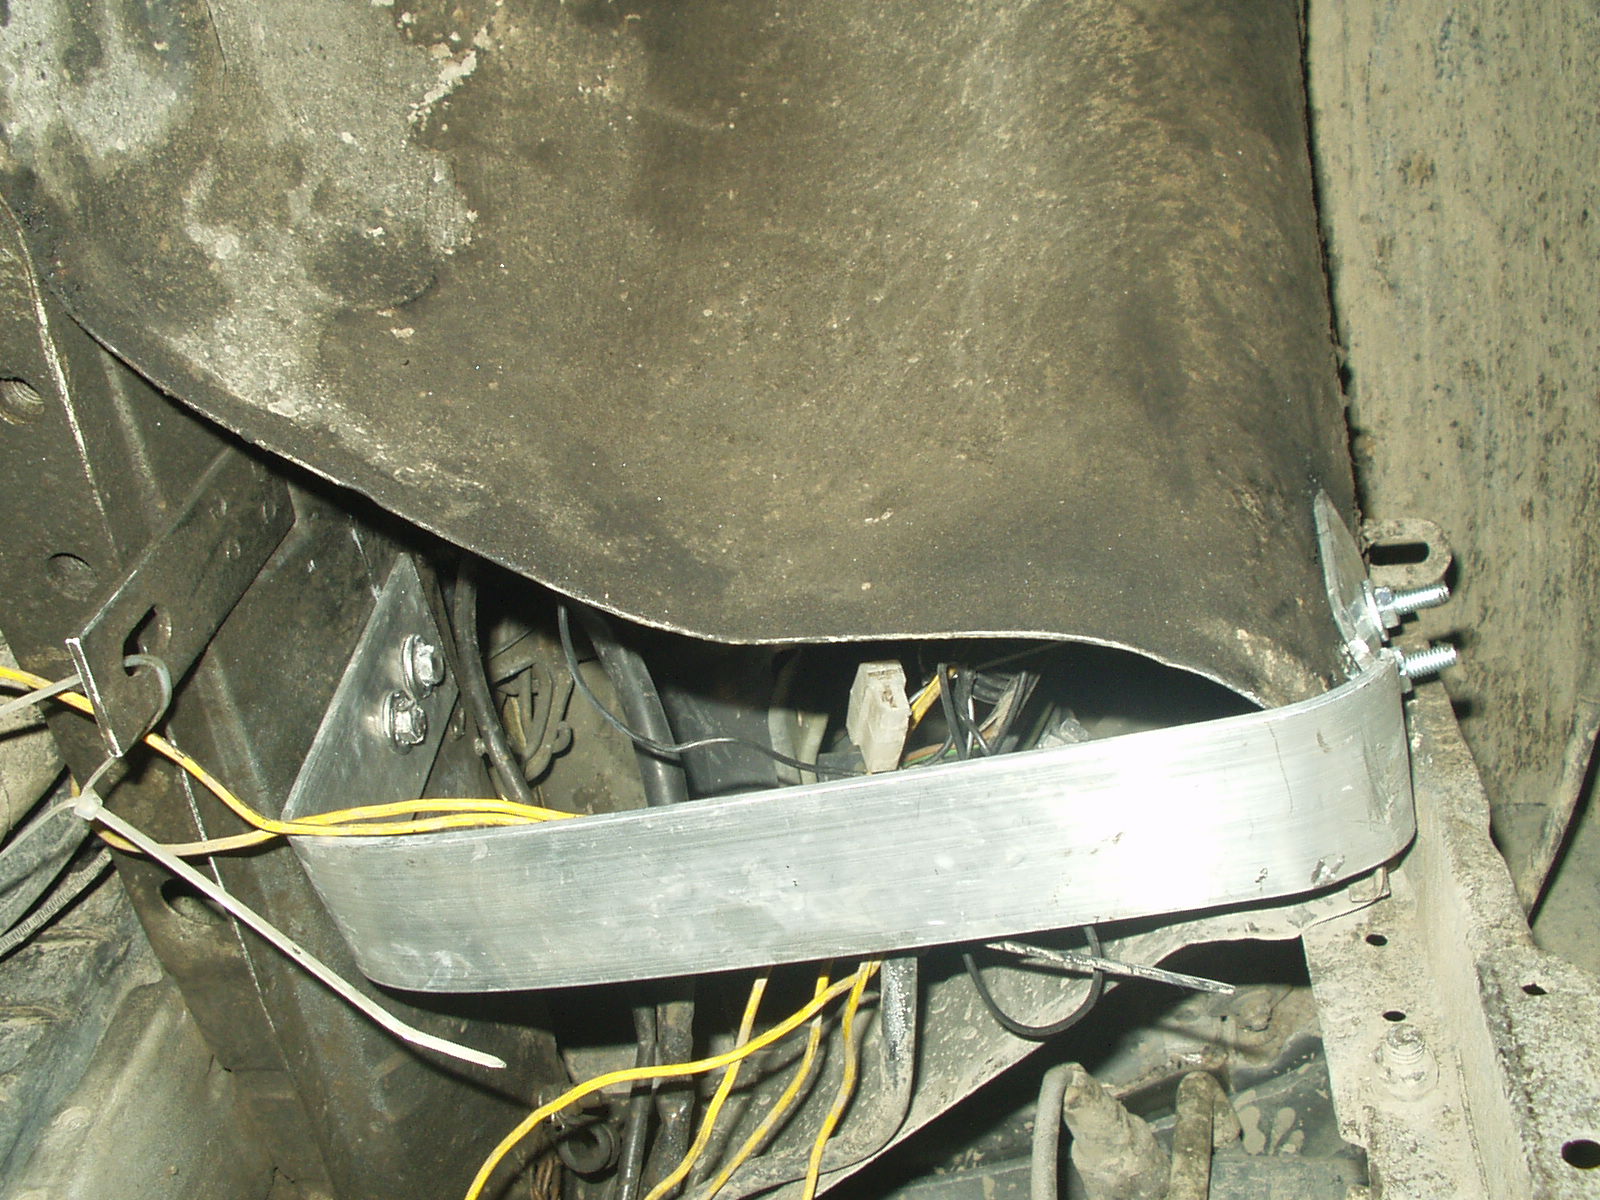
With the mechanics back in order, I moved onto my nemesis: electrical work. A kill switch is required by the NASA CCR's and the one shown here is probably the most common one I have seen. This one is great because it has a resister to help discharge the alternator when the switch is flipped. I used a bit of aluminum stock to mount the switch close to the battery.
In order to kill the engine, you have to kill the spark. The green wire (I think, it's been a while) was spliced into the switch.
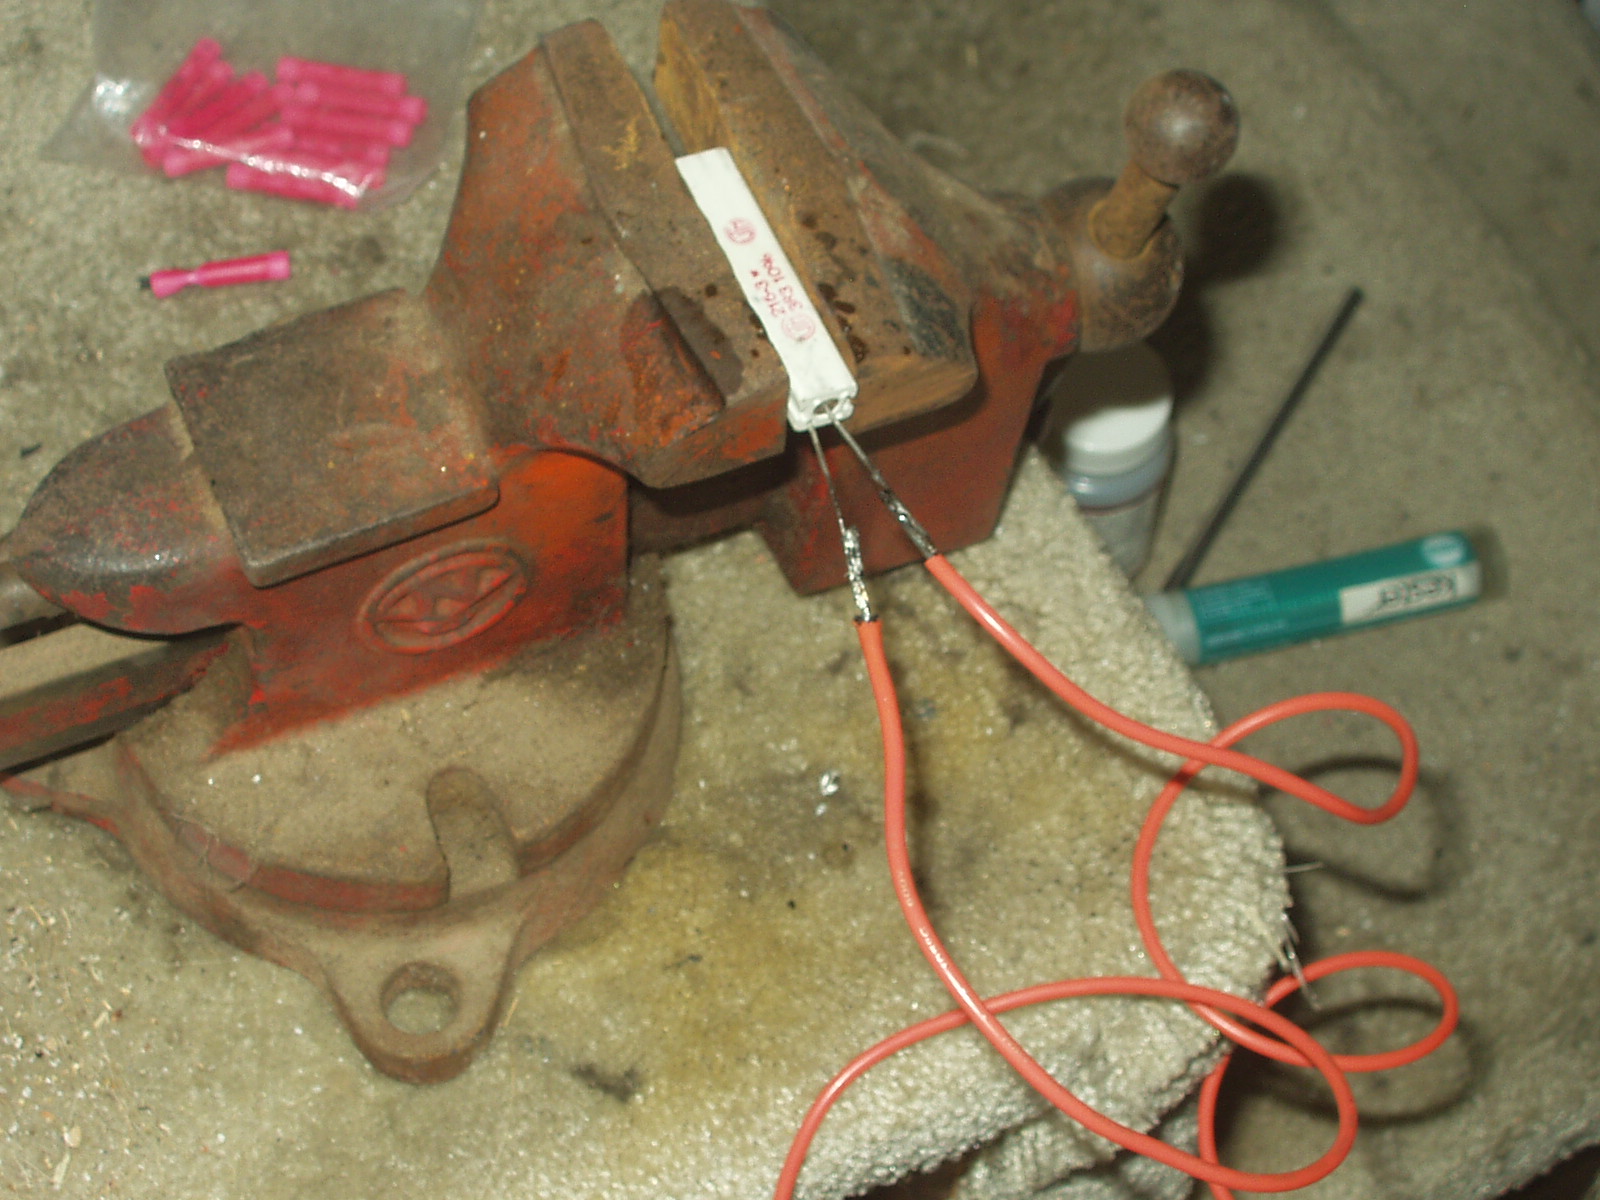
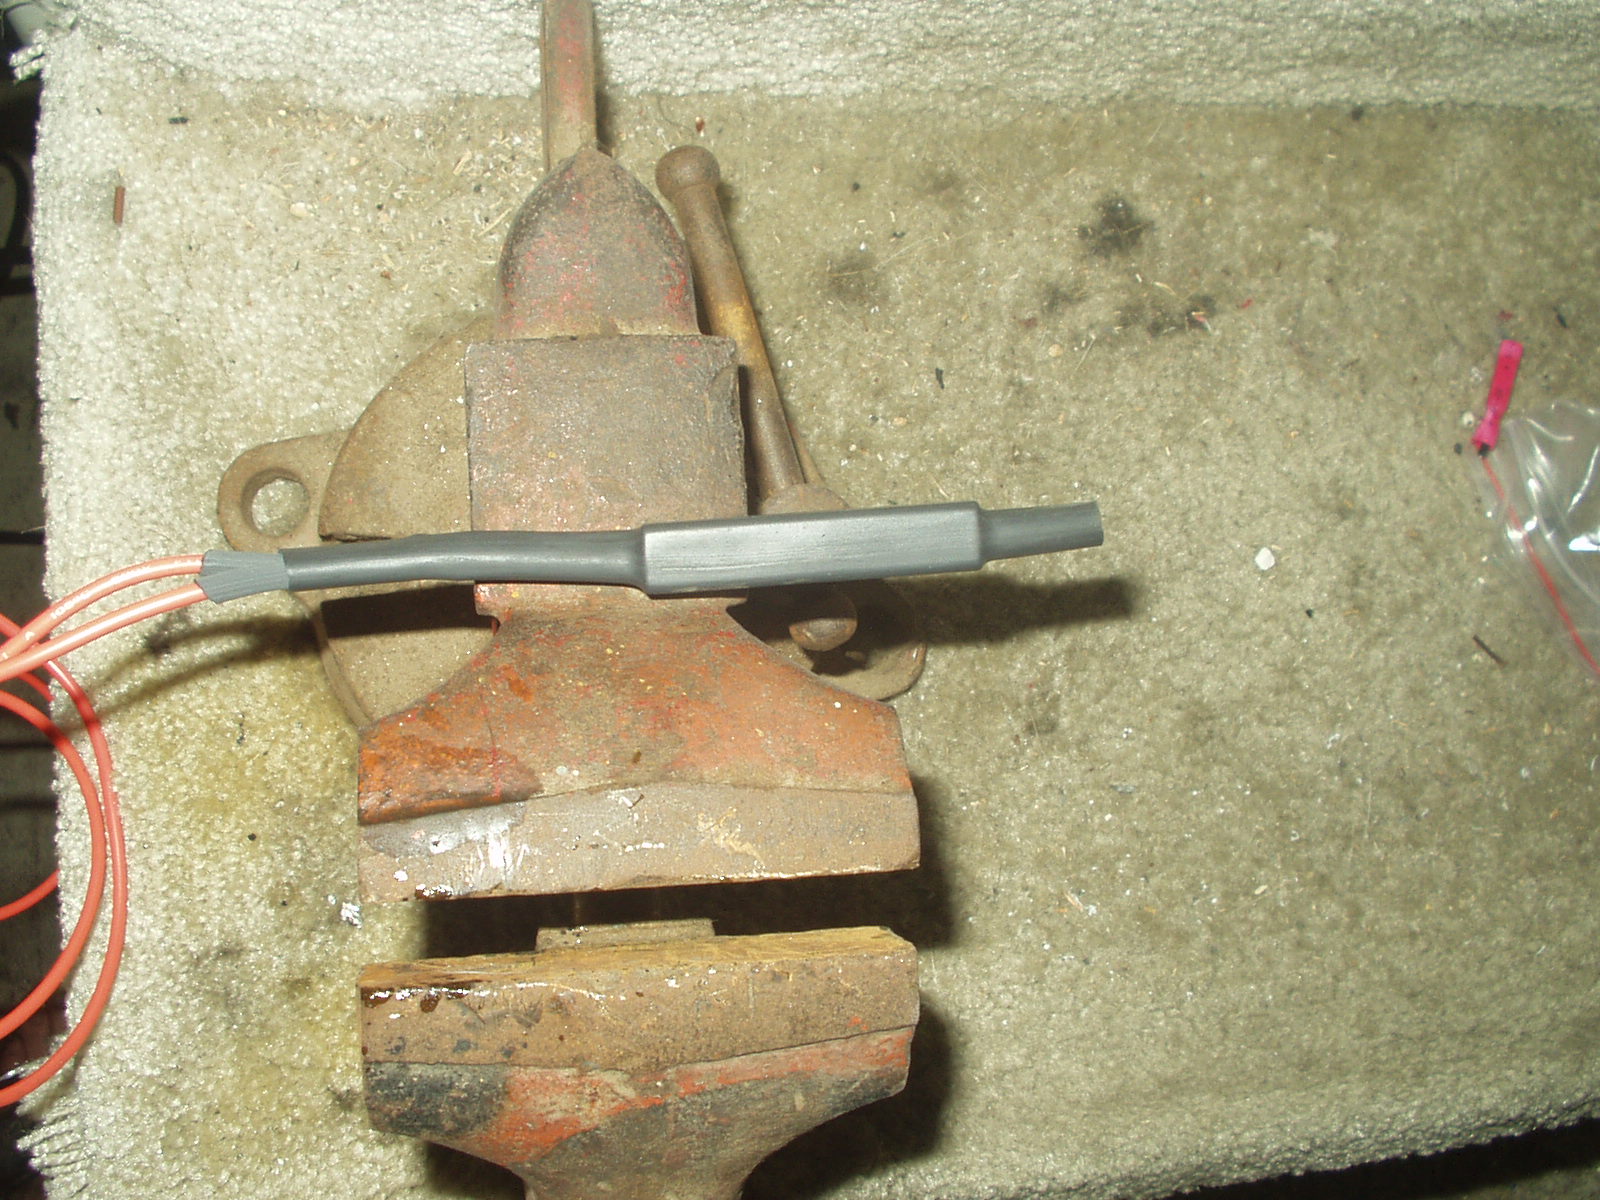
Here is the resister that connects to the switch per the instructions that came with it.
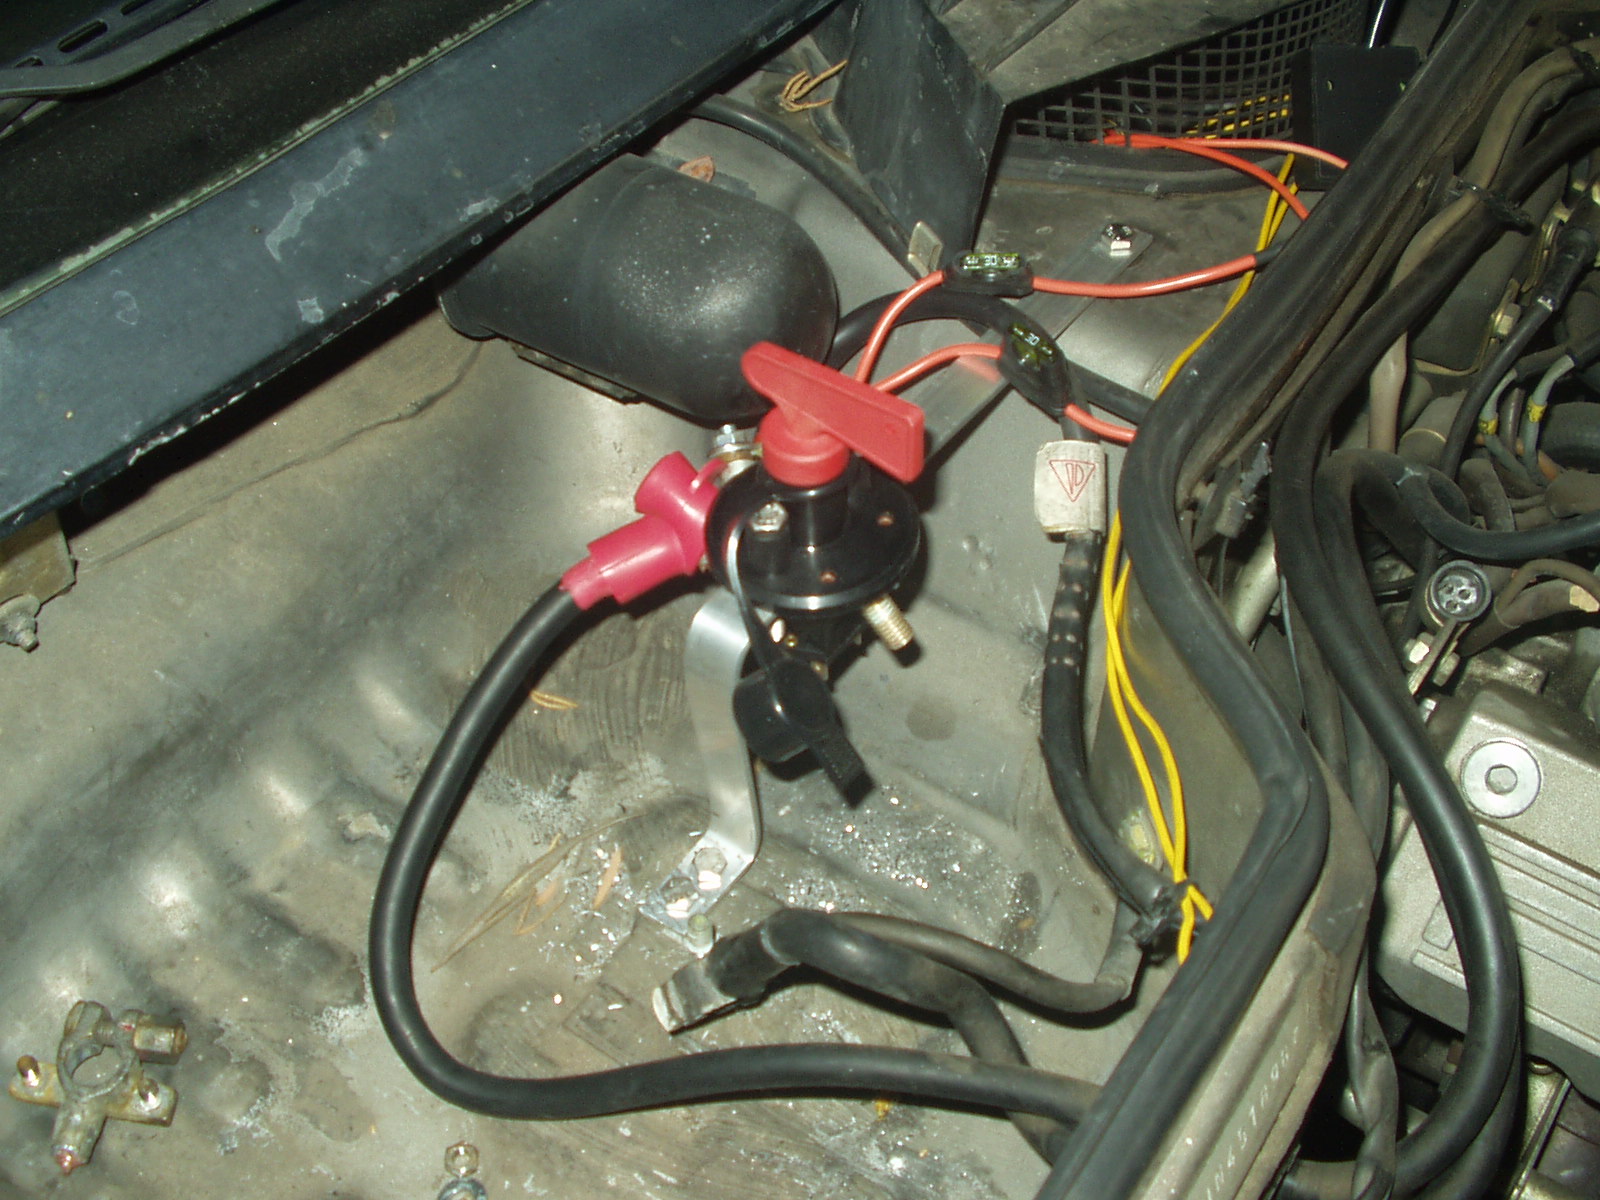
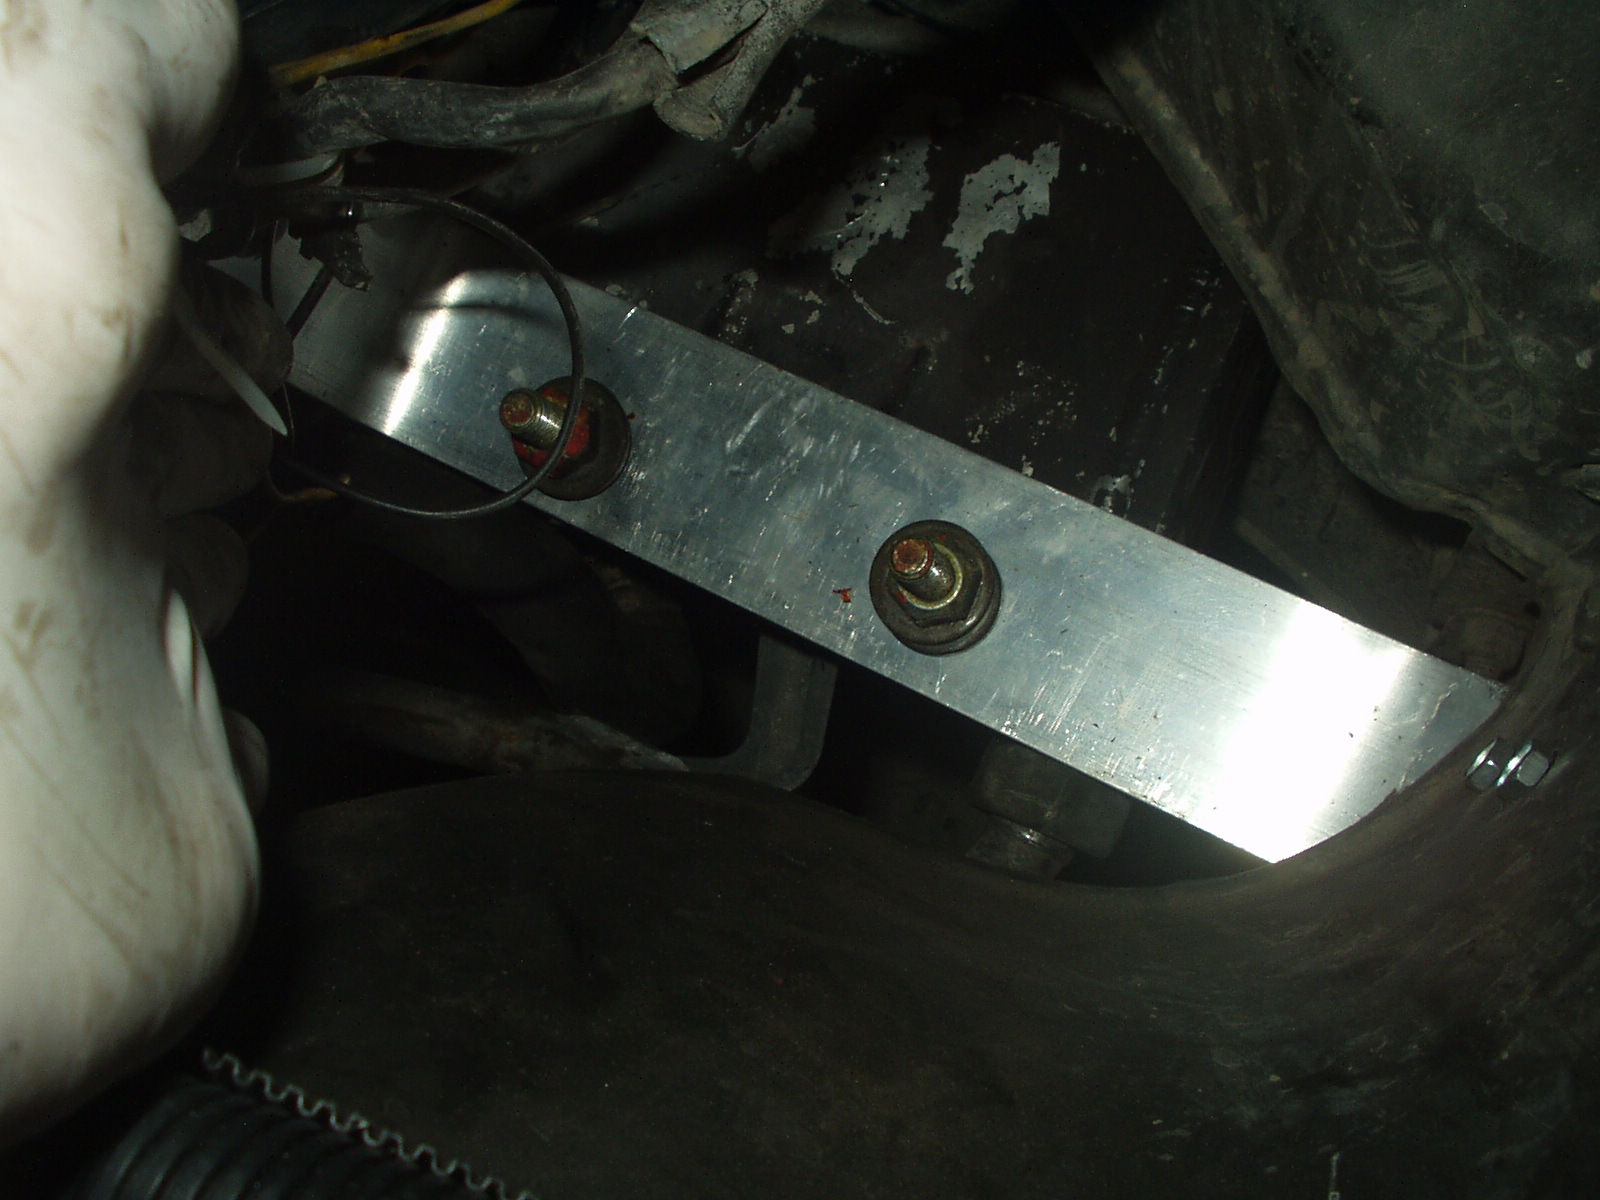
And finally completely mounted and hooked up.
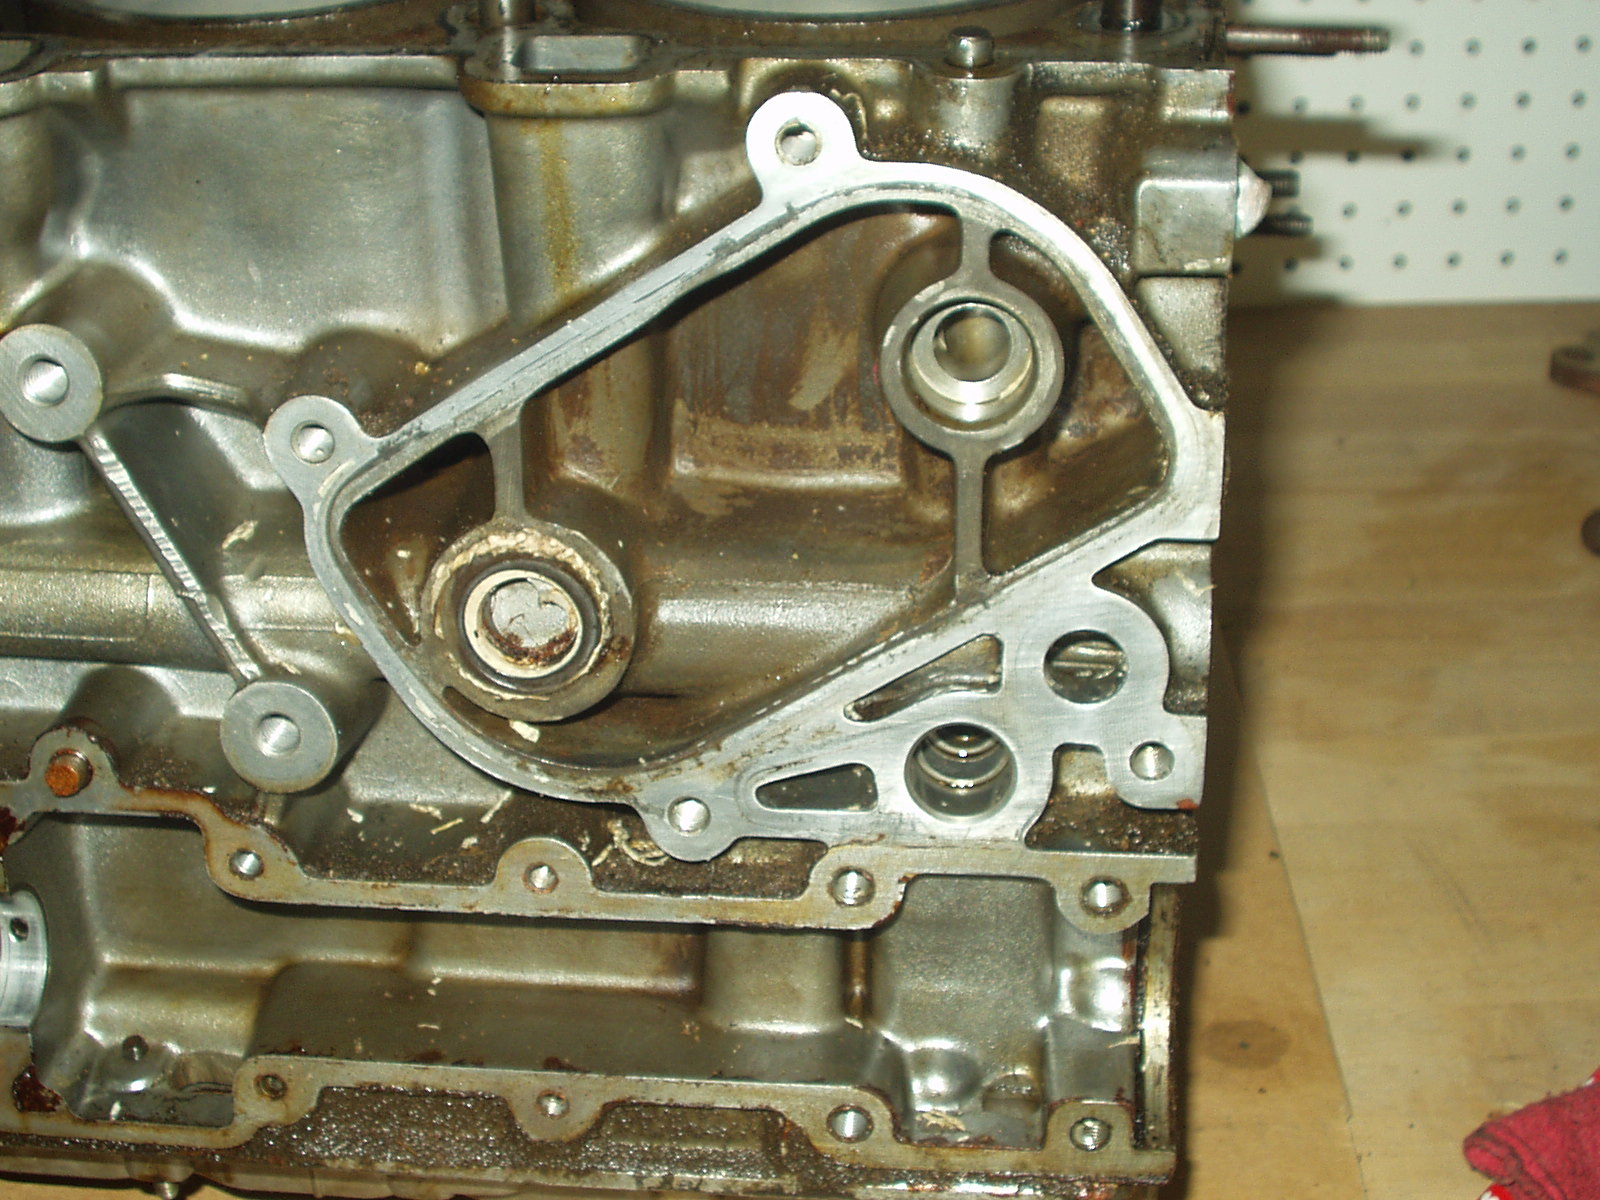
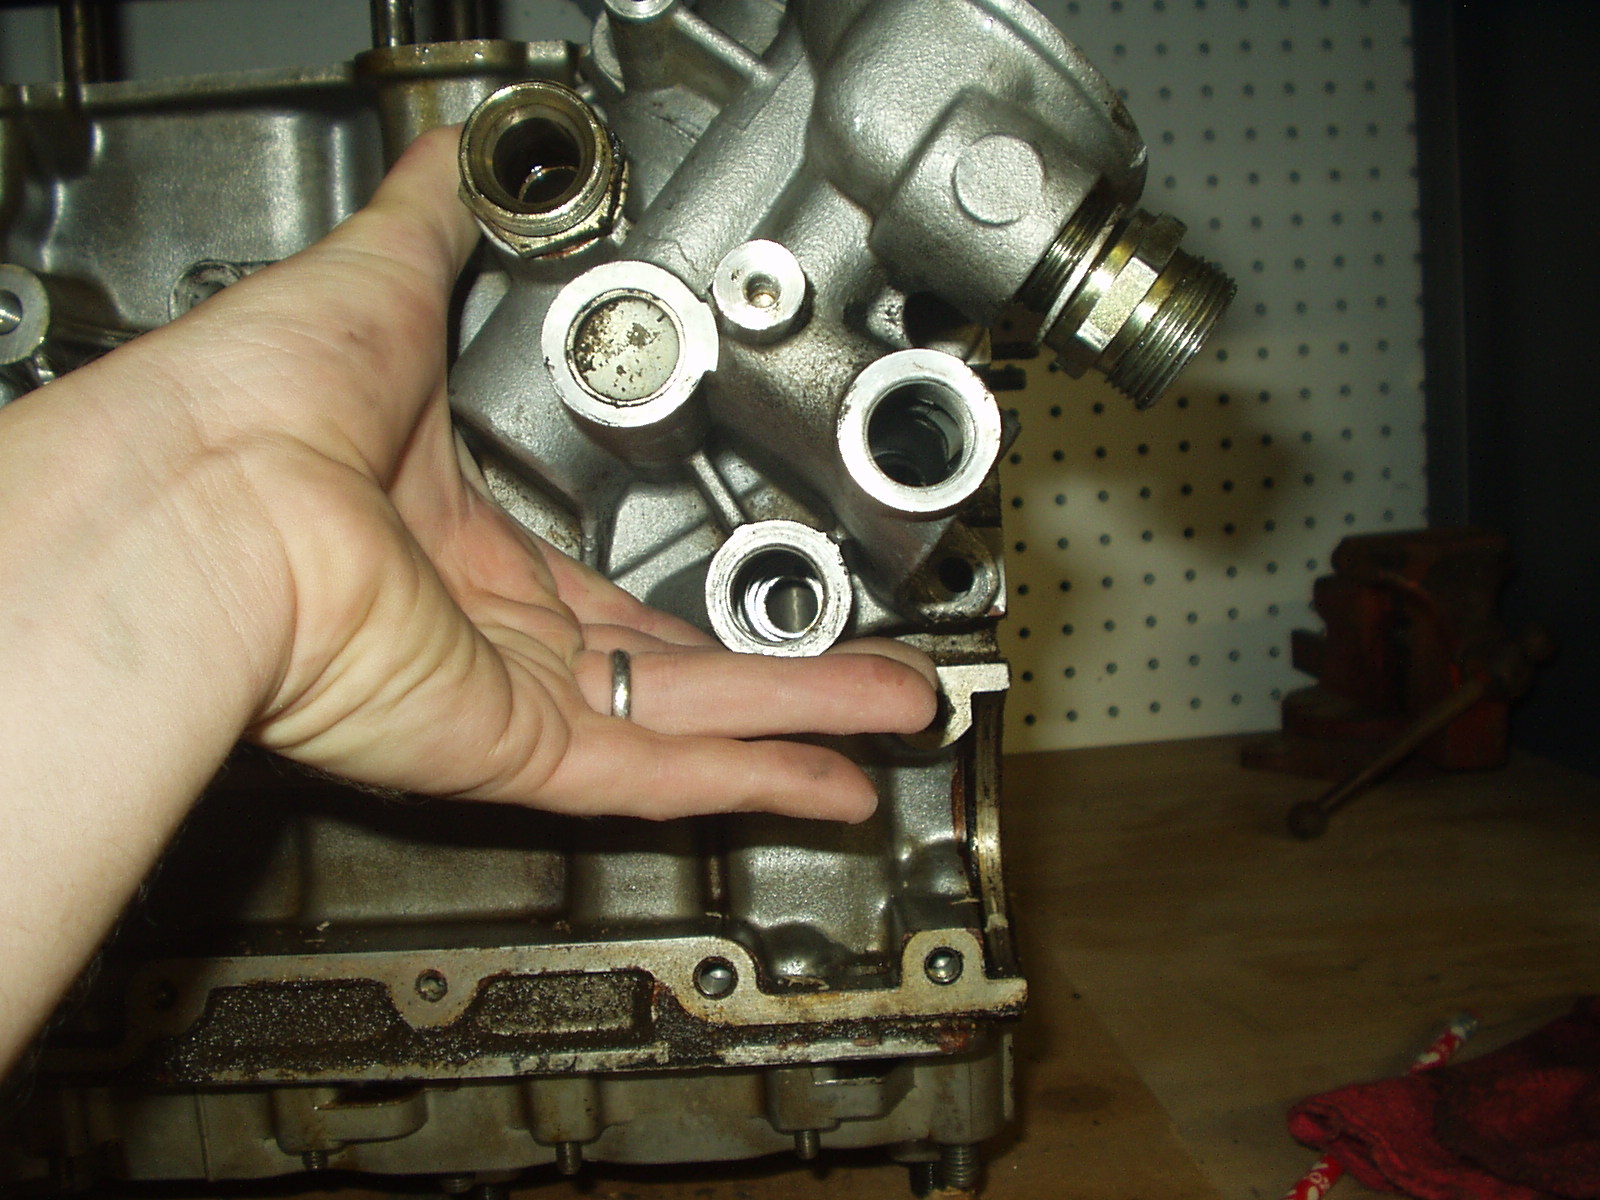
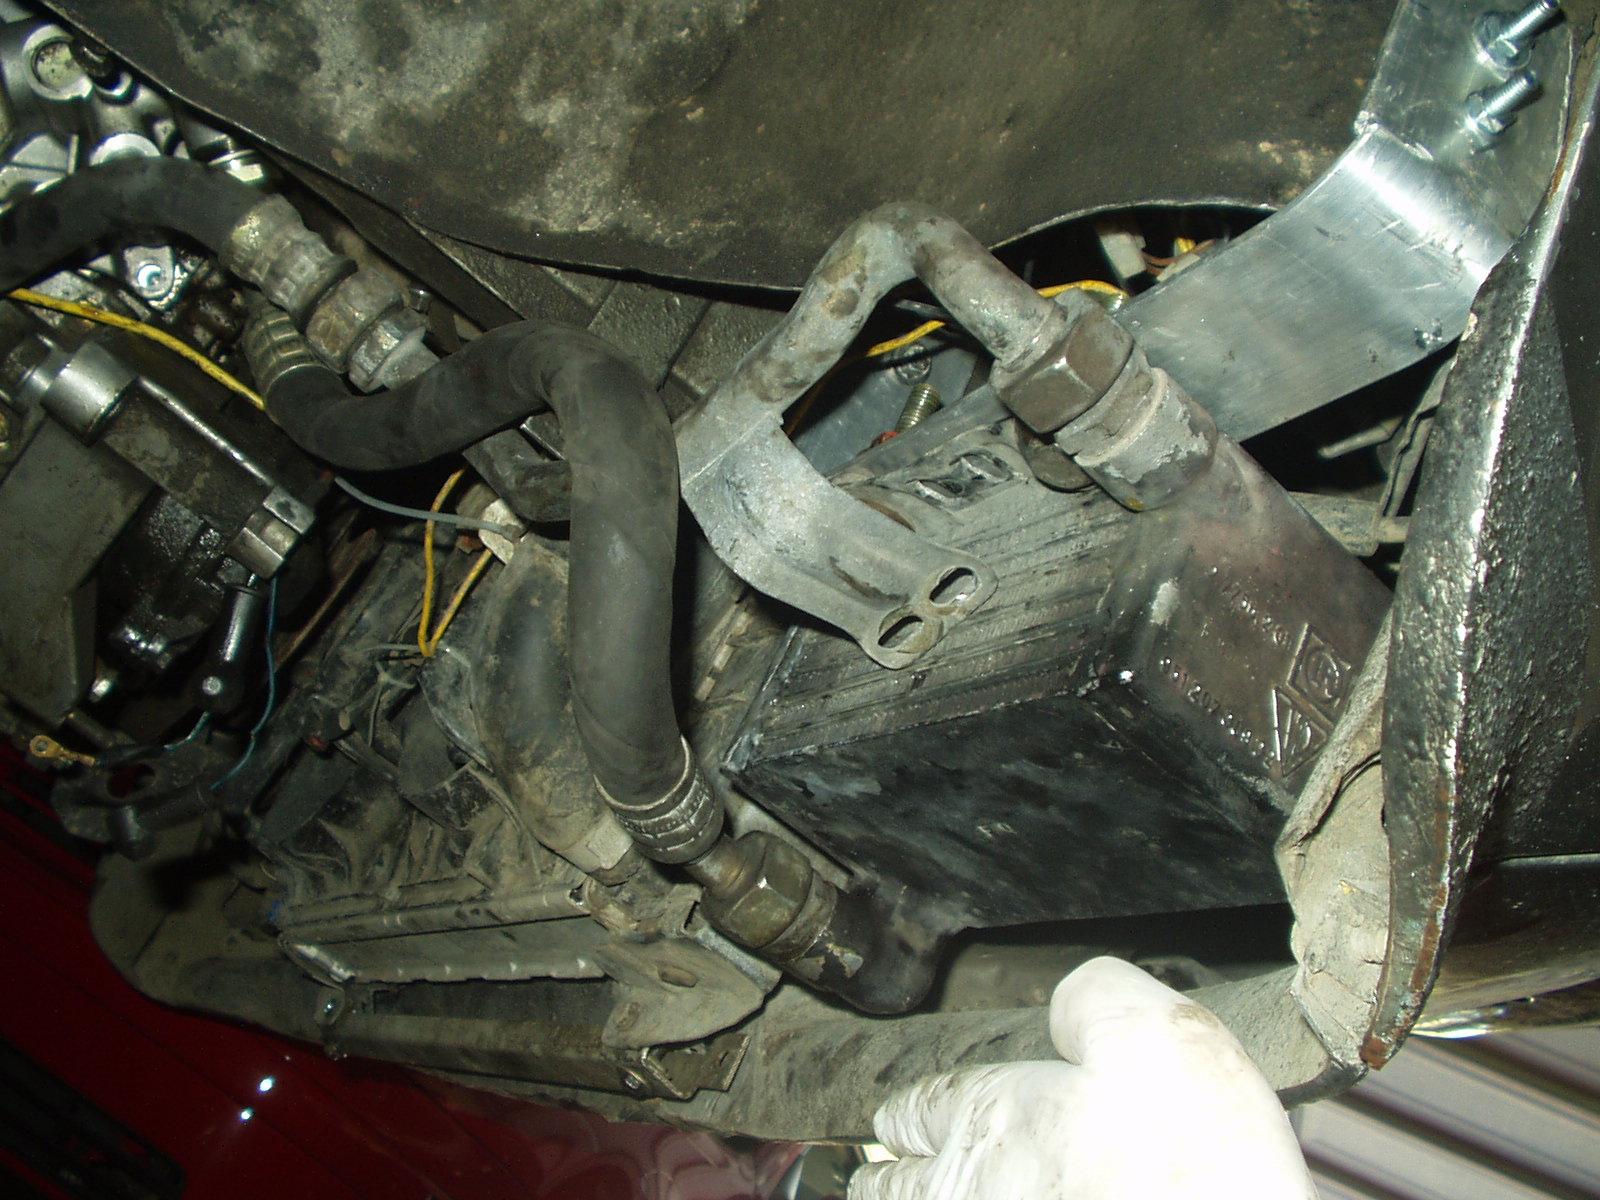
With that working, I decided to install a 951 oil cooler to help keep the engine cooler. At Willow Springs in September I had to mix in a slow lap or two during a 25 minute session to help keep the temps in order. I used my spare engine block to mock up the housing, which make the install in the tight engine bay much easier.
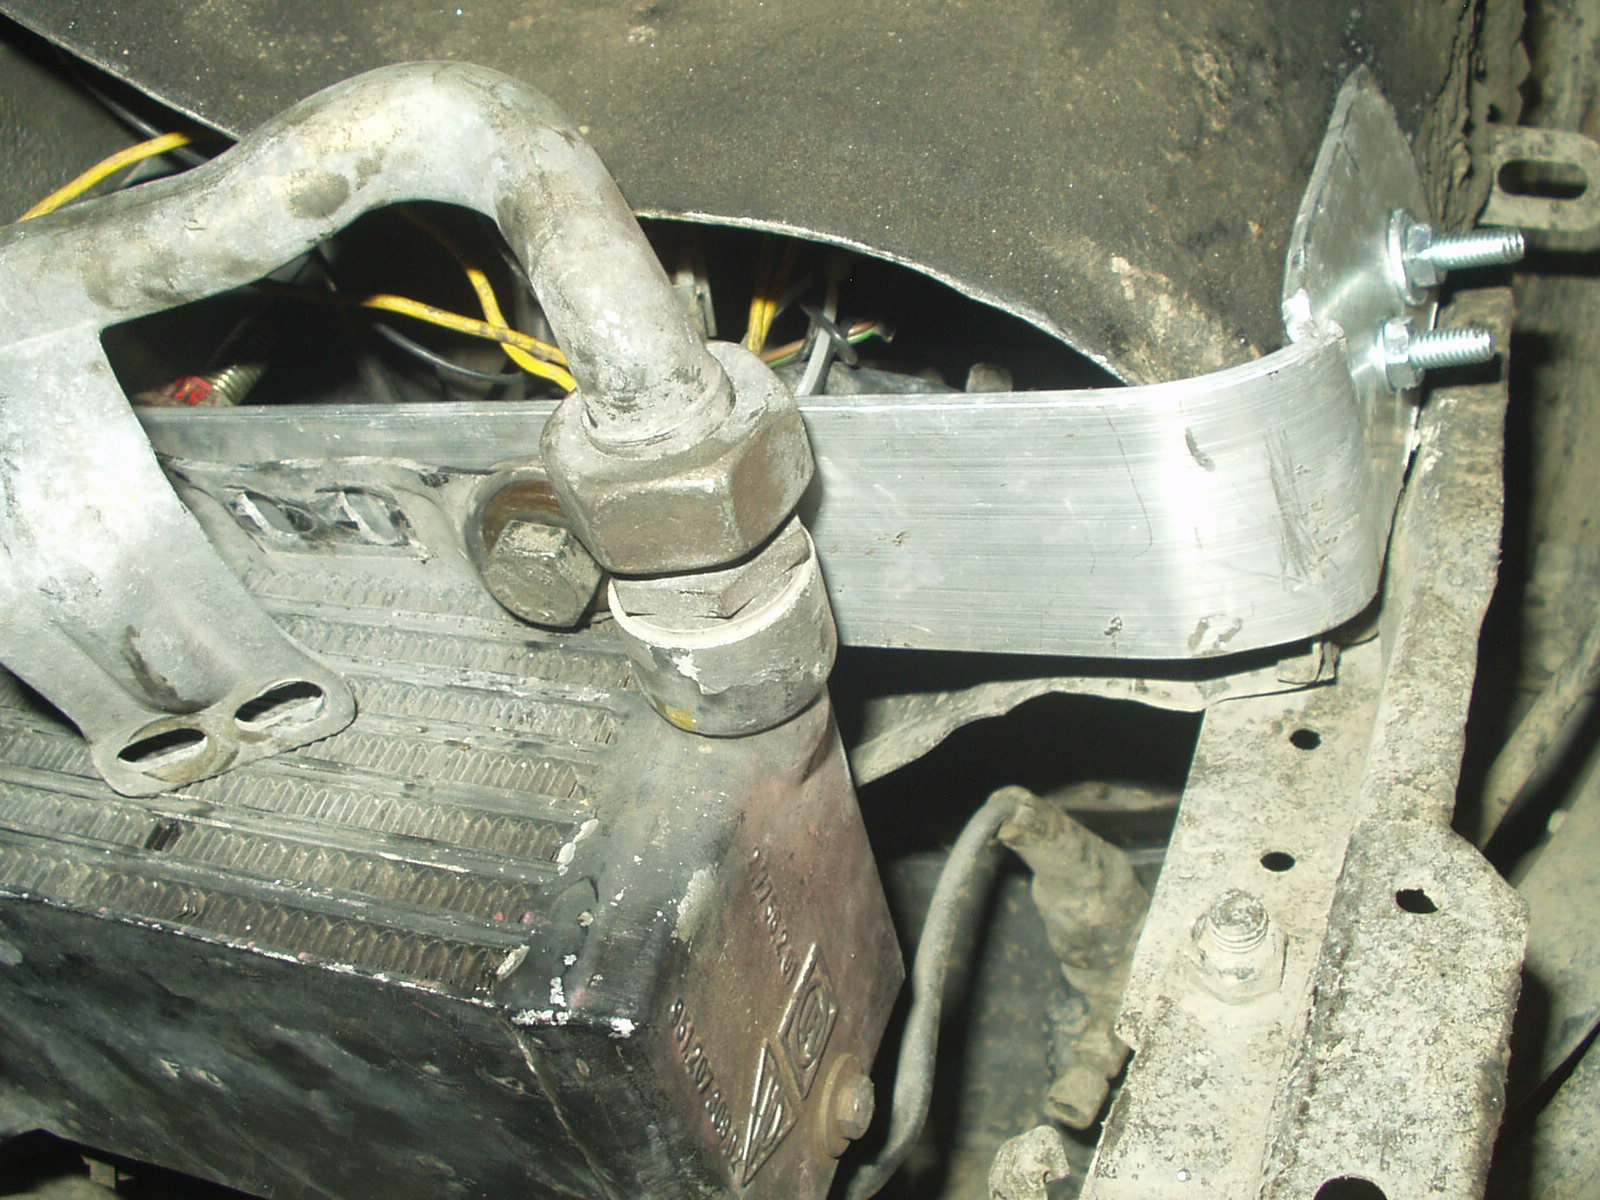
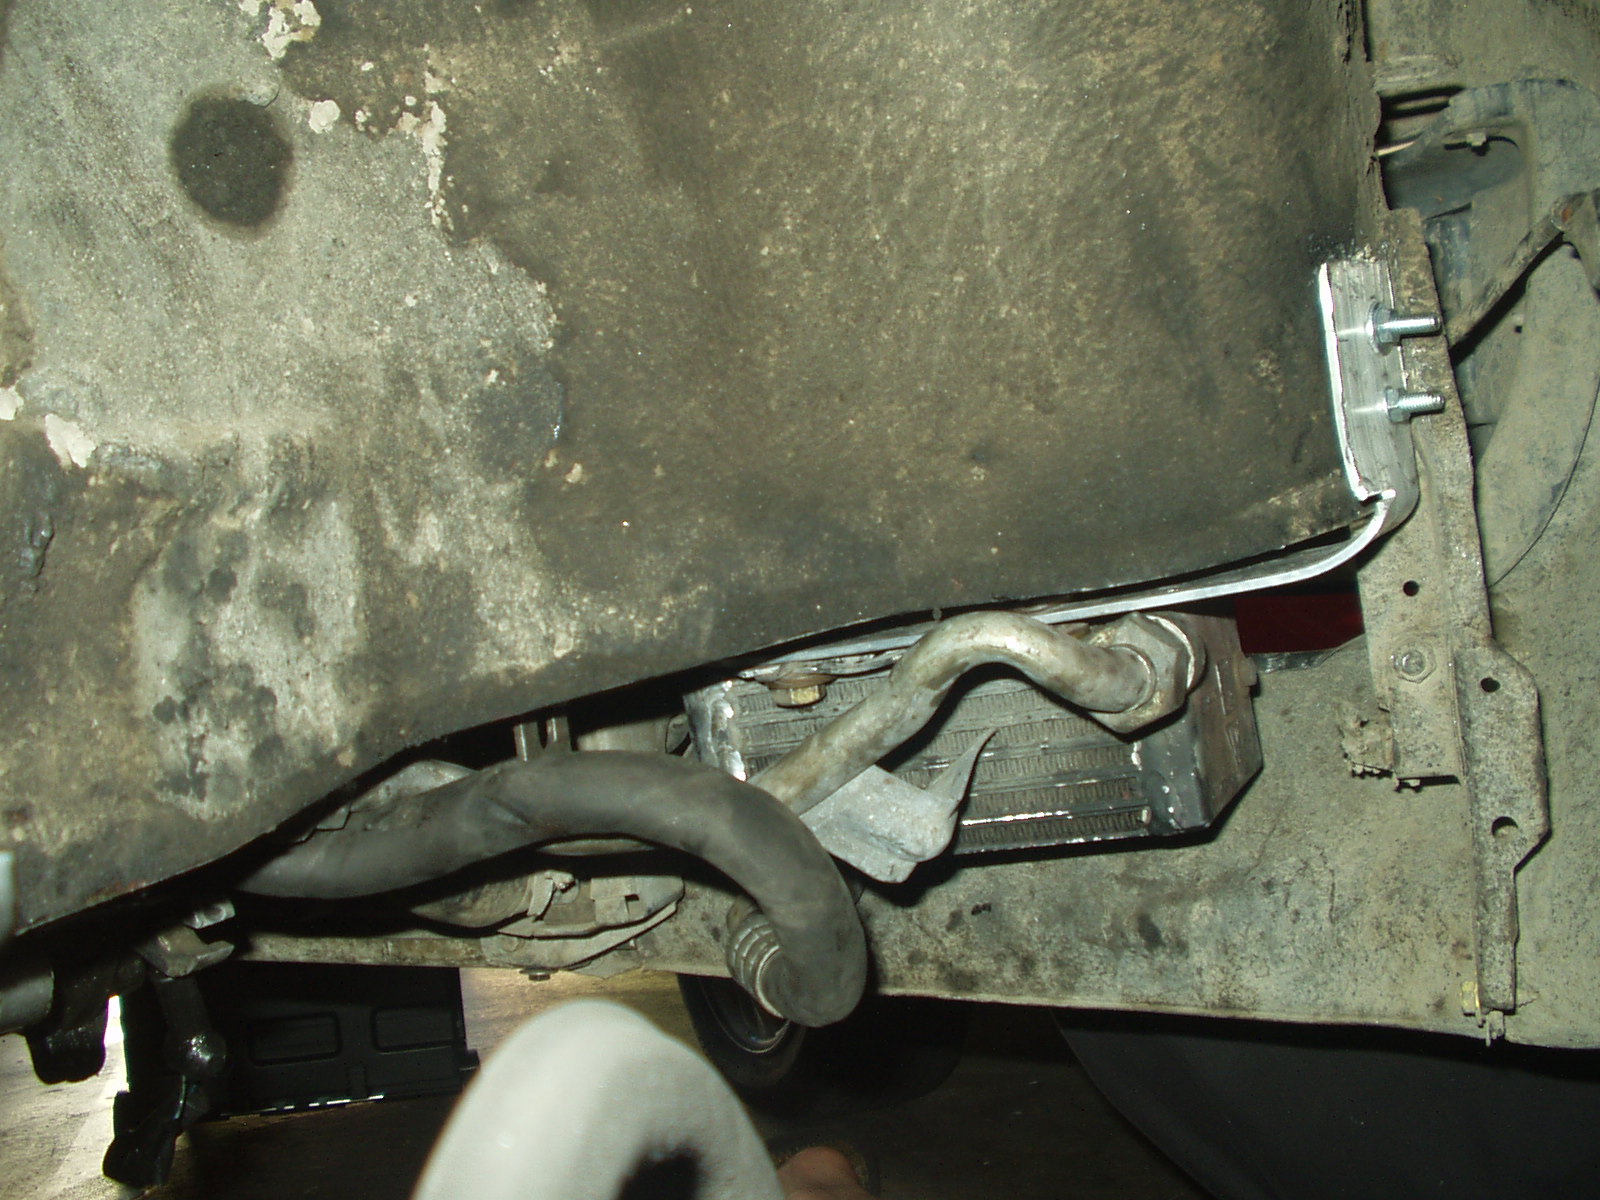
I mounted the oil cooler element in front of the passenger side front wheel well. It was tough to squeeze the element and lines in that area, but I'm glad I used that spot. Airflow is good in the area and the wheels do not rub the way the lines are tucked up. More aluminum stock was used to mount the element.
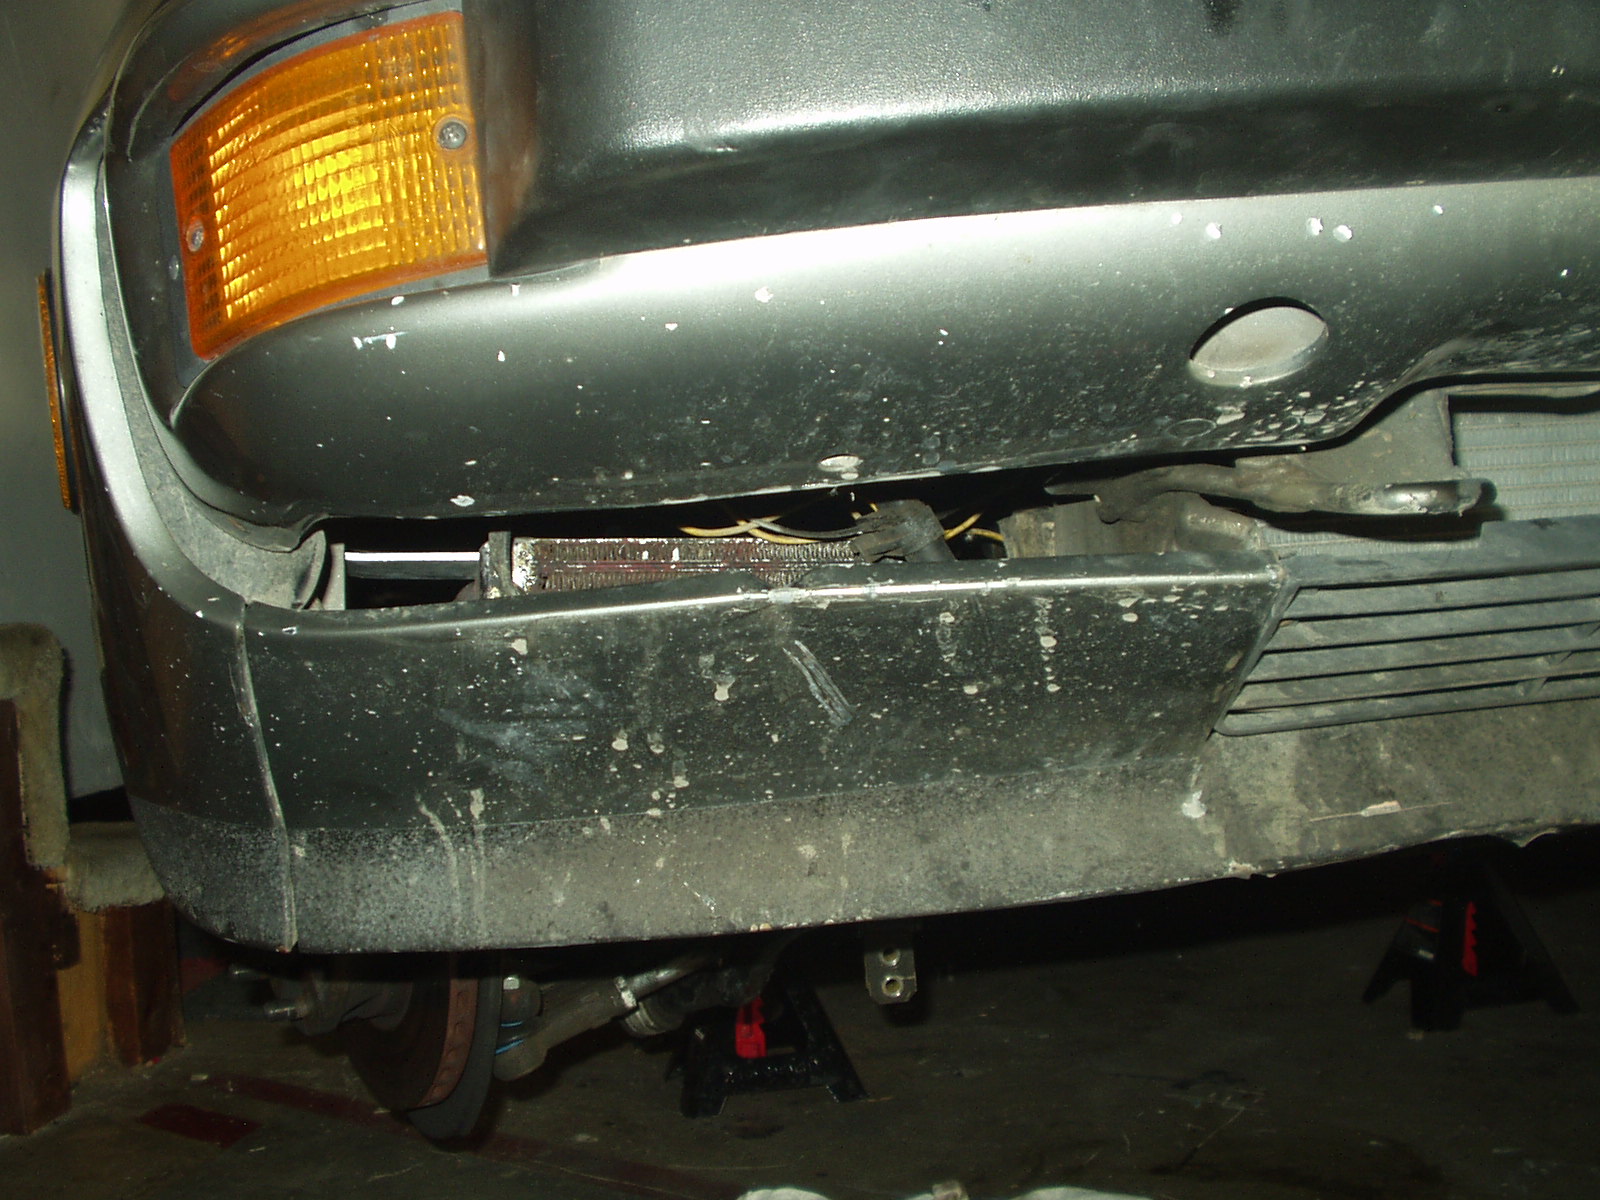
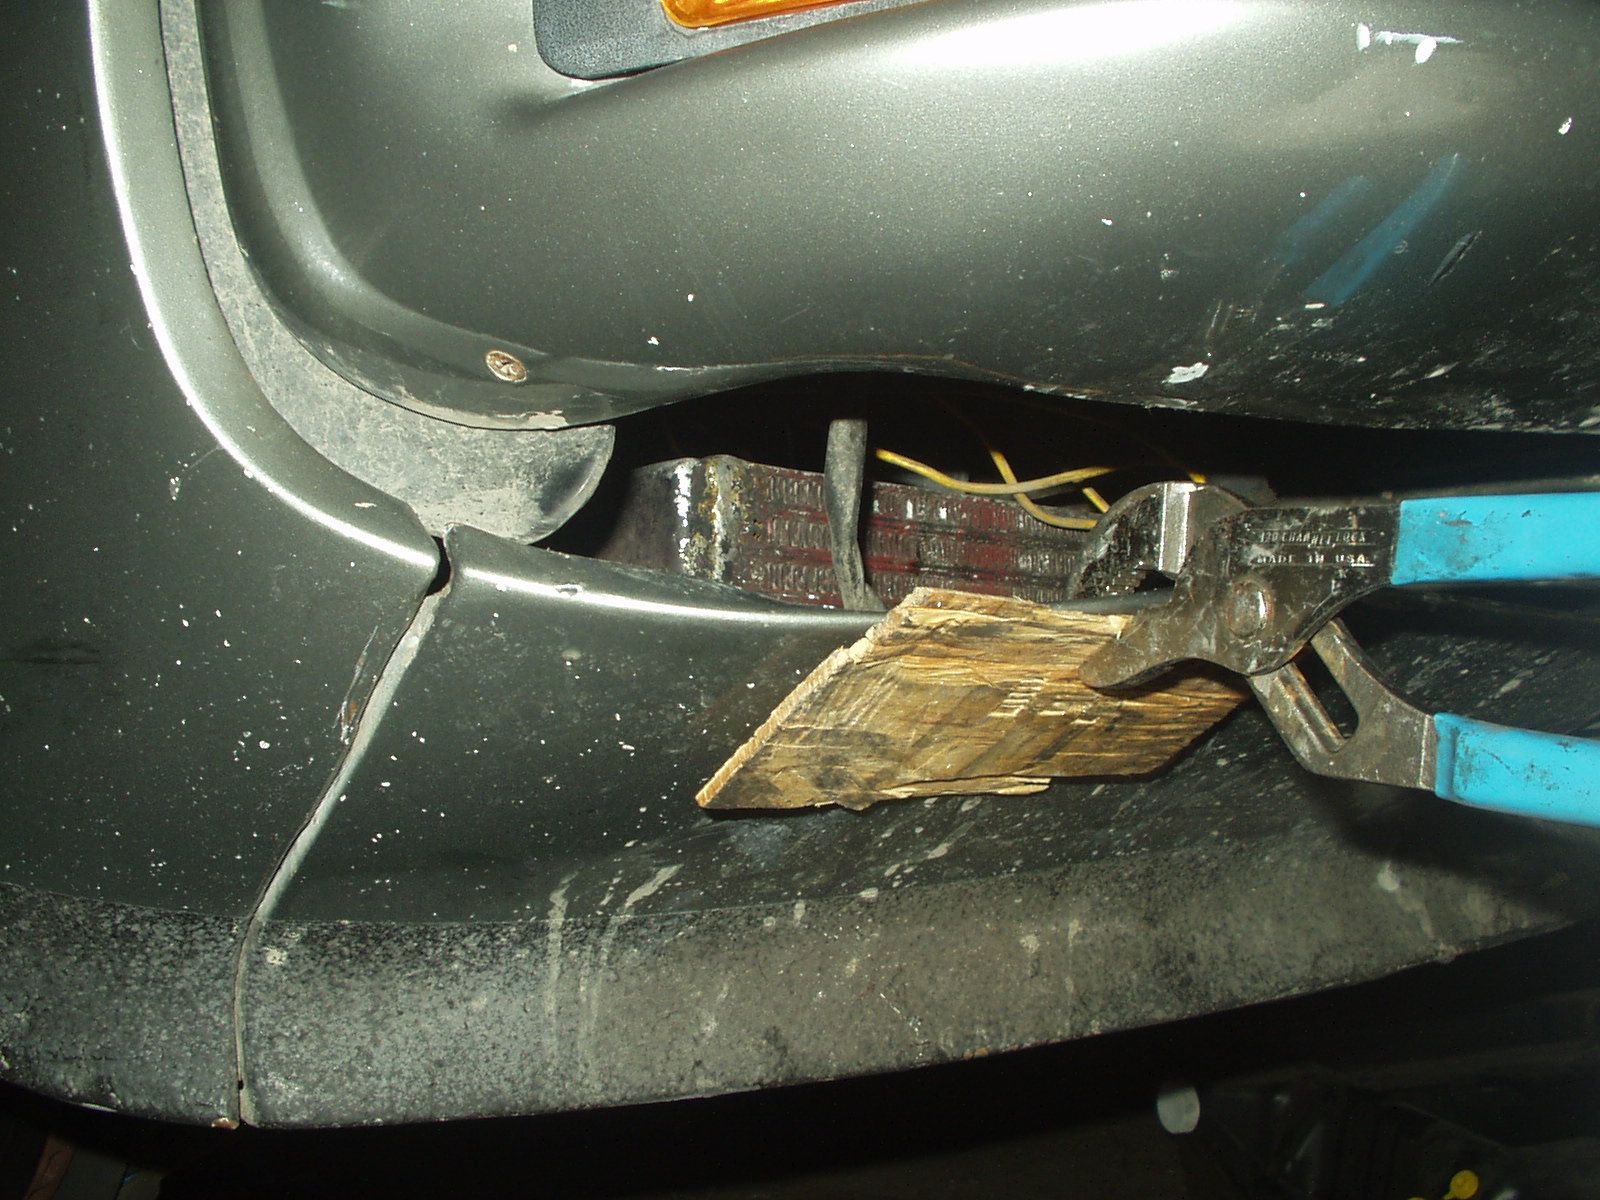
Like all lower valences, mine was bent and banged up. After a little motivation, the inlet area was enlarged using a piece of wood (to protect the face of the valence) and some pliers to fold down the lip on the valence.
This tab on the metal section of the line was going to be in the way, so I cut it off.
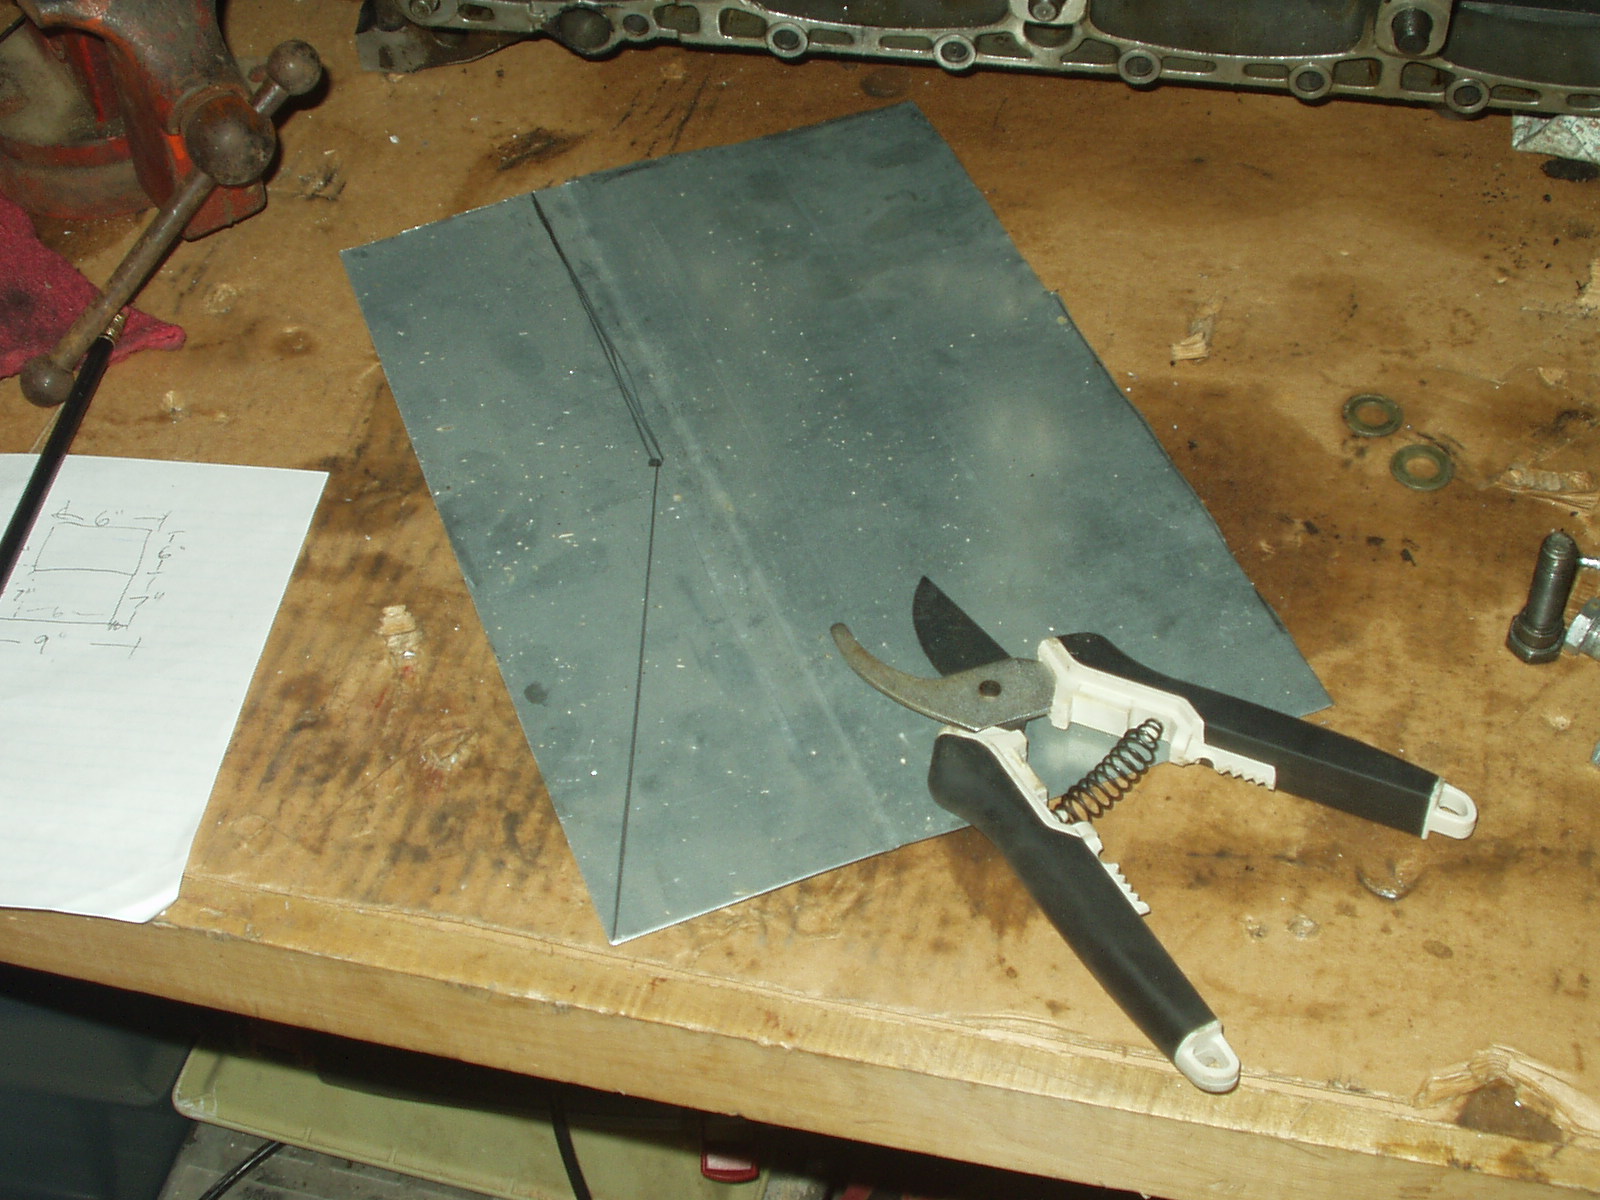
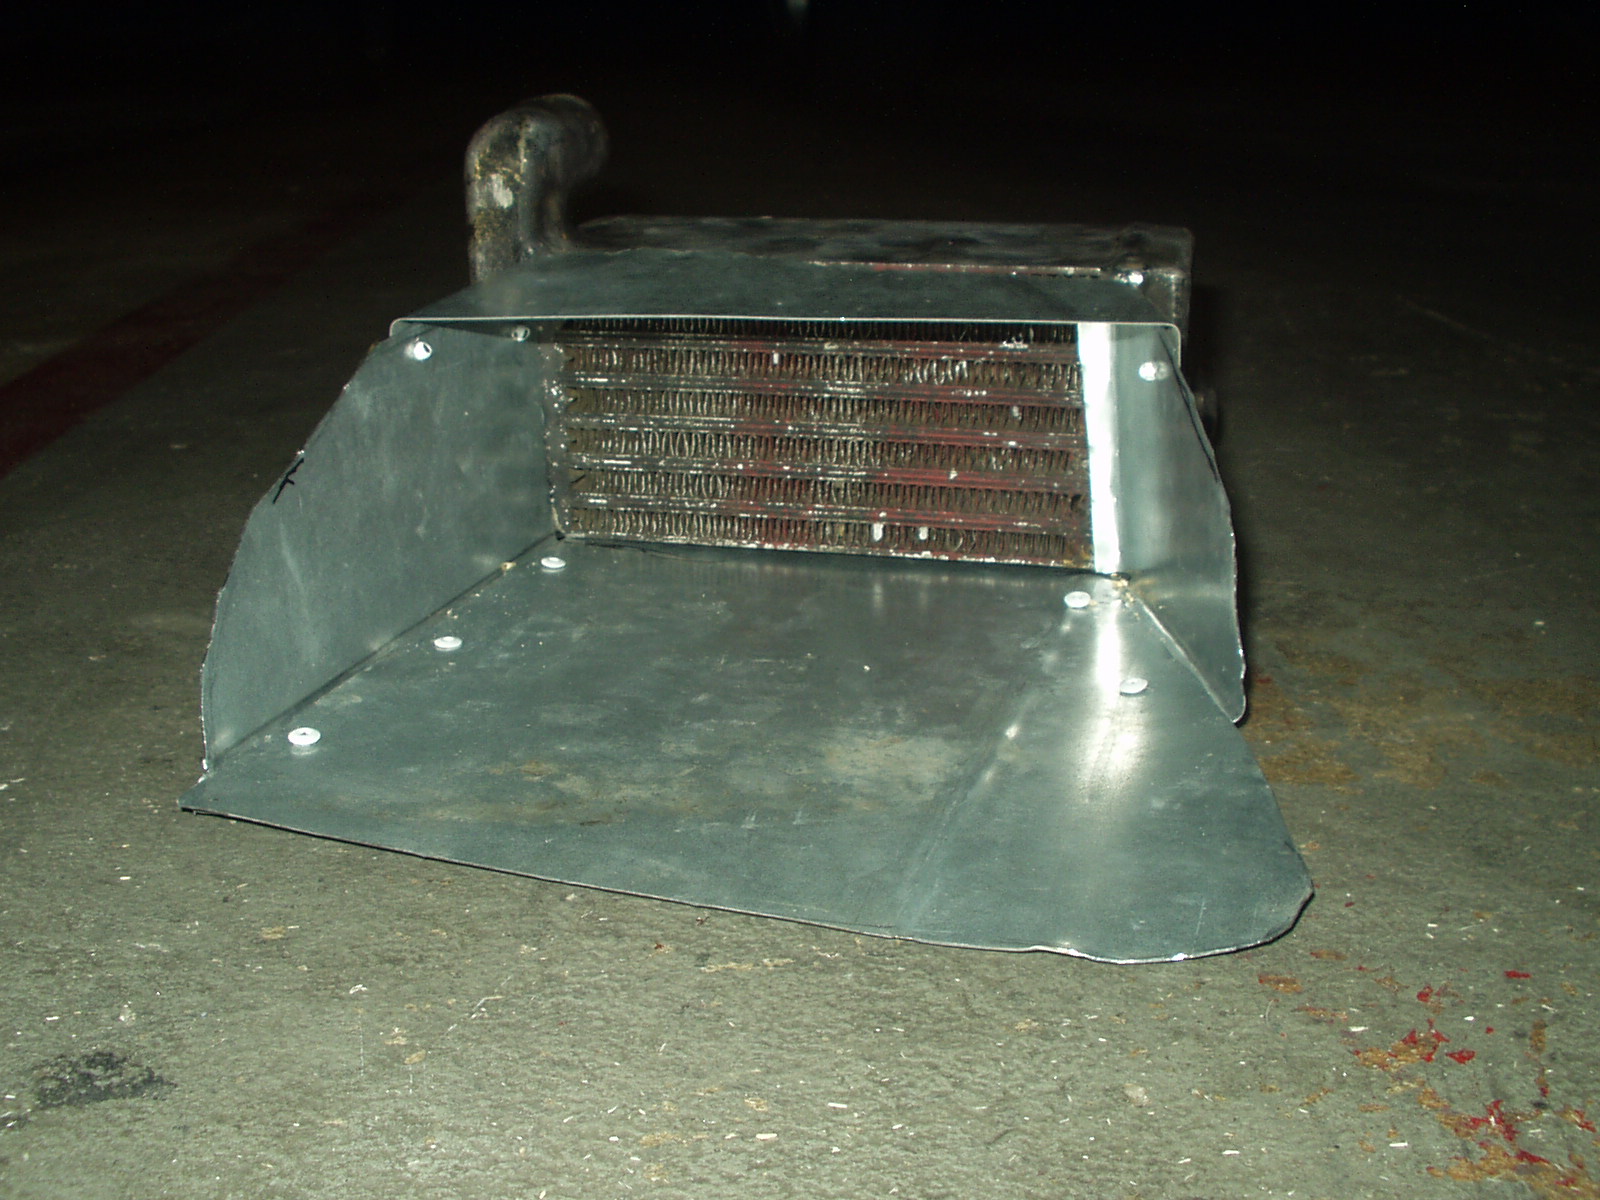
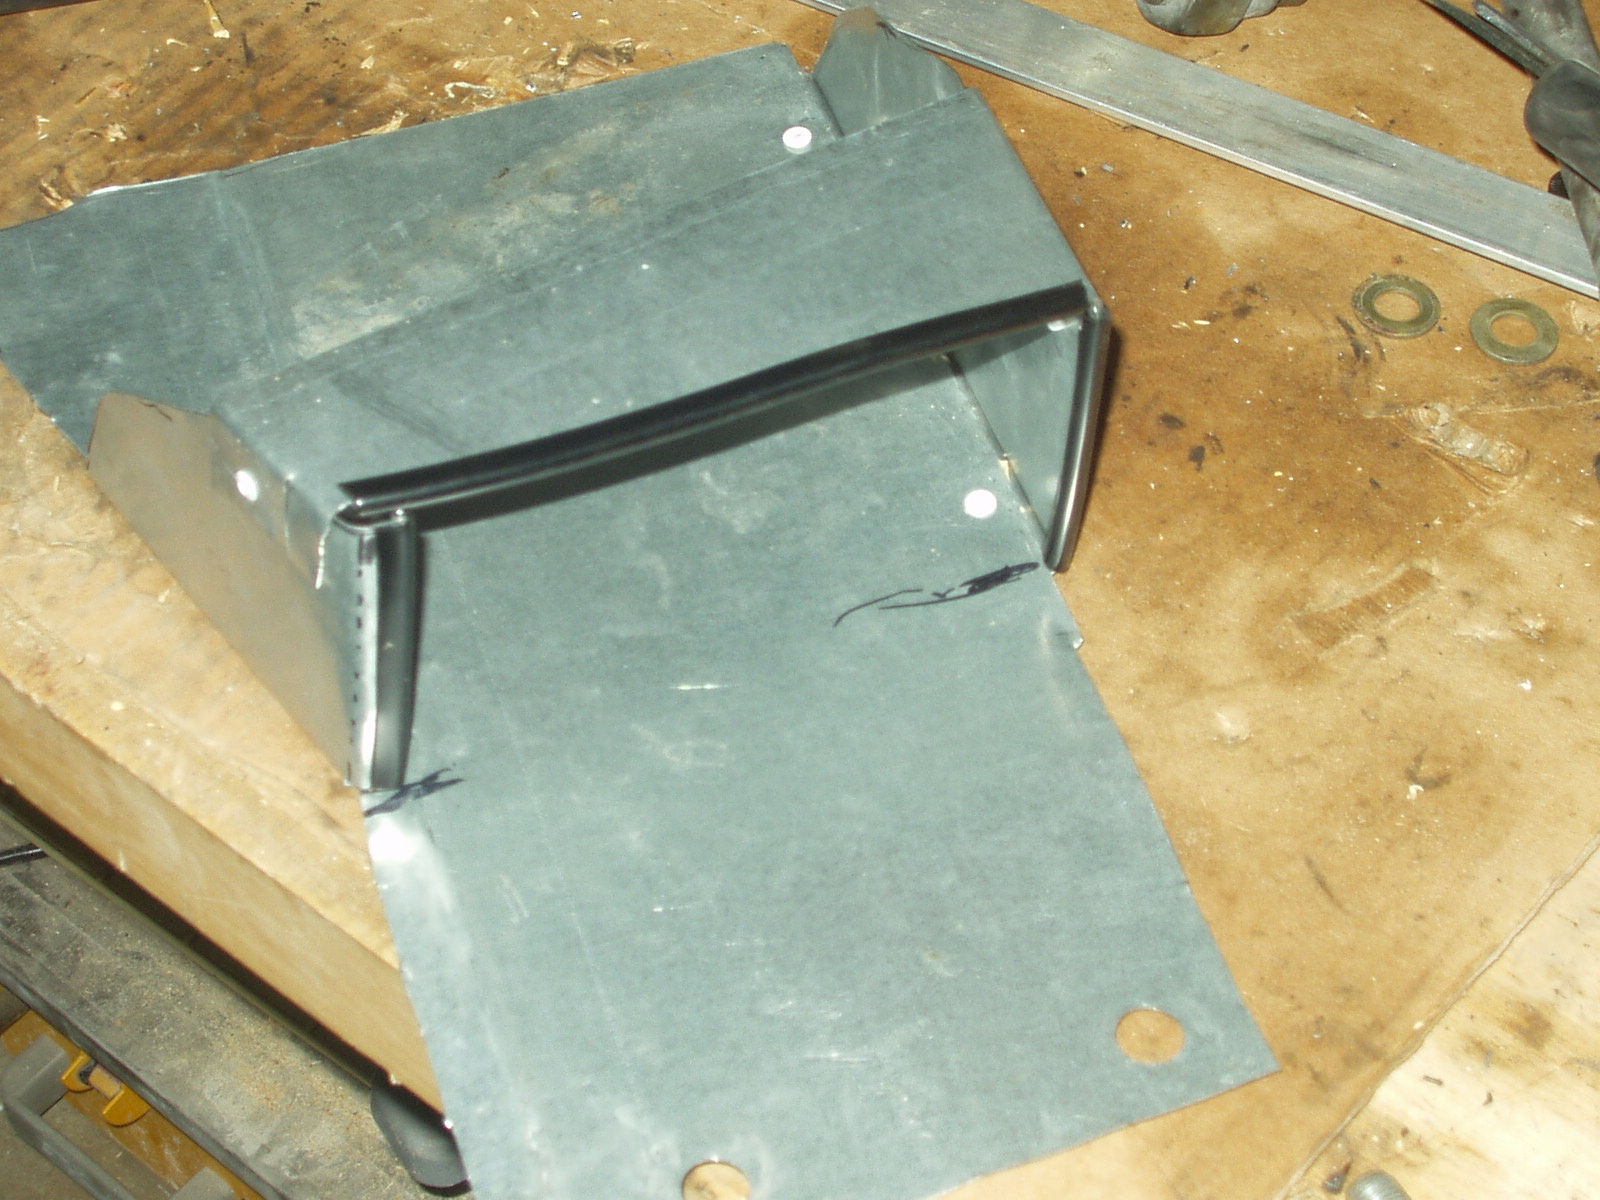
To direct air thru the oil cooler instead of around the cooler, I used some flashing I had lying around to fabricate a shroud.
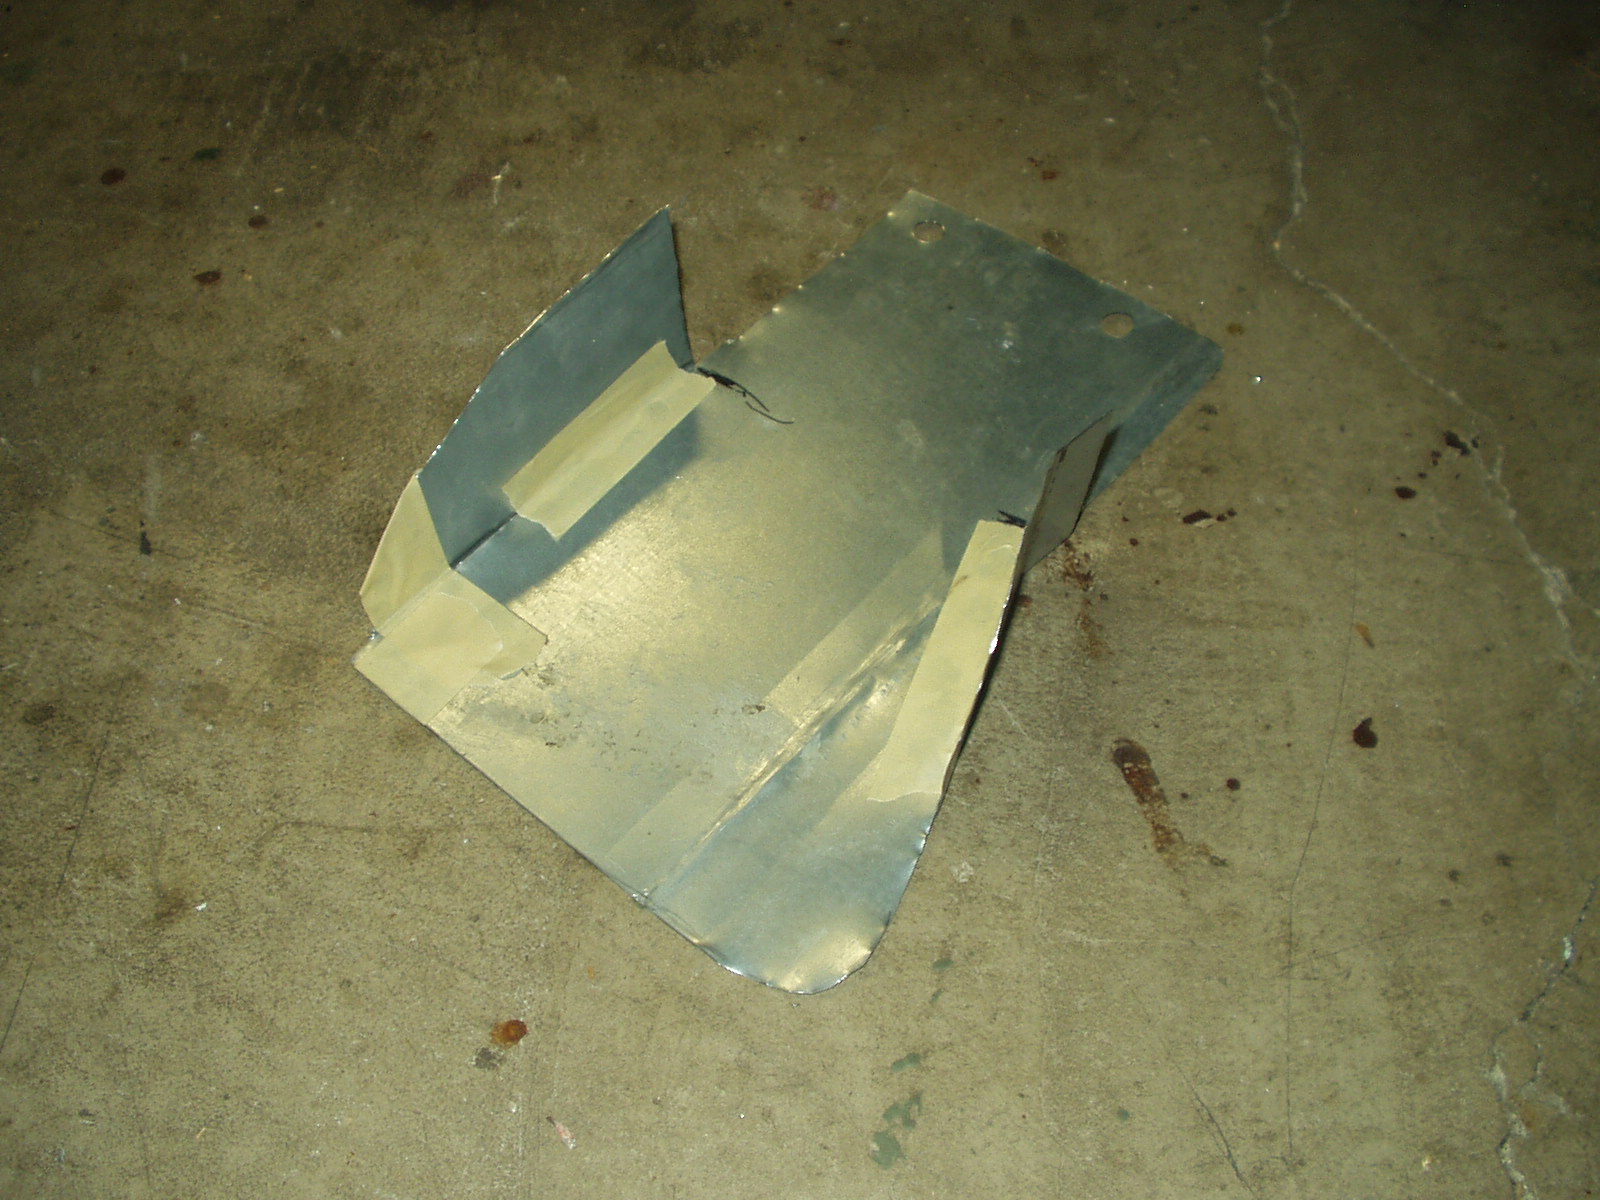
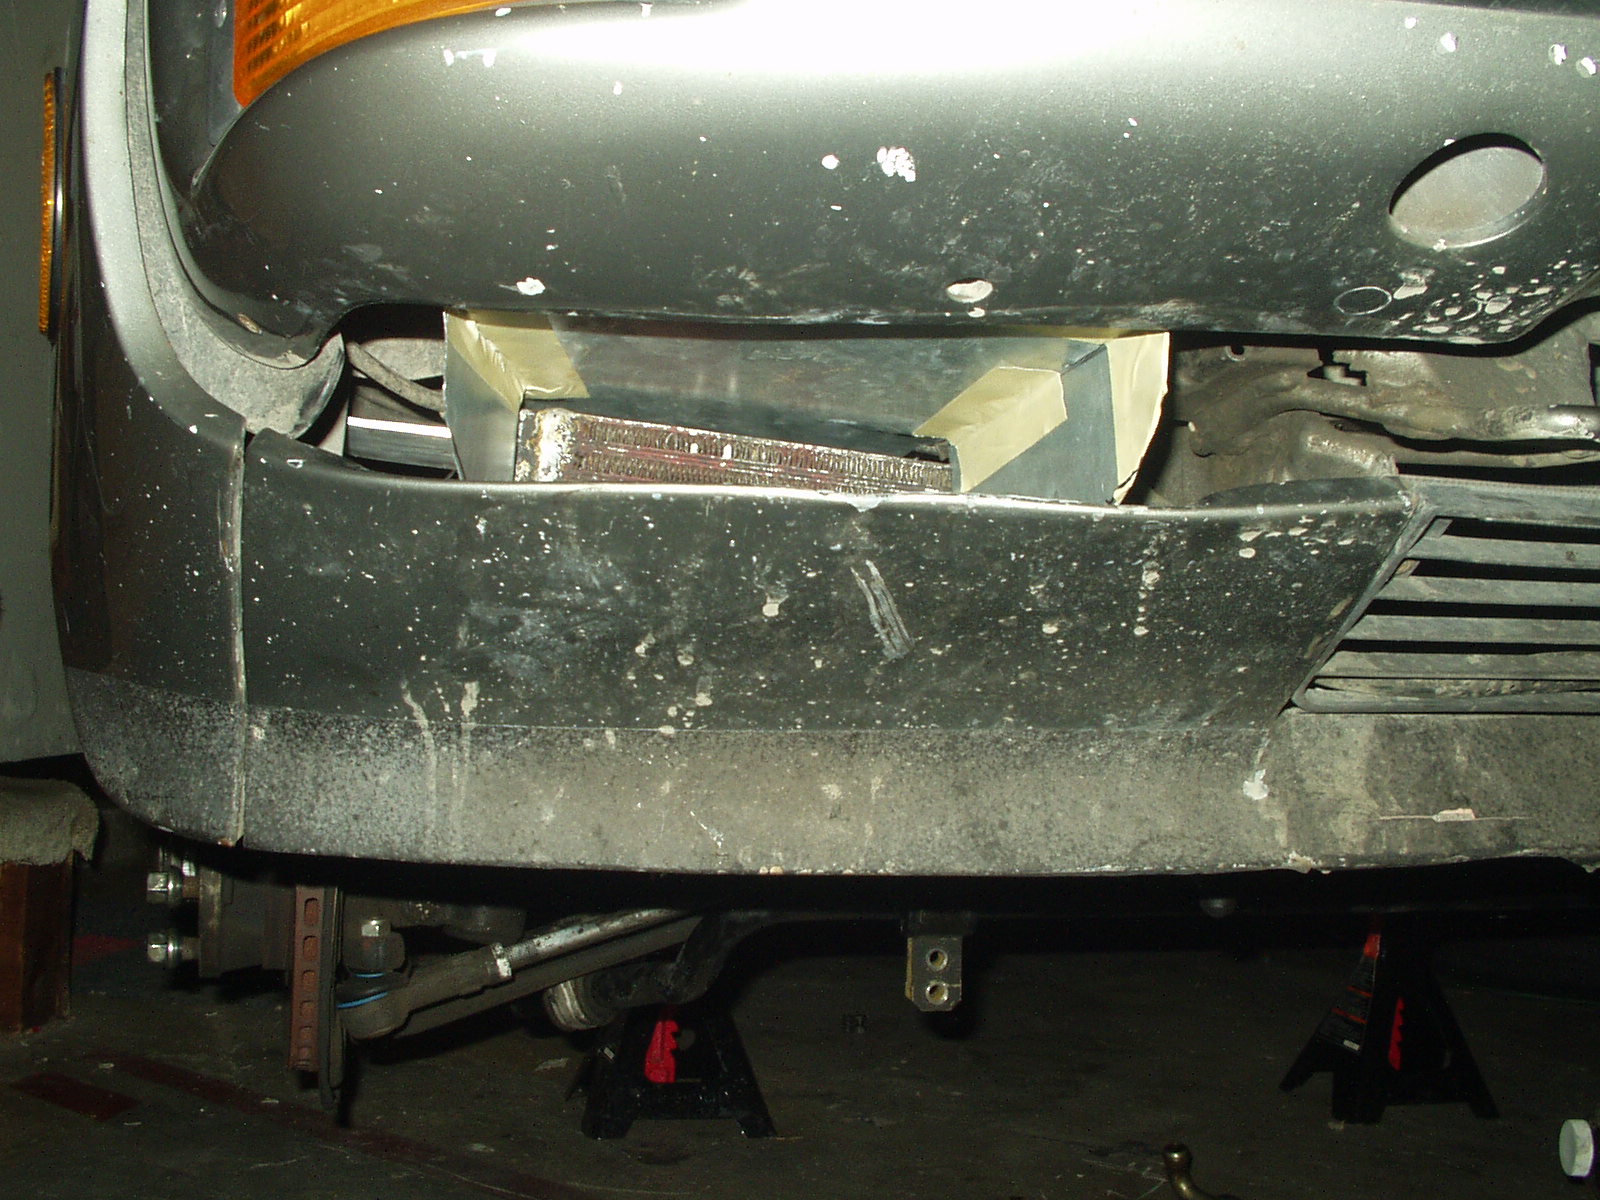

The black trim is left-over trim from covering the cut door sheetmetal. And finally with the unnecessary tab cut off and a shot to show the clearance of the lines in the wheel well.
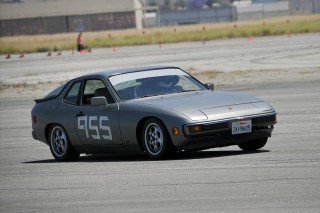
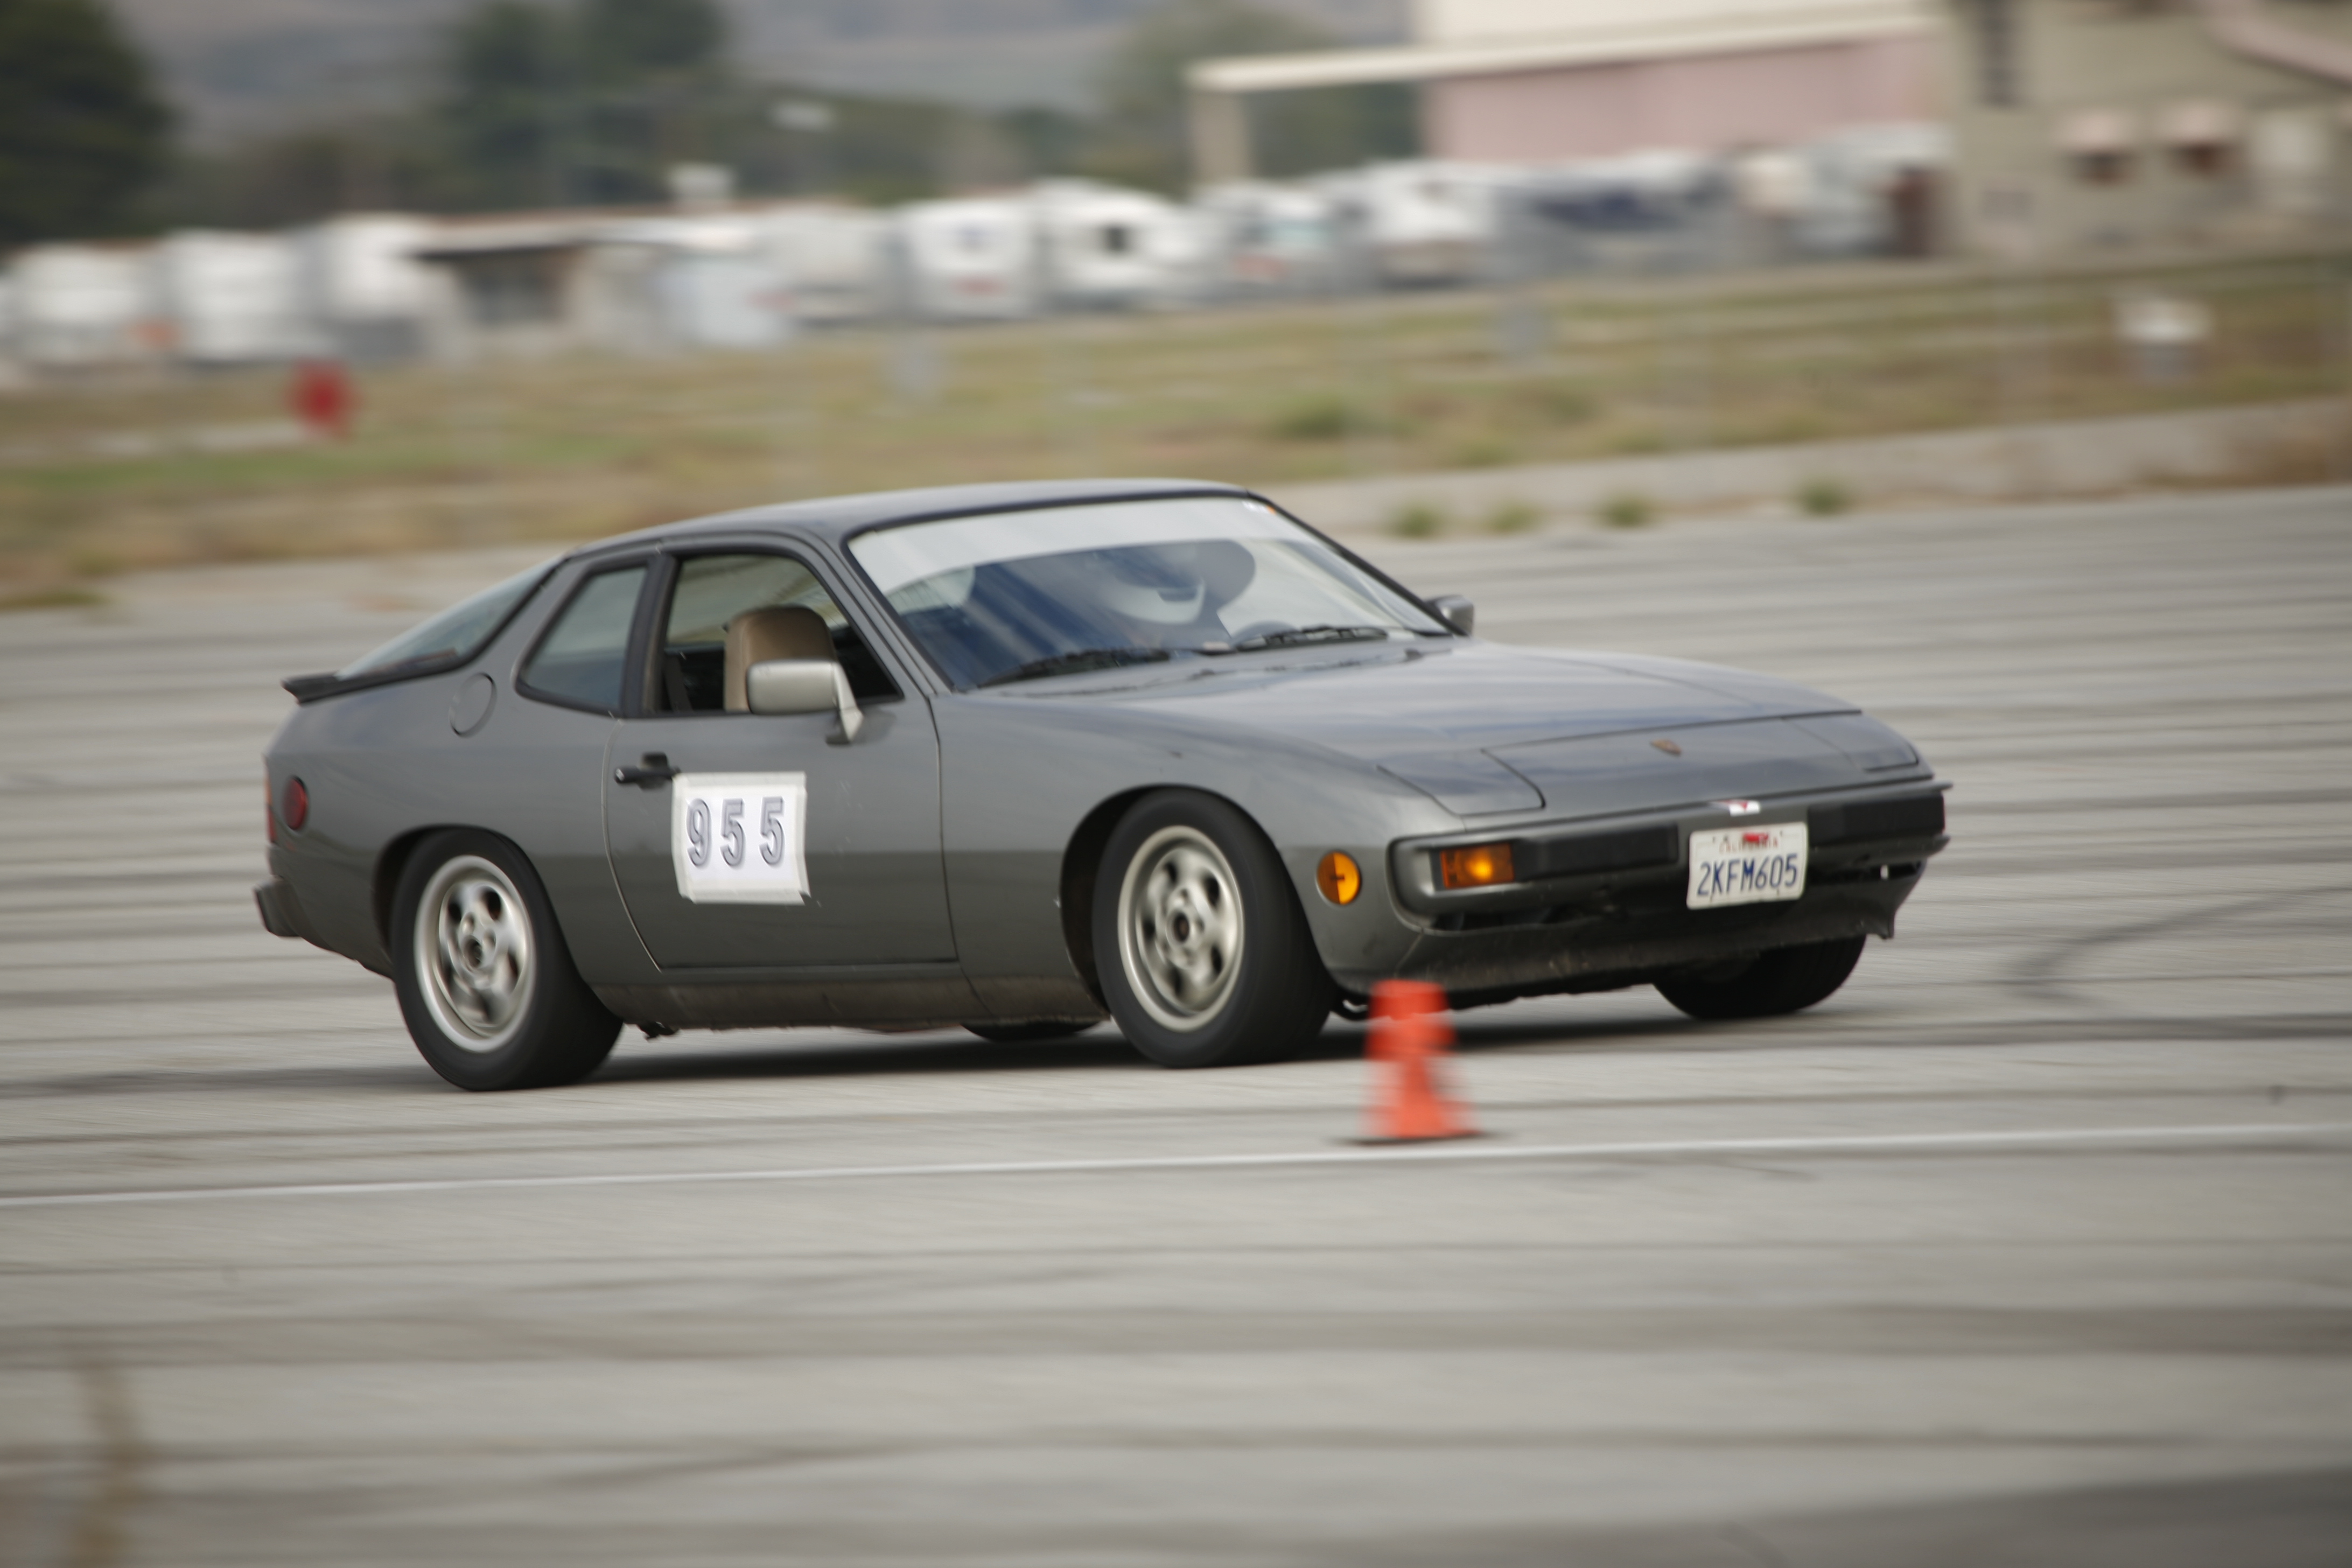
Until next time, here are some action shots from 2008!

All photos: