MENU
Skip menuInstallment 7 - Engine Bay: Round 2.
After last installment's setbacks, it was nice to have some good stuff to share this time 'round. I thought it was in my best interest to replace the rod bearings, since I had no idea what shape they were in. I could easily borrow an engine hoist, so mounted it up to the stock lift points.
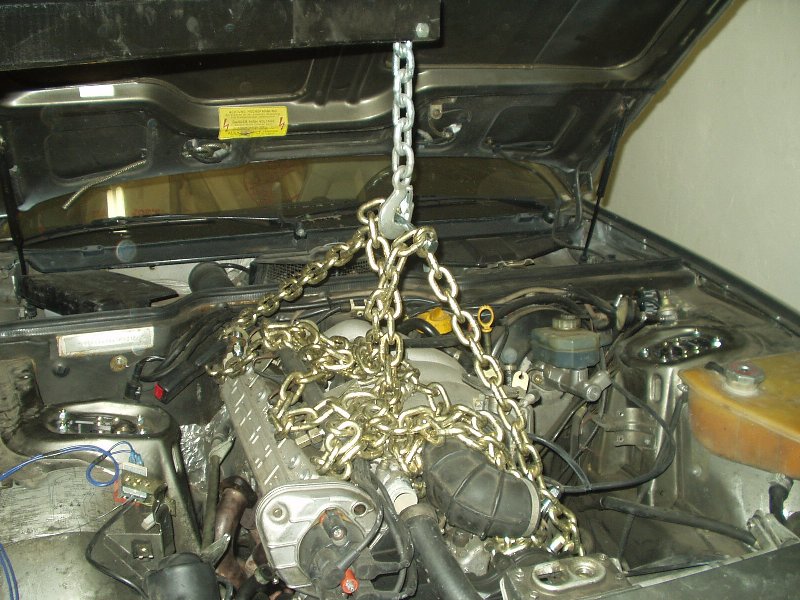
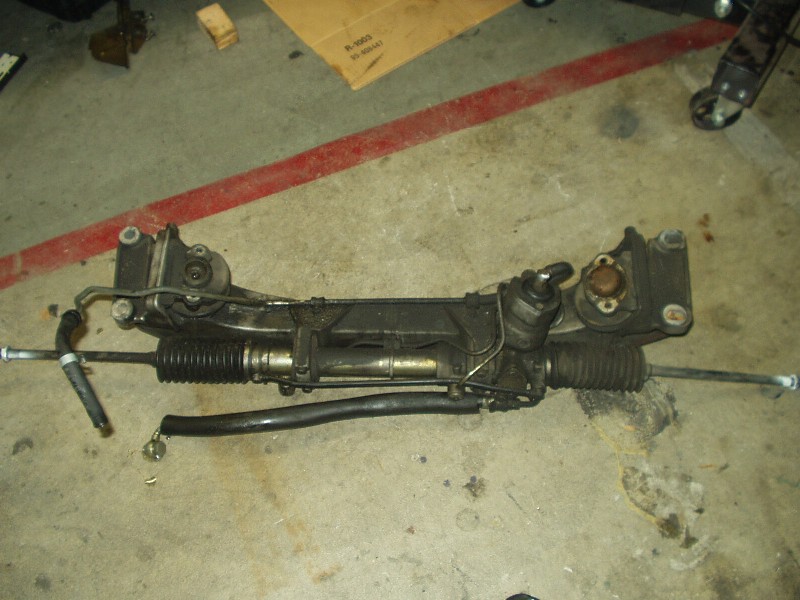
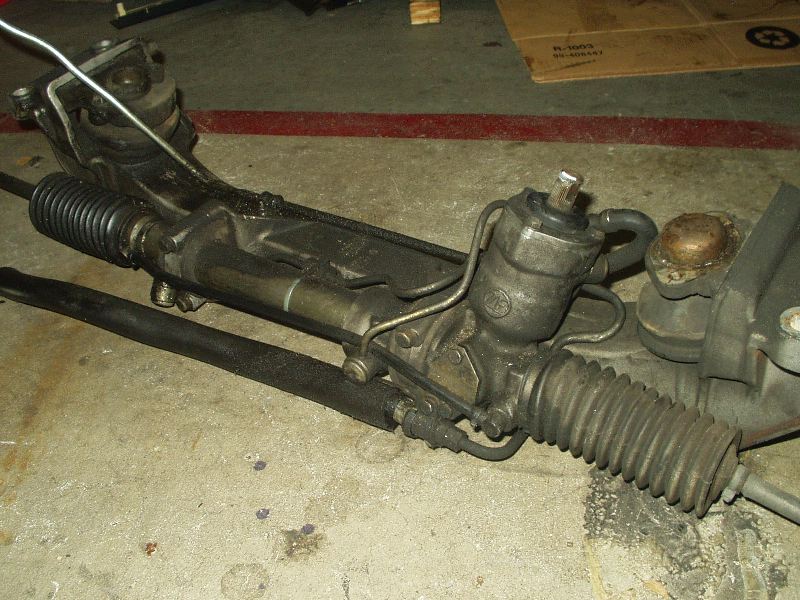
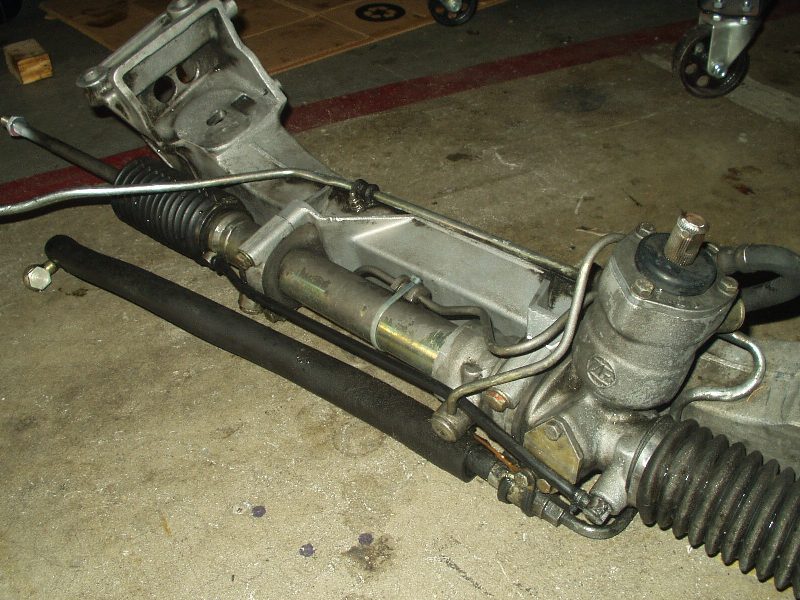
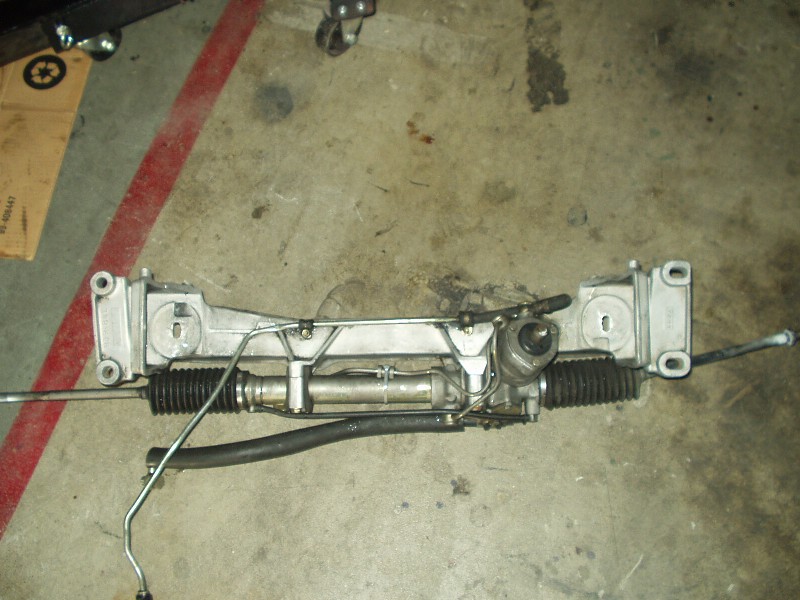
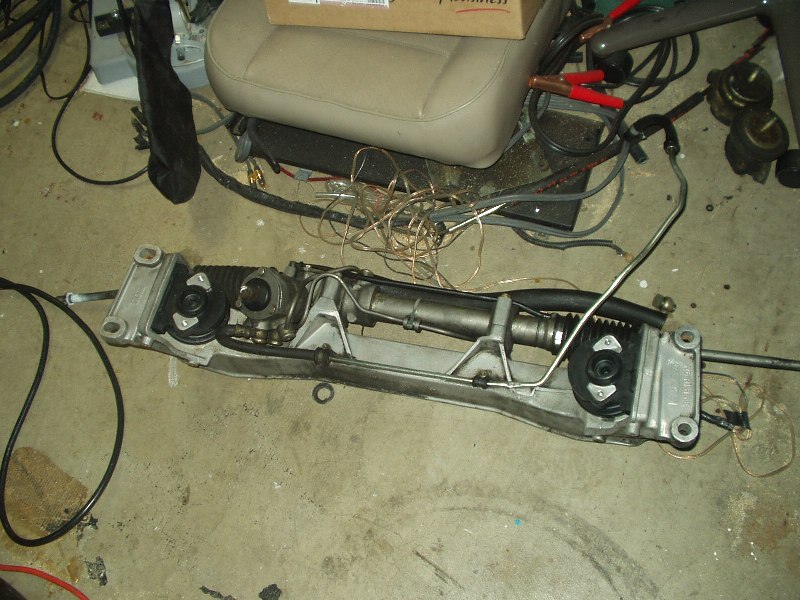
As ugly as that mess of chain looks, it worked well. Next came the crossmember. Thankfully I already removed most of the suspension and front end, so this was very easy to get to. Motor mounts got disconnected from the engine and a jack went under the crossmember. Now is a good time to disconnect the power steering rack, since that is the one piece that didn't leak when I drove it home! An impact wrench made short work of the 4 big bolts holding the crossmember to the chassis.
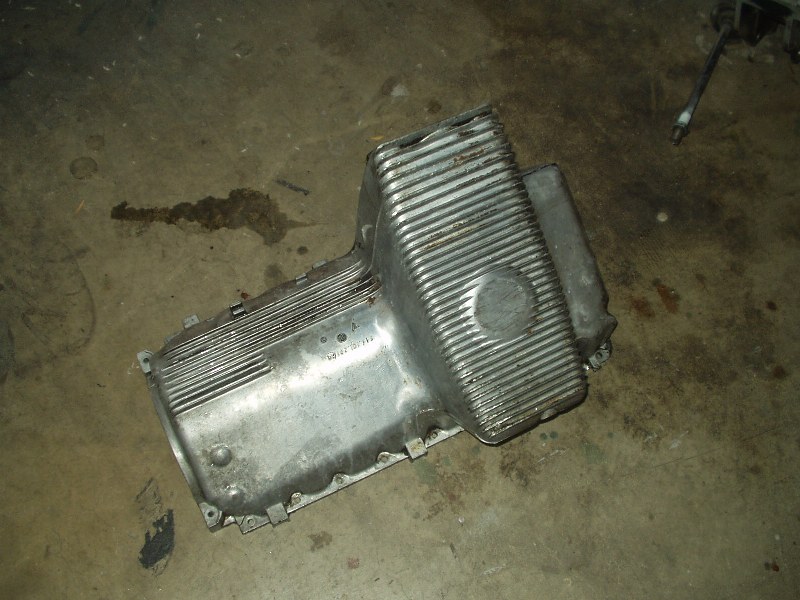
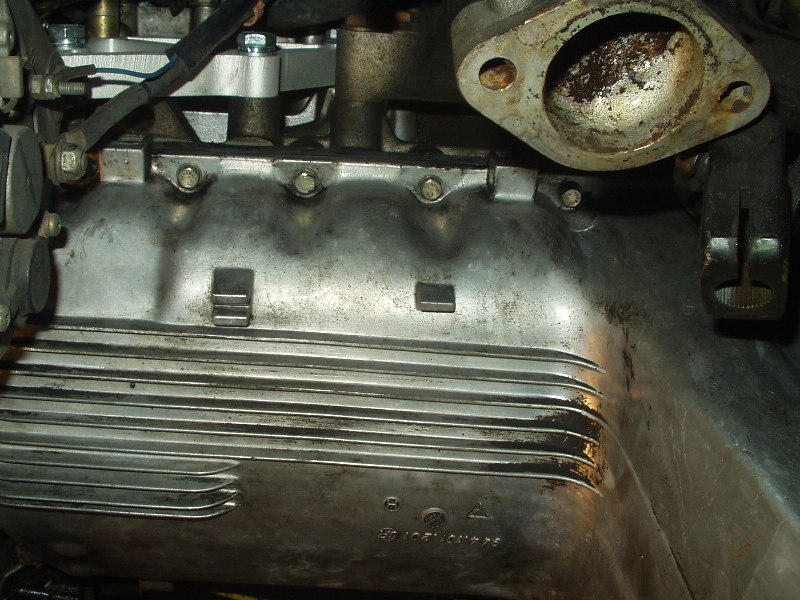
Obviously this car has leaked oil for some time. Now that the oil pan is exposed, it was easy to get in there and see how to remove it. 22 bolts later and off she came. I guess I should elaborate on that. With the oil pan unbolted, the damn thing wouldn't budge. I wiggled for a minute and it finally broke free. Cool, I thought. I wiggled some more and got hung up on the oil pickup tube. No biggie, I thought, this was mentioned in the procedure and I knew not to force it. After 10 minutes of trying to get the damn thing off, I called Joe Paluch, who was nice enough to talk me through it. A few minutes later, the dirty SOB was in my hands and free from the clutches of the equally dirty engine.


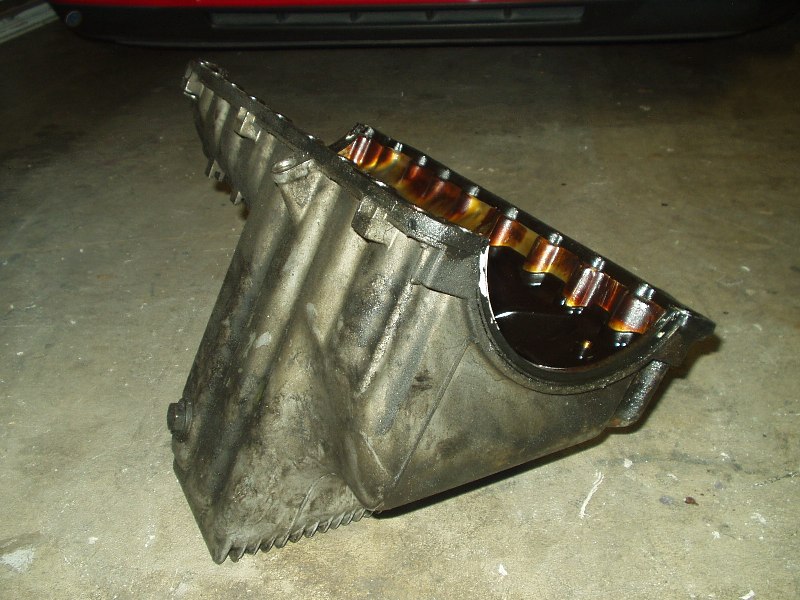
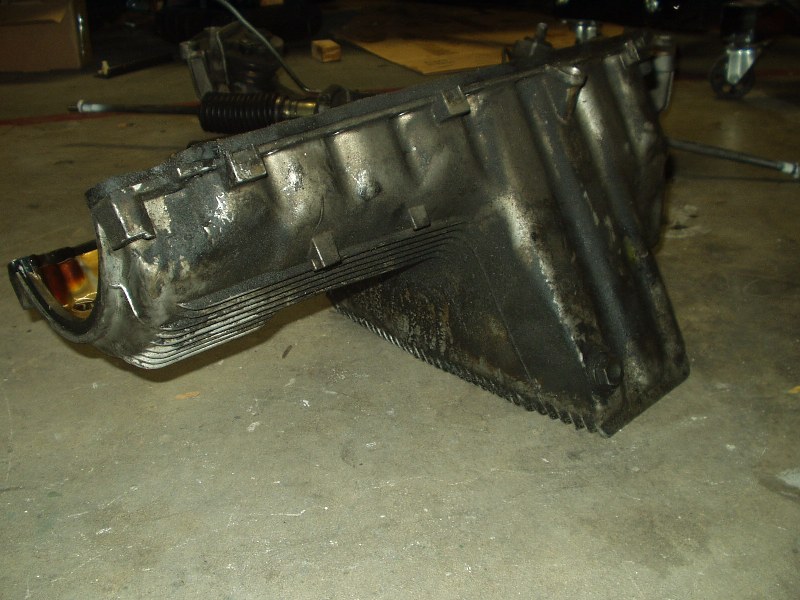
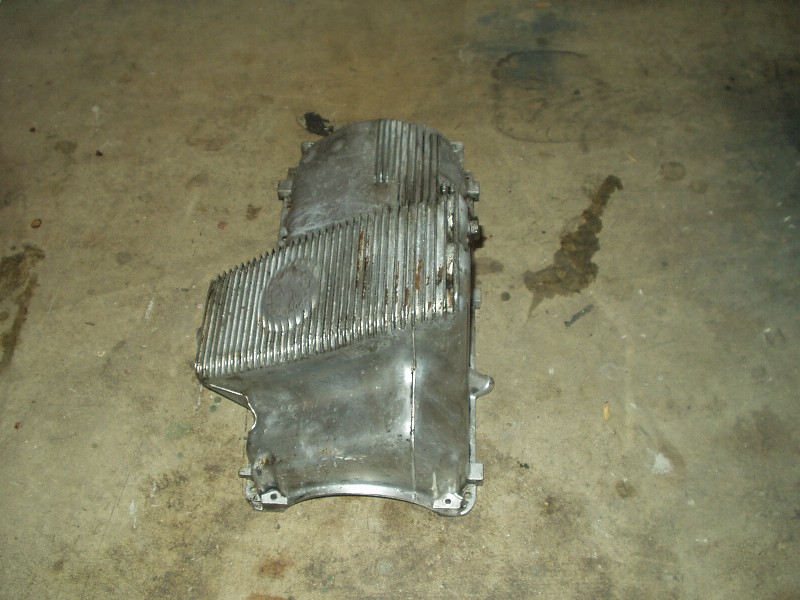
With a toothbrush in one hand and a gallon size jug of biodegradable degreaser in the other, I went to town on oil pan and crossmember. I must say I'm pretty satisfied with how they turned out.
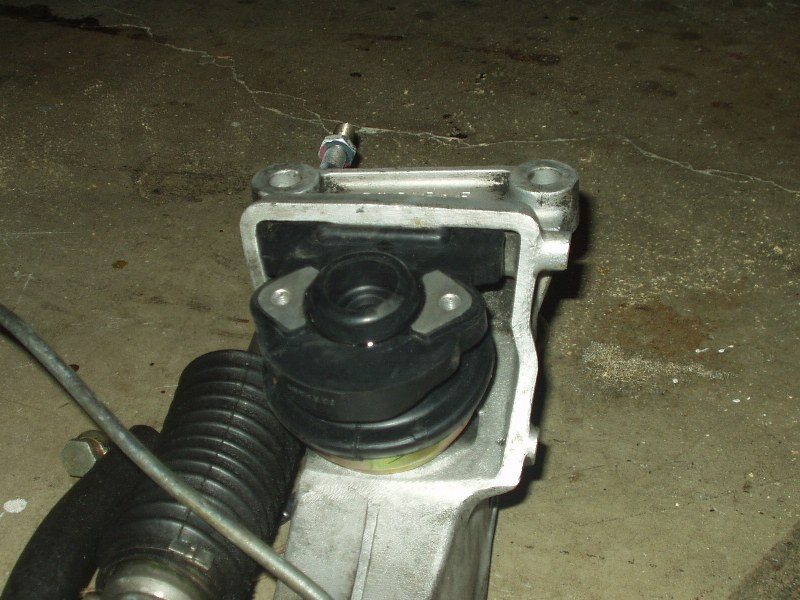
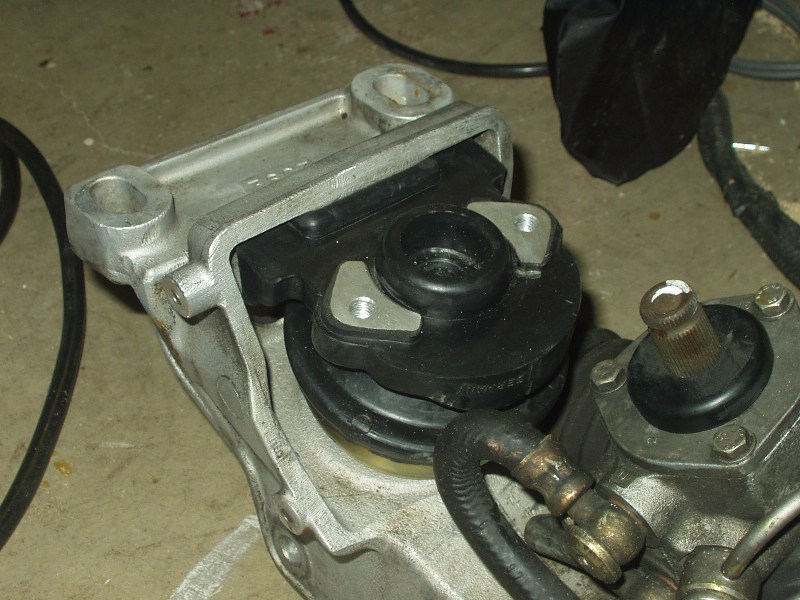
I removed the engine mounts to clean the crossmember, and was surprised to find that one was completely torn in two pieces. I'm not an expert, but I'm pretty sure that's bad. I ordered new OEM mounts off eBay for $80, and they actually looked to be authentic; even if they aren't, it's too damn late now. A large C-clamp made installing them in the crossmember very easy.
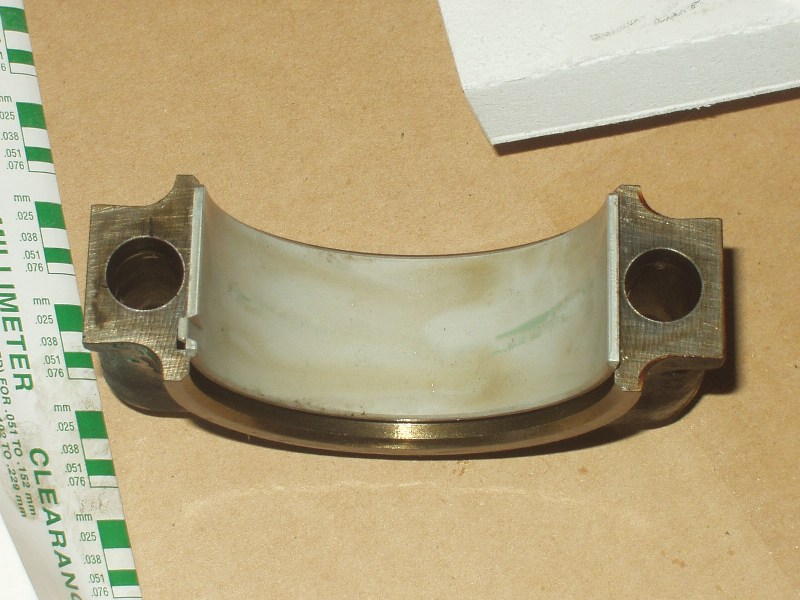
Okay, back to the matter at hand. I was a little intimidated by removing the rod caps because I know how much time, money and effort it takes to replace a damaged crankshaft. Once I realized you could knock them loose by tapping on the con rod studs, I was able to keep all the hard stuff off the crank. I used plastigauge to check the clearings and I was happy to discover that I was well within factory limits (see small green 'smudge' on the bearing below).
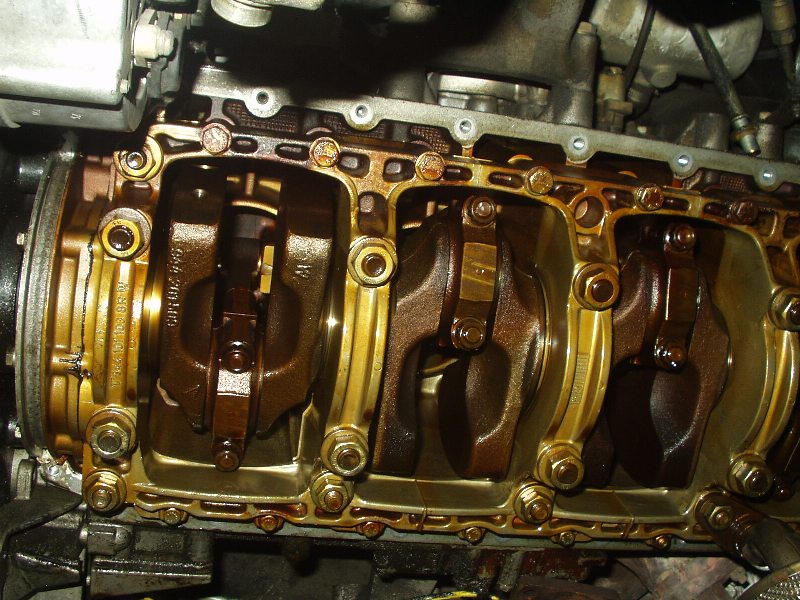
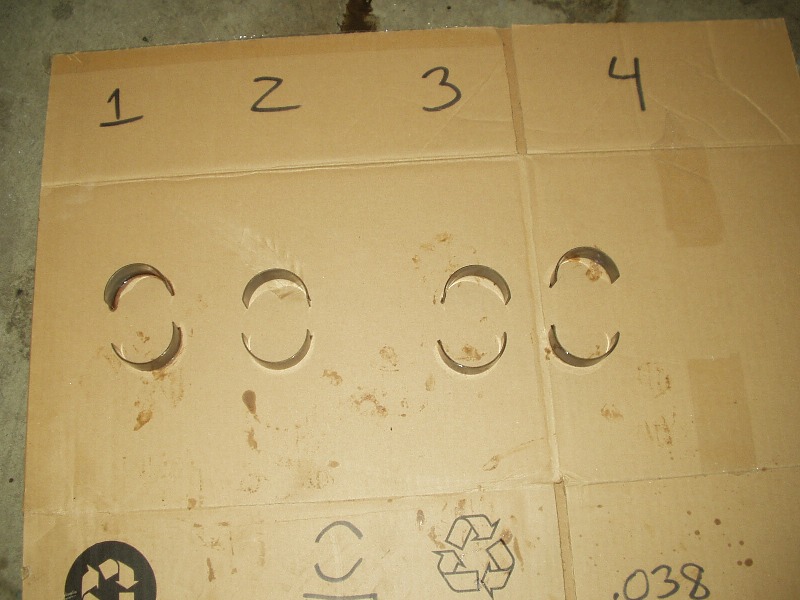
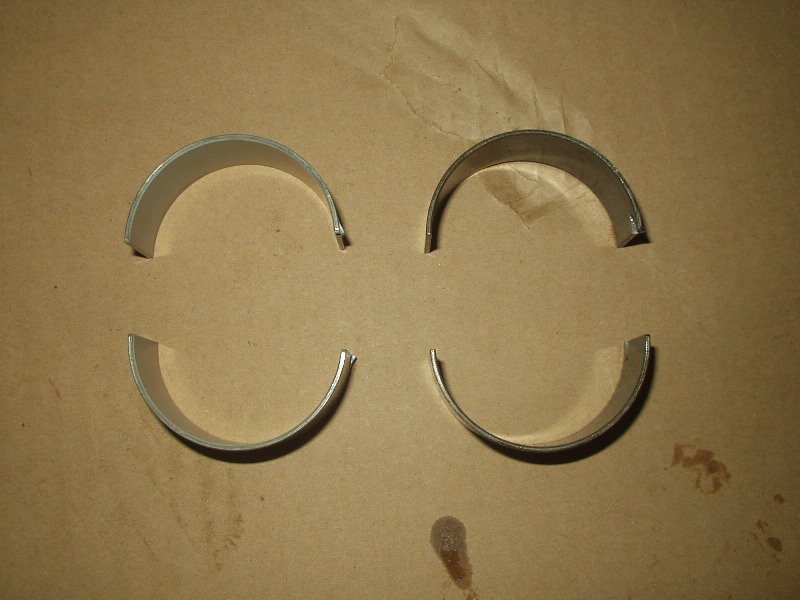
Obviously I wanted to compare the old rod bearings with the new, so I lined them up next to each other. I was honestly a little pissed when I saw that they were almost exactly the same thickness! Turns out my engine was in much better shape than I originally thought. Oh well, now I know.
With the new bearings installed and torqued (with new con rod nuts), the oil pan could go back on. I followed the recommendation of the procedure to tape the bolts to the pan, to line up the gasket, and it worked pretty well. All in all, it was a pain in the ass, but all's well that ends well. I even got the gasket lined up on the first try. I should have bought a lottery ticket...
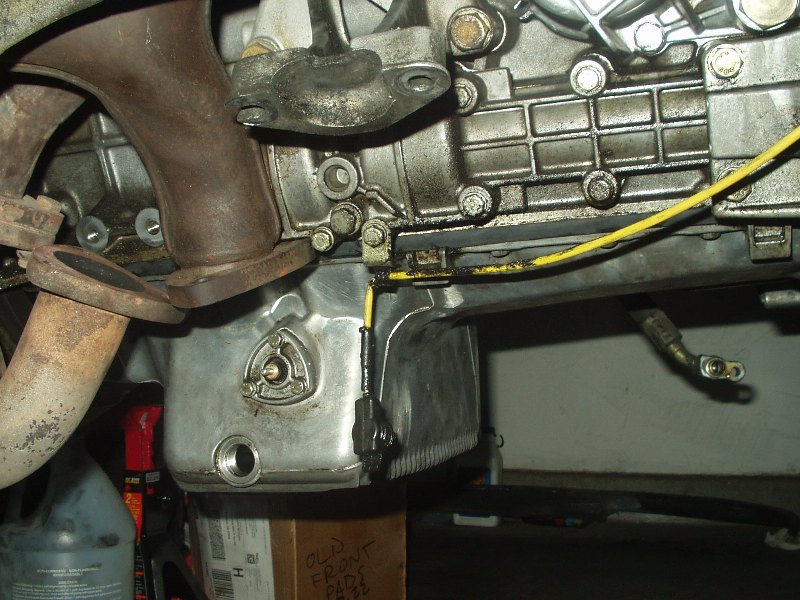


Okay, so now onto the really sketchy part of the operation. I didn't have any help around, as usual, so I lined up the crossmember and engine mounts on a jack and wobbled the whole assembly into place without losing the whole damn thing. I don't recommended this be done alone. I could have easily dropped it, cracked the crossmember or steering rack. Everybody gets there thrills in different ways, huh? Of course the engine mounts didn't line up with their holes; what a shock. The C-clamp came in very handy here as well. I smashed those bastards into place and mounted them up; then I installed the crossmember bolts and sighed a huge breath of relief. Now the engine is supported and the only big PITA left is the steering shaft. The procedure said to paint or mark the orientation, but good luck getting all that to line up again perfectly; I voted to just realign the steering wheel.
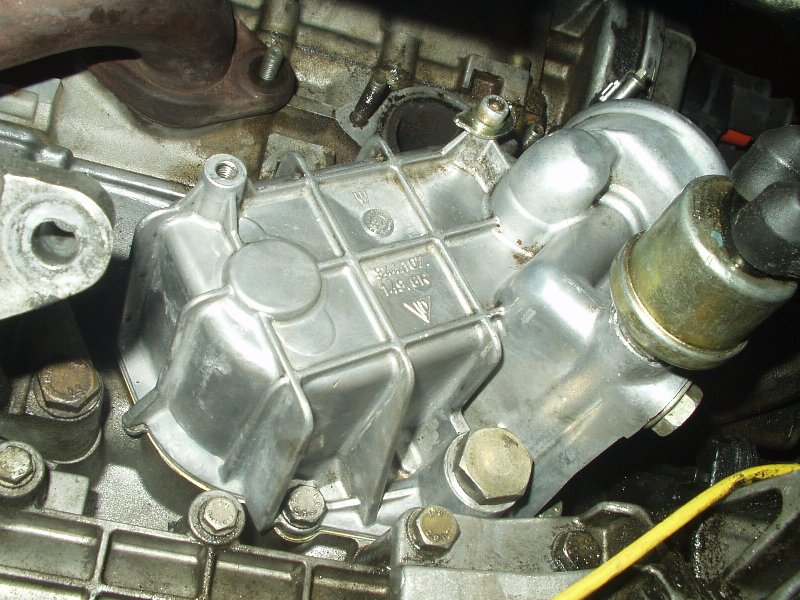
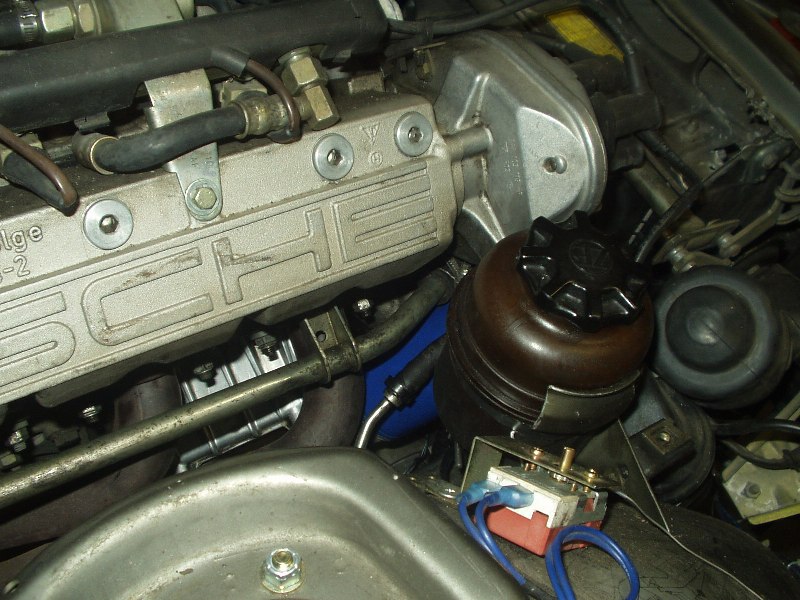
With the power steering lines and resivour out of the way, I reinstalled the oil cooler with another new gasket. It went smooth as butter, which was utterly shocking to me. I'm sure I f'd it up somewhere, so we'll find out my first time on track I'm sure.
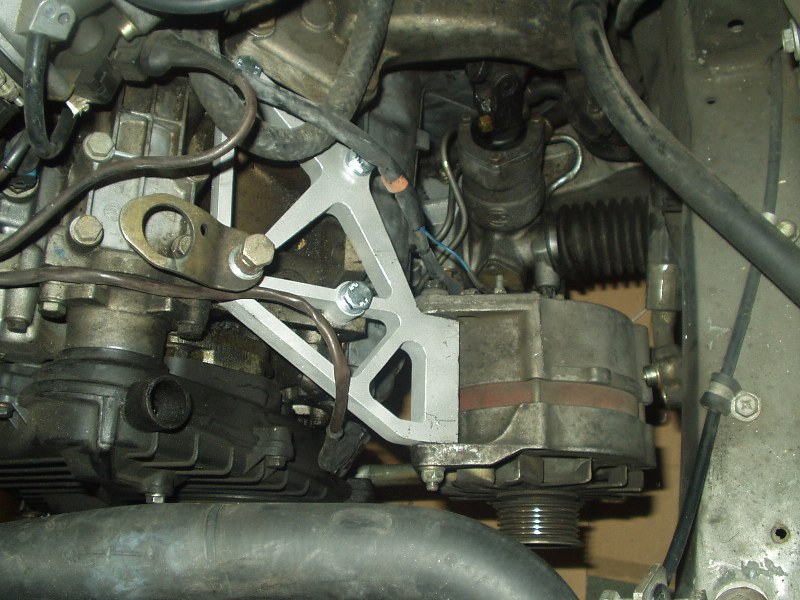
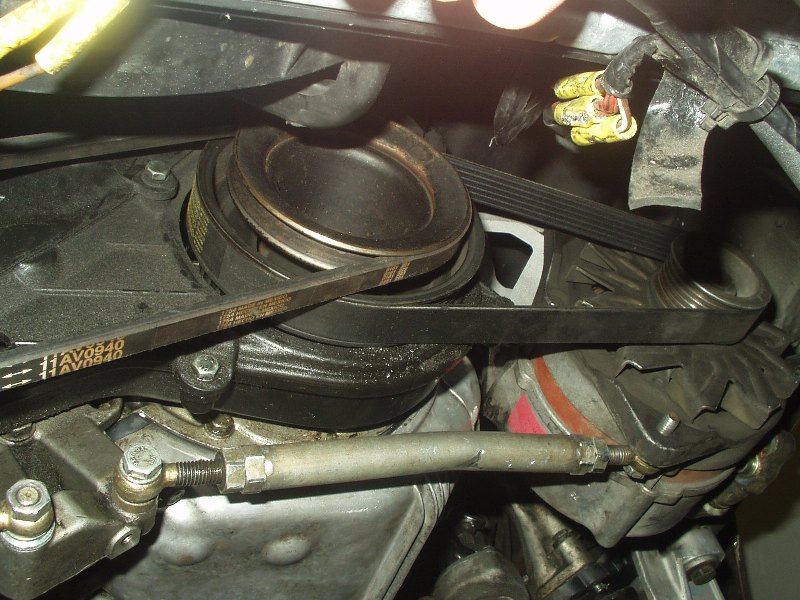
Thanks to Dave of 44cup.com for the AC delete bracket. Pulling off more weight made me smile. Getting the alternator belt tensioned made me want to scream though...my tensioner was bent, and it locked the jam nuts on so tight, I nearly destroyed them to get them loose. When I installed them, I was sure to only 'snug' them.
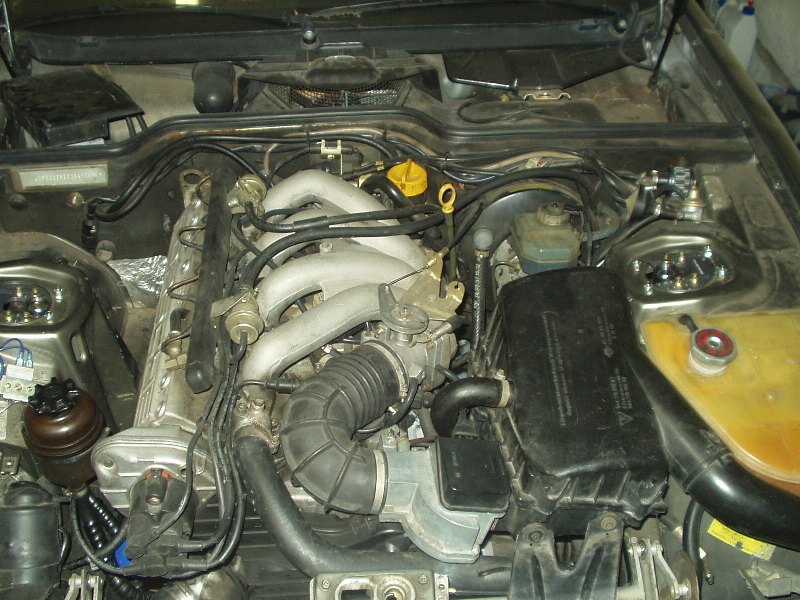
So with everything back together, I filled it with fluids and prayed that it would start. With just 3 cranks it fired up and sounded like I forgot a screwdriver in the oil pan! Once it built oil pressure, the heads got lubricated and all was well again. The new motor mounts shook the bejesus out of the car, which was made worse by the fact that the chassis was up on stands, but I'm sure they'll break in and smooth out. My exhaust headers smoked like mad from all the grease I got on them, but other than that, NO LEAKS AND NO FAILURES!
That is until it overheated, blew a rad hose and dumped the entire contents of the cooling system on my clean garage floor. Next installment: HARD WIRE COOLING FANS!