MENU
Skip menuInstallment 5 - Under dash spring cleaning and gauges.
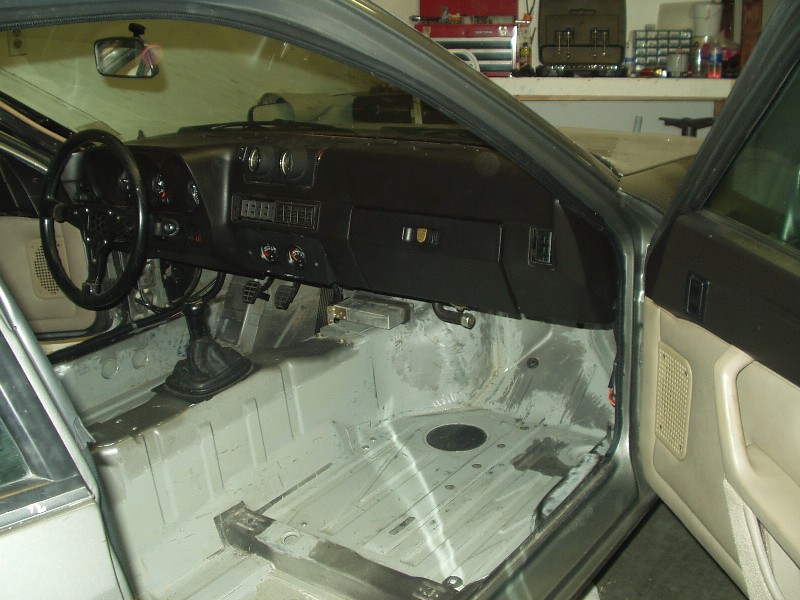
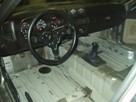
I left off last time with a pretty sweet chassis, but a rats nest of shit under the dash. Knowing that this track car won't need things like a radio, air conditioner or DME, I broke out the wiring diagrams and went to town. I didn't really remove the DME! I did do something really stupid later on though, so keep reading.
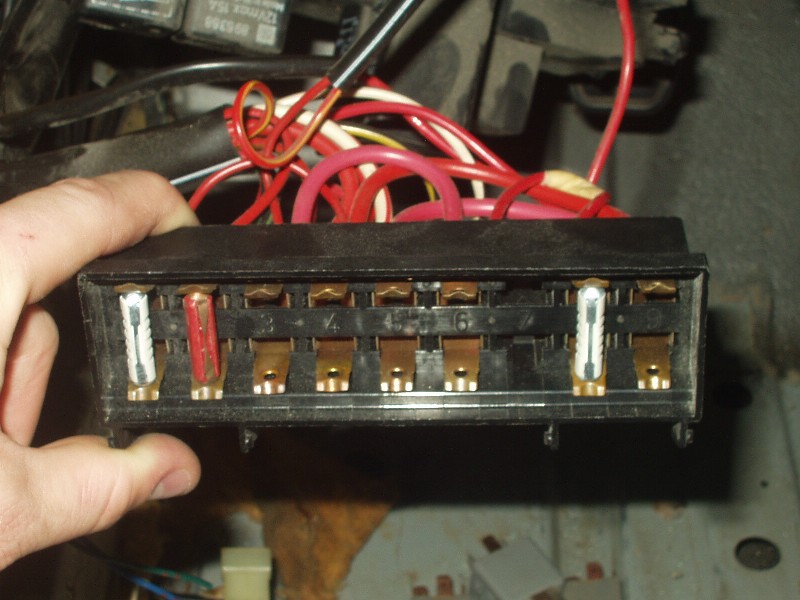
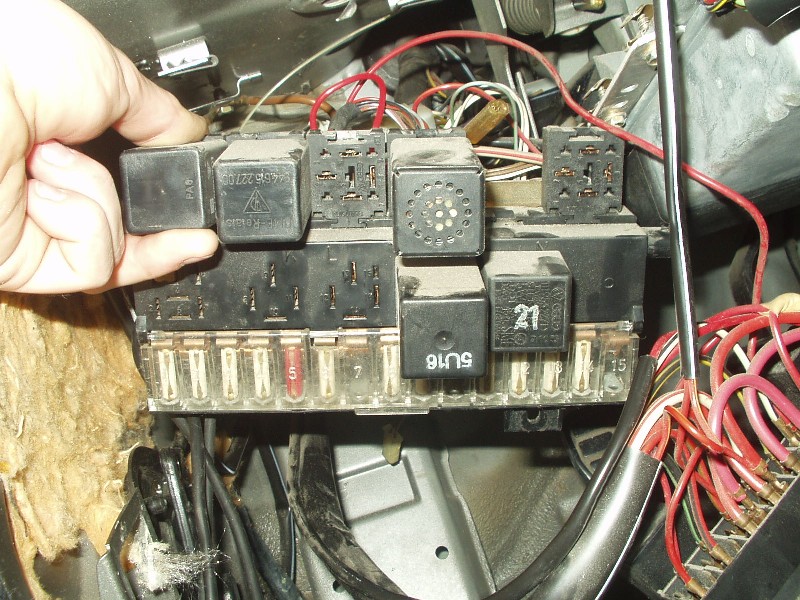
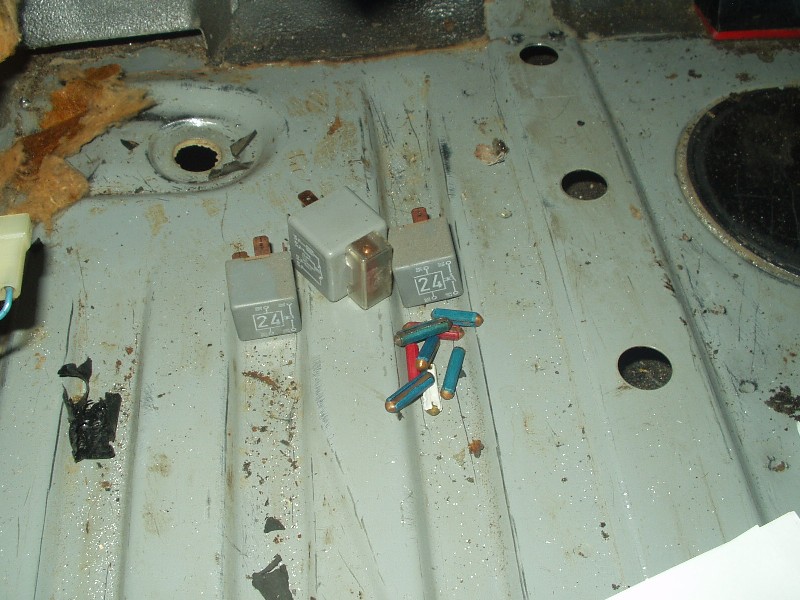
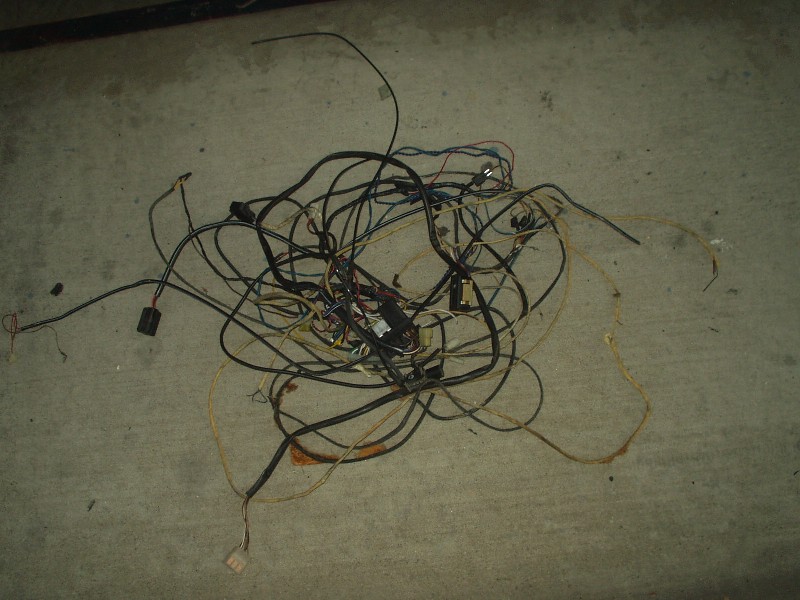
The main fuse block has numerous relays and fuses for items no longer needed, so one by one I traced the wires for the radio, air conditioner and removed the fuses, relays and unneeded wires. After each component was removed, I started the car and verified all the necessary electrical components still functioned. Not having a trailer at this point, I am forced to keep the hazards, turn signals and everything else needed for street legality. I decided to keep the fax machine and pop corn maker too, for those lonely drives home from the track.

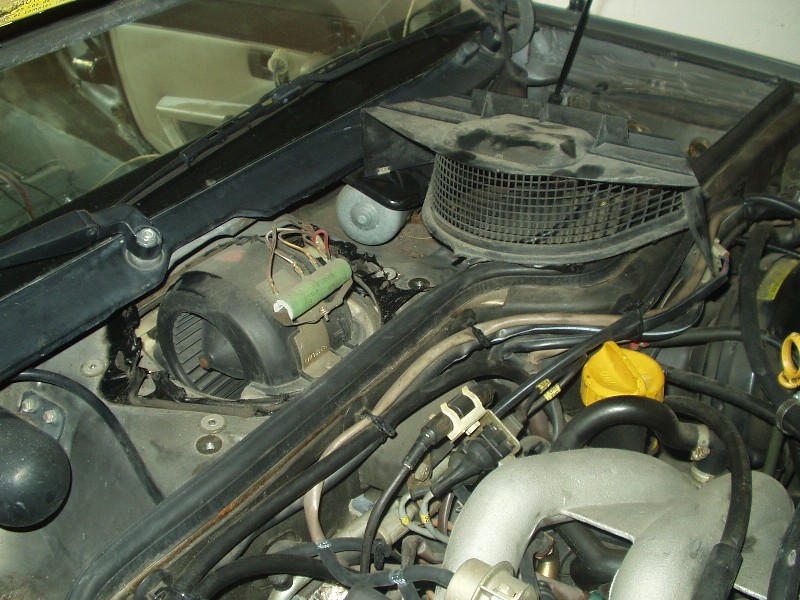
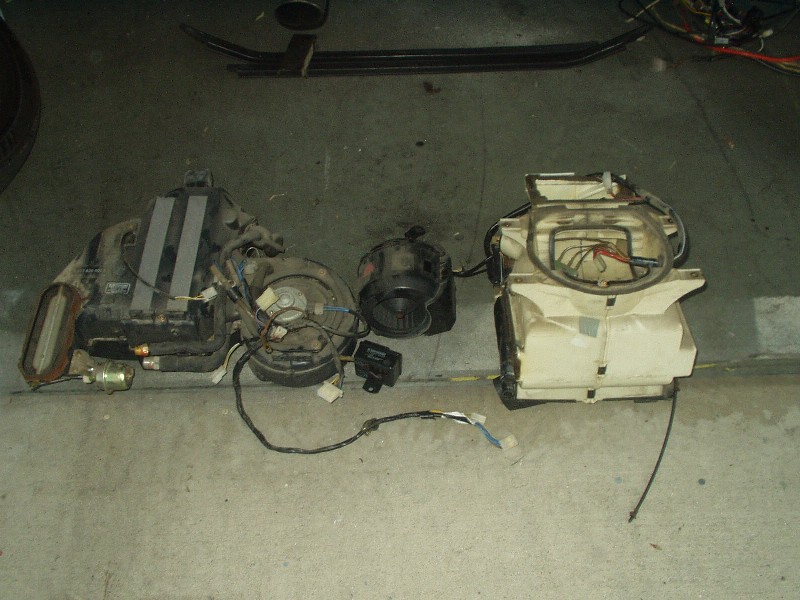
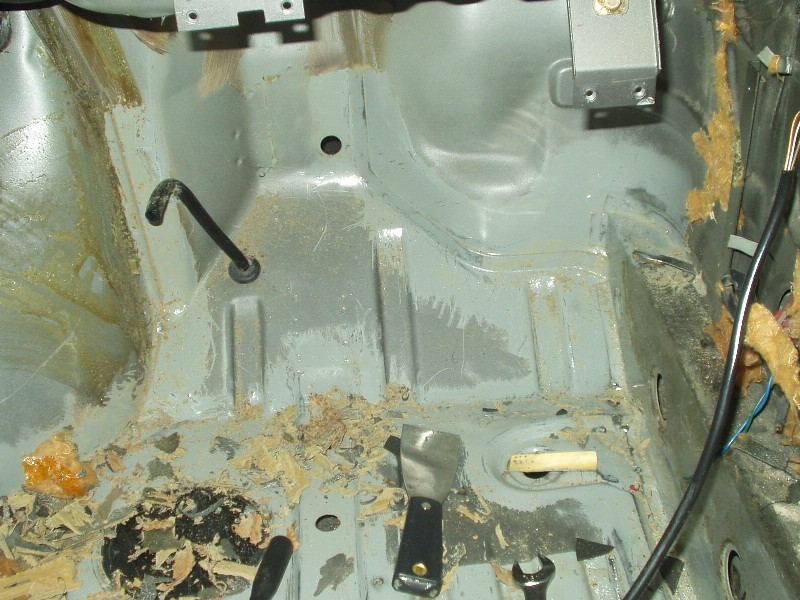
Next came the blower, heater core and misc AC components. This has been a long time coming and I was really tired of looking at the mess. I started with the easiest section, the right side and removed every bolt I could find. Removing the AC lines was cake, since the system was not charged when I bought the car; some oil from the initial charge still remained though. The center section of the dash is a little trickier--the heater core and ducting are crammed in pretty tight, but after a few minutes of yanking and screaming (get your mind out of the gutter...) the core was separated from the coolant lines and the whole mess was removed.
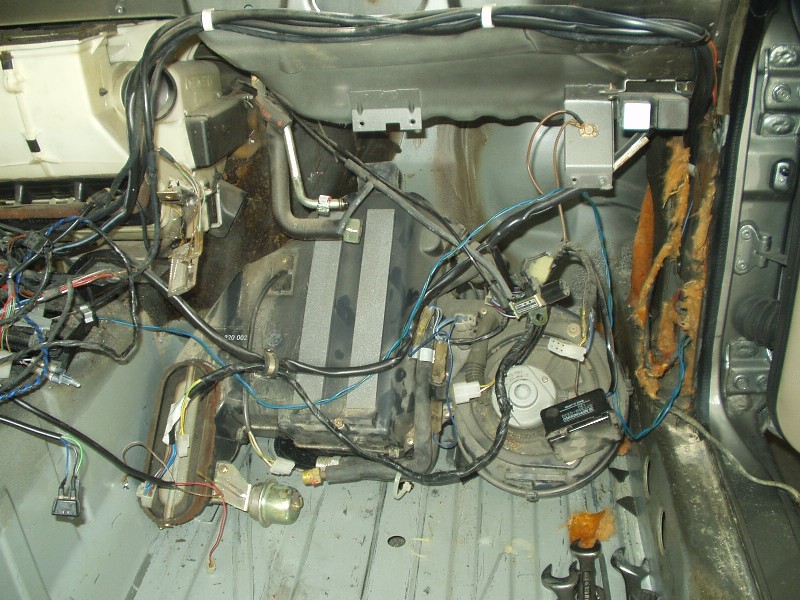
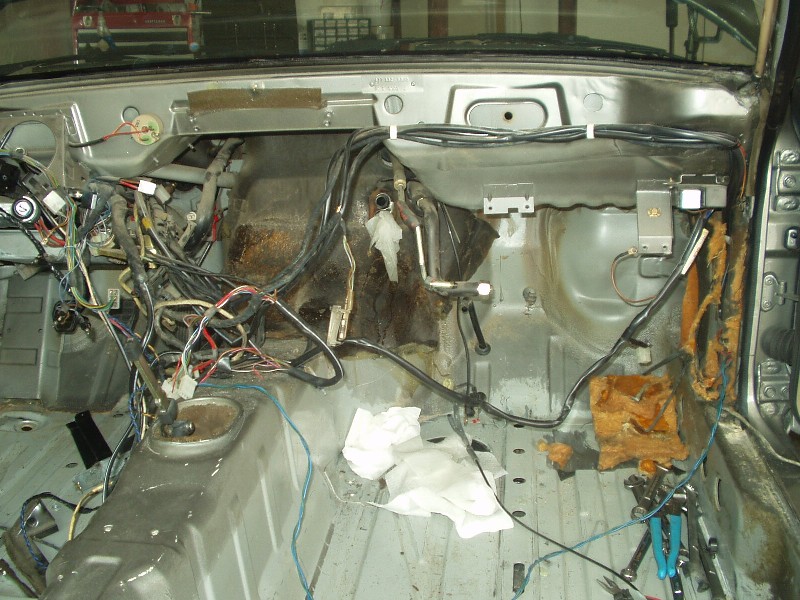
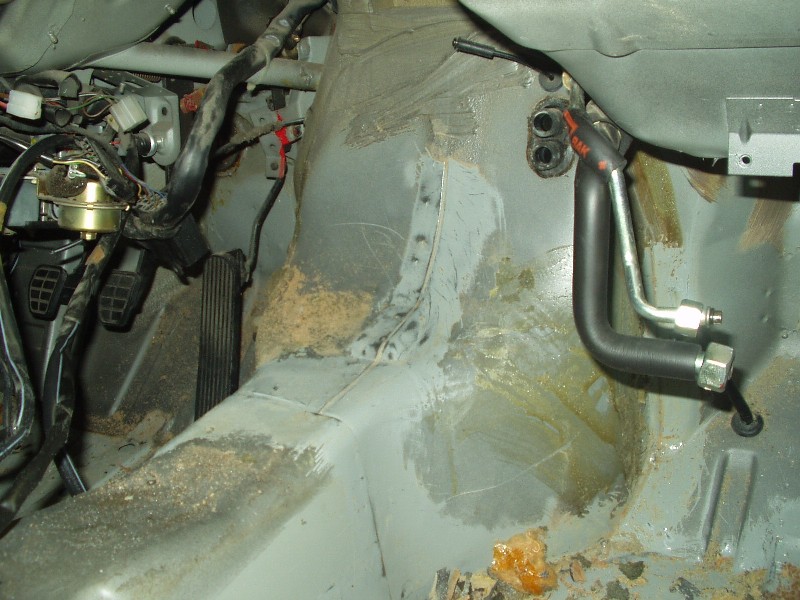
With that stuff out of the way, the last little bits of joint sealer and sound deadening were removed. I never want to see this crap again!
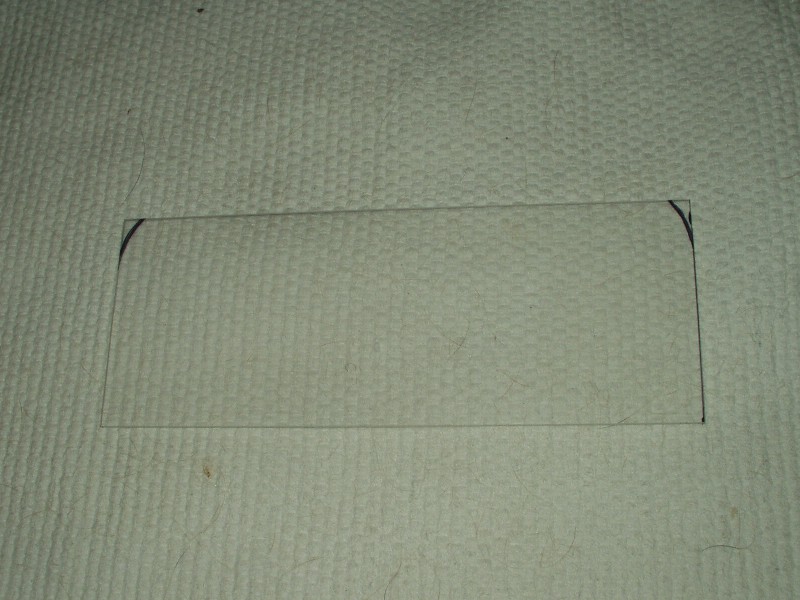
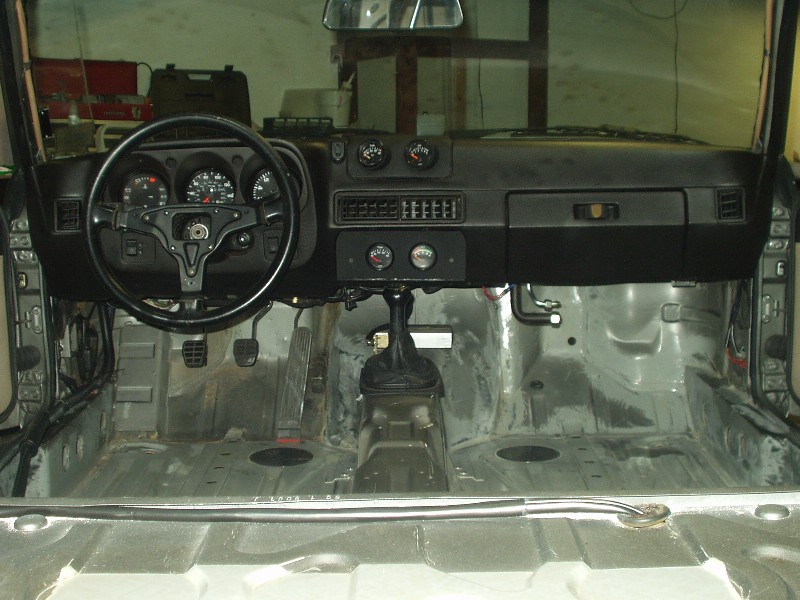
What's a racecar without a bunch of gauges right? The center console normally covers up a hole in the dash, but with it removed it leaves an area perfect for a couple of gauges. Using a panel of 1/8" lexan, I cut out a strip to fill that void; by the way, only use the kitchen counter when the wife is out of town. I would have killed a man for a bandsaw at this point, but alas, 'tis a hacksaw for me. With the panel in place I realized the angle was rediculous, so I added more lexan to the sides to bring the gauges into view.


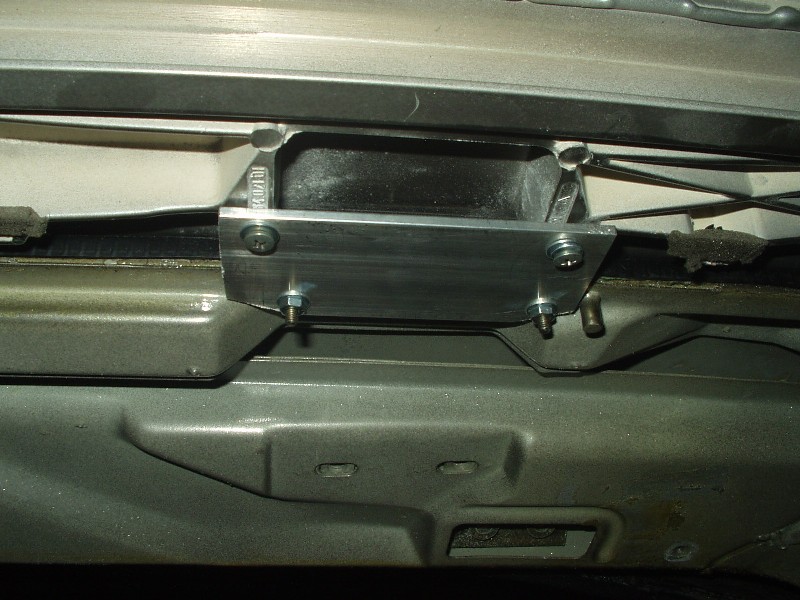
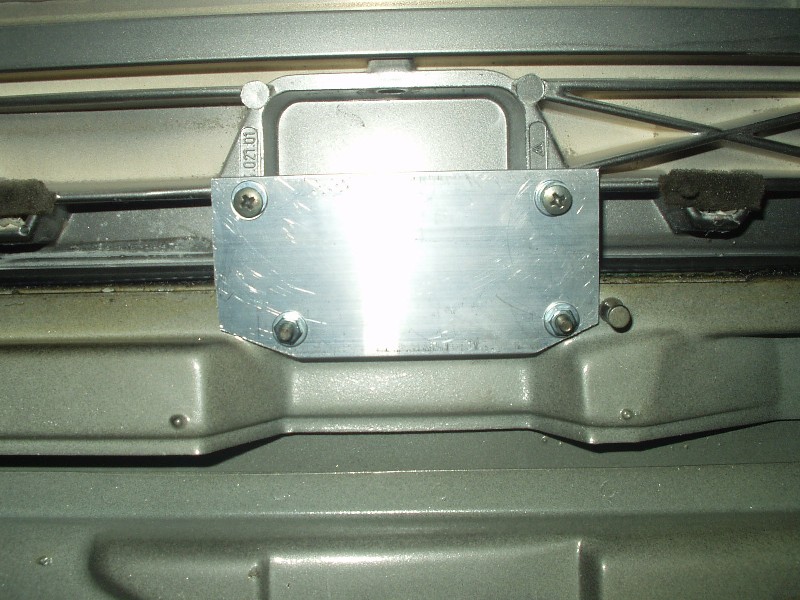
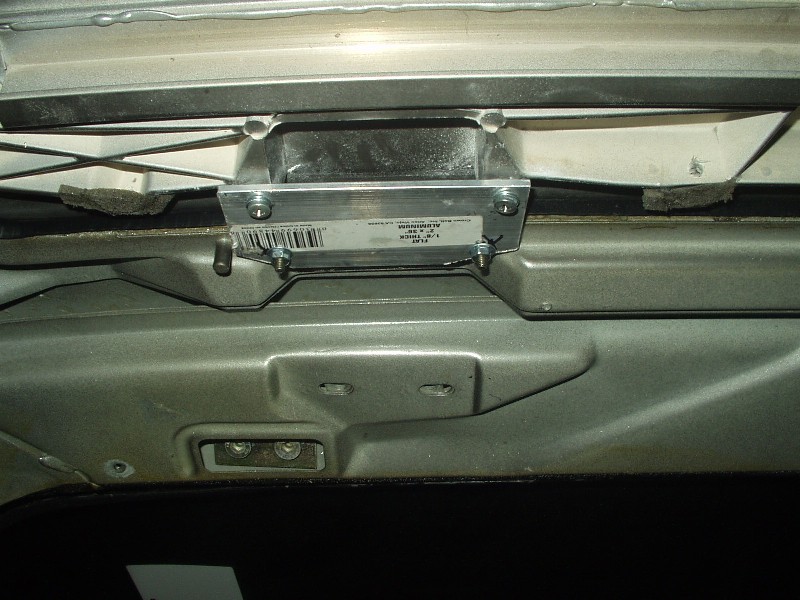
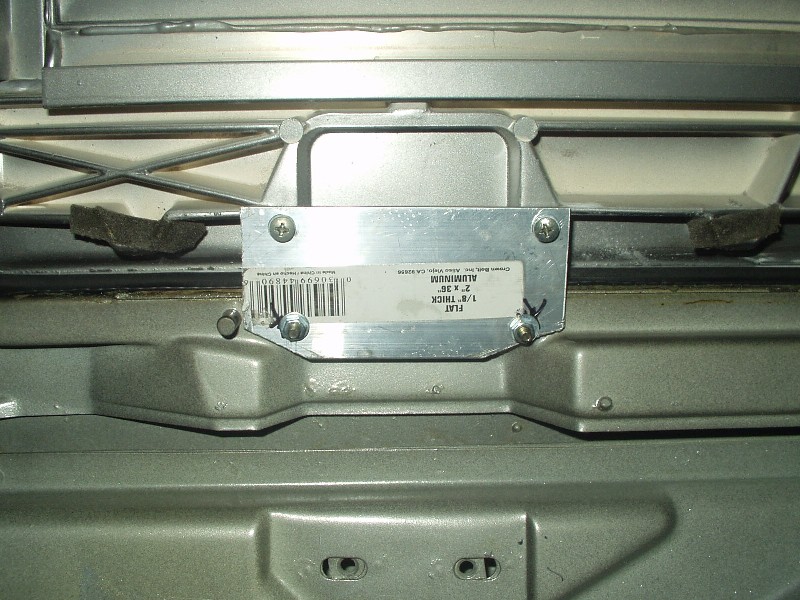
Taking a break from the next gauge panel, I thought I would finally get around to the sunroof brackets. Using some aluminum stock from Home Depot, I cut two lengths and trimmed them to fit the contour of the car. 4 holes later, they mounted right up. For the fronts, I flipped the stock mounts and bolted them back into place (thanks topley and P. Dilly!).
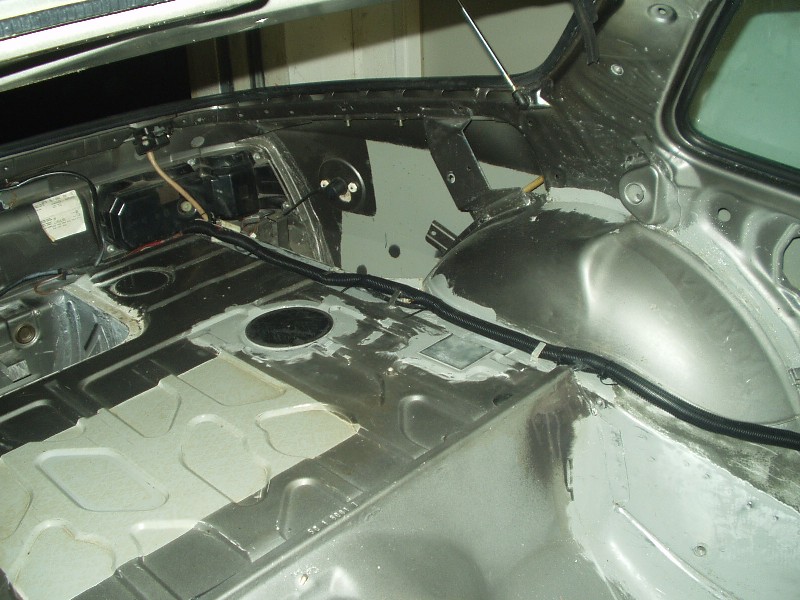
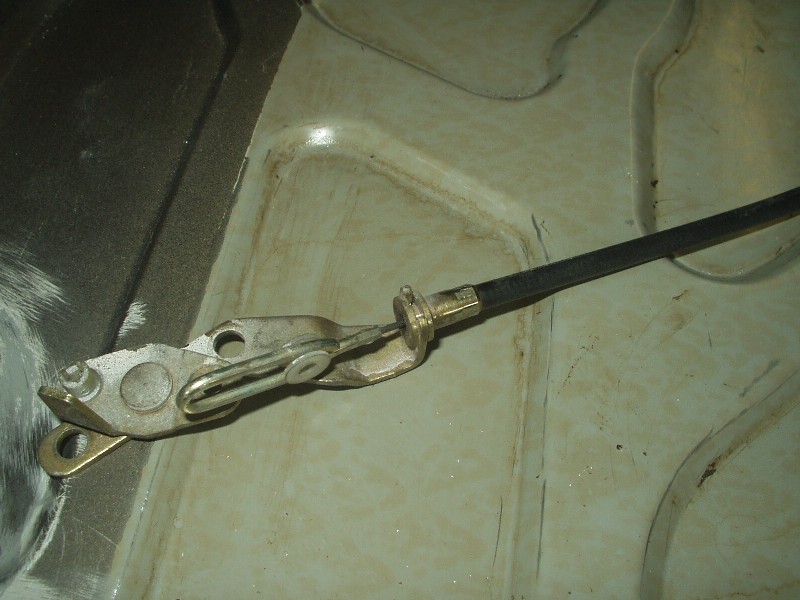
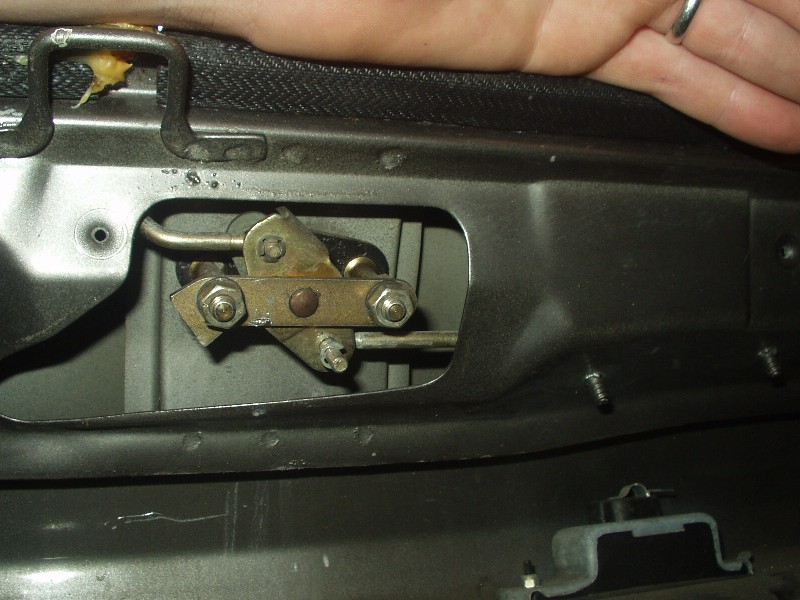
Since I removed the rear hatch switch, there was no need for the rear hatch motor. The latch itself mounted the release cable, which also was no longer need, so I broke out the hacksaw and freed the two; I must have saved a few grams there!
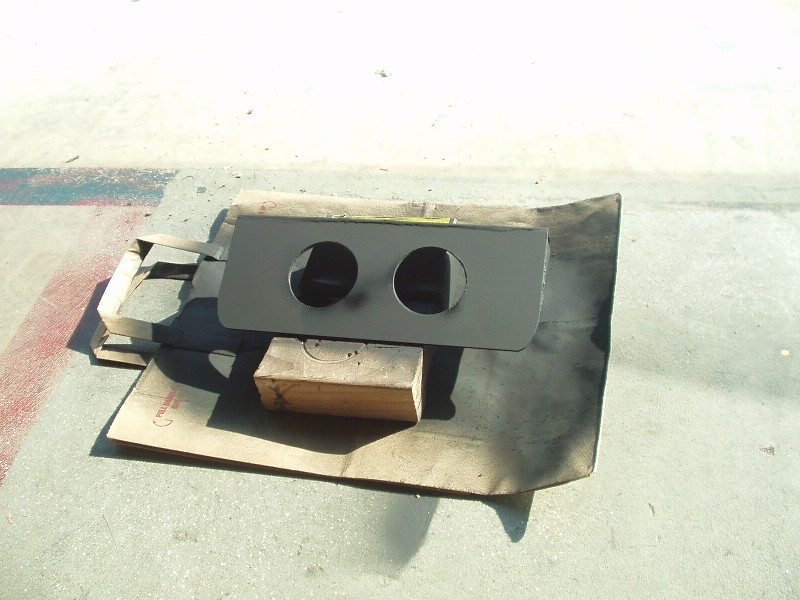
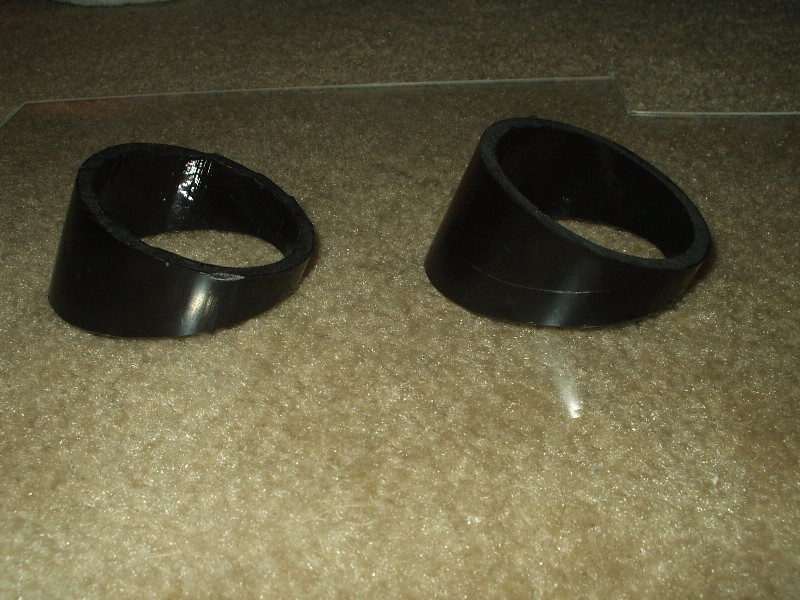
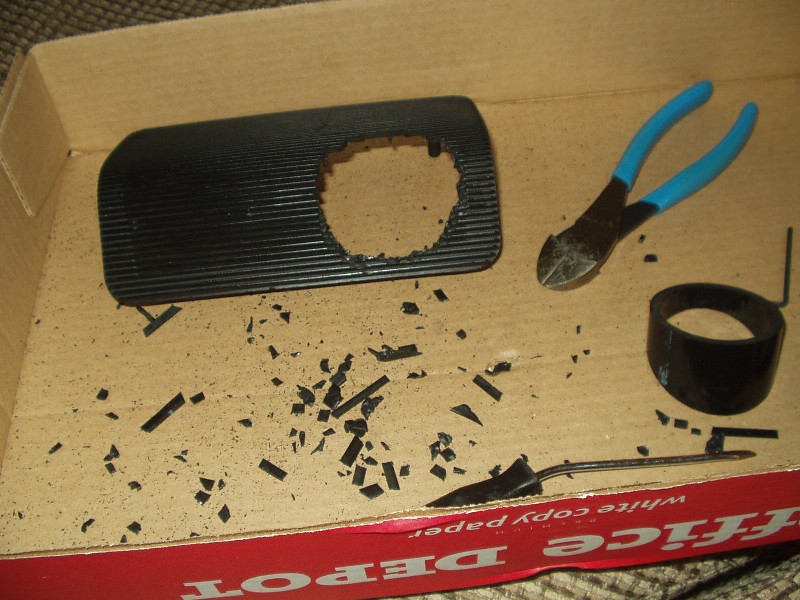
I found an older post on Rennlist with a picture from 'Geo' and a gauge panel he made using the stock center speaker panel. It looked fairly straight forward, and with a little advice from George himself, I took a crack at it. Cutting 2" PVC pipe I created two angled bits that will hold the gauges in place, as well as point them at the driver. Then I had to punch out two holes in the speaker panel to allow room for the back of the gauges. This was a royal pain in the ass, and the center section between the two holes broke off completely! A little discouraged, I broke out the lexan again and started glueing. The wife had the camera for the rest of the build up, which is probably a good thing. This has to be the most ghetto thing I've ever put together. Once the PVC was glued to the center panel, I used silicone adhesive to fill in the gaps and help add to the strength of the whole thing. With that dry, I added Bondo body filler and sanded. Added more body filler, then sanded more. Then added more body filler and sanded some more. You get the picture. I could have made it purdy, but I just left the 60 grit scratch marks and painted the whole deal flat black. Like a moron I hadn't test fit the piece until I was done and to my surprise, I put the gauges in the wrong face of the panel! When installed correctly, the gauges face the windshield. D'oh! All was not lost though. Installed so they face the driver, it almost sits flush. Good enough for the track!
Next installment will cover servicing the power steering pump, removing the AC condensor and compressor and wiring the senders for the gauges.